You want braids that look fierce at 10 AM, survive dancing at 6 PM, and still look photo-ready at midnight.
That’s exactly where Viking braids shine.
These braids aren’t just pretty. They’re built to hold, grave, and last through heat, wind, sweat, and movement. And the best part? Most Viking braid styles look complex but are actually beginner-friendly when you follow a simple map.
This guide walks you step by step through a festival-proof Viking braid, plus tips to make it stay secure all day and night.
What Makes a Braid “Viking” (And Why It’s Perfect for Festivals)
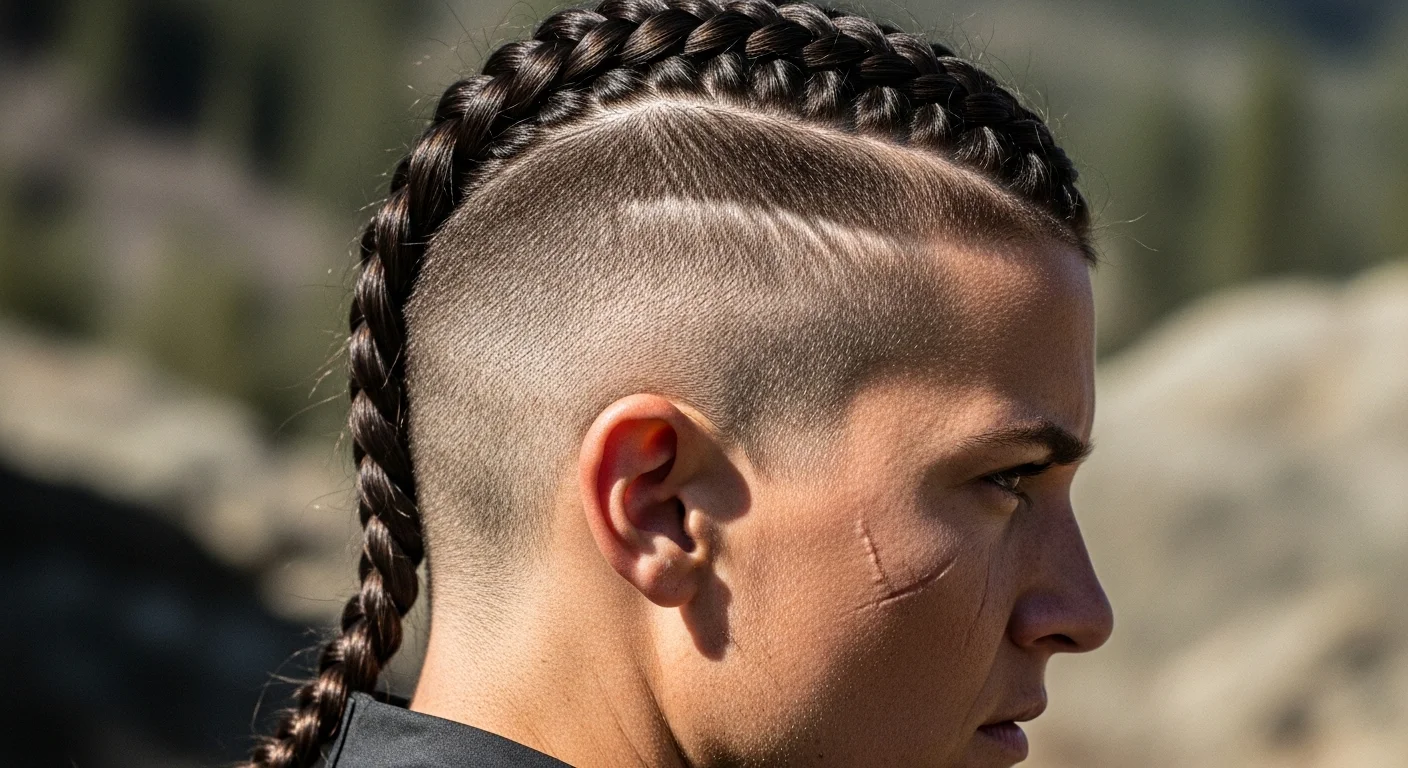
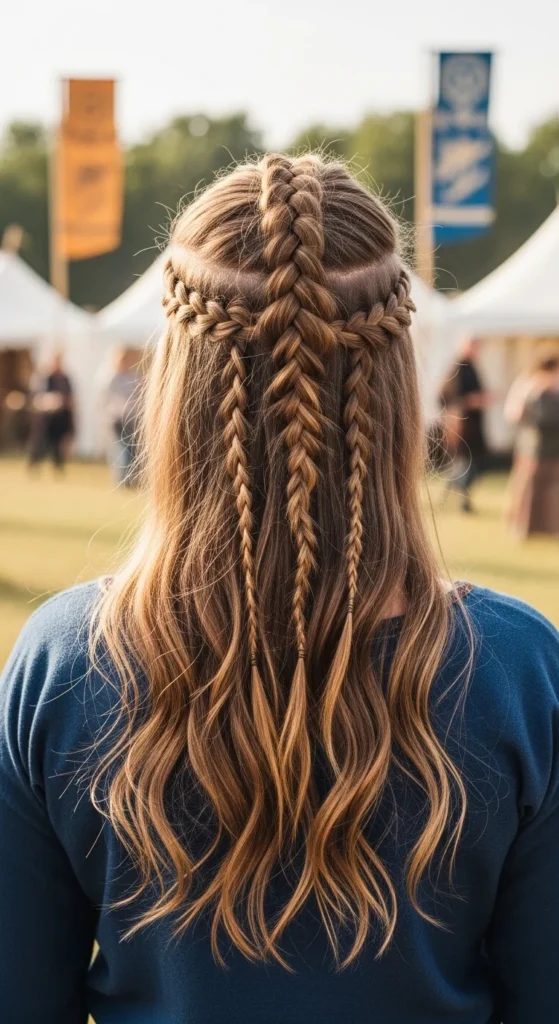
The classic Viking silhouette usually includes:
- A center (Mohawk-style) braid
- Side braids tight to the scalp
- Loose length or half-up finish
- Beads, cuffs, or hair jewelry
- Lots of texture and volume
This combination locks hair into sections, which is why it survives hours of activity better than soft curls or loose styles.
Think warrior meets bohemian festival vibe.
Prep Is Everything (Especially for Slippery Hair)
Most braid failures happen before you even start braiding.
If your hair is soft, silky, or freshly washed, braids will slide out fast.
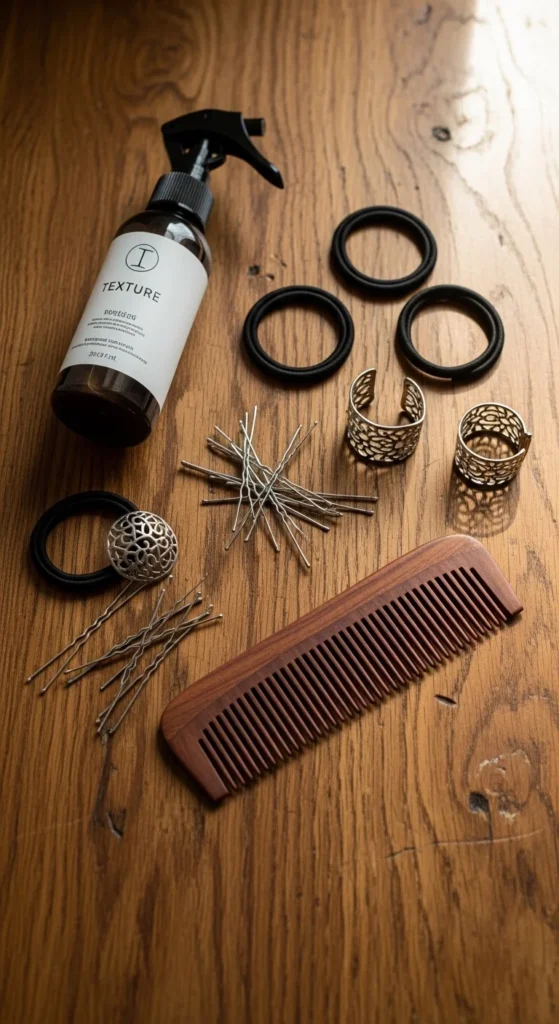
Do this first:
- Spray texture spray or dry shampoo through your roots and lengths
- Lightly tease the crown for grip
- Avoid conditioner on braid day
- Keep small elastic bands, hairpins, and hairspray nearby
This roughness is what gives your braids staying power.
The Core Festival Viking Braid (Step-by-Step)
This is the most recognizable and secure Viking braid setup.
Step 1: Section Your Hair (The Braid Map)
Create three zones:
- Middle strip from forehead to crown (mohawk section)
- Left side
- Right side
Clip the sides away.
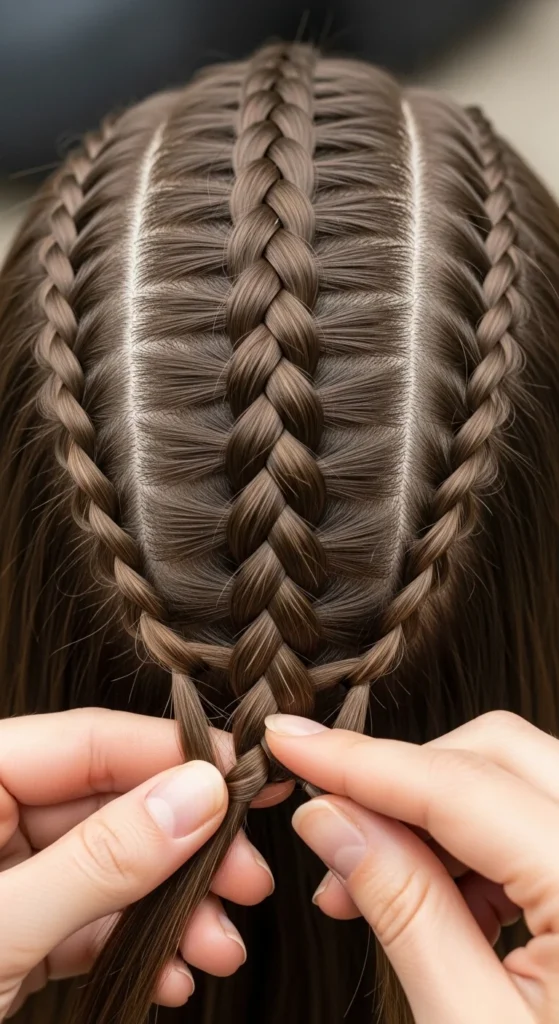
Step 2: Dutch-braid the Center Section
A Dutch braid is the secret to that raised, bold braid look.
- Start at the hairline
- Braid tightly toward the crown
- Stop at mid-head and secure with an elastic
This becomes your anchor braid.
Step 3: Braid the Side Sections
On each side, create:
- One tight French or Dutch braid close to the scalp
- Braid toward the back of the head
- Secure with elastics
These side braids prevent hair from loosening around your face during the festival.
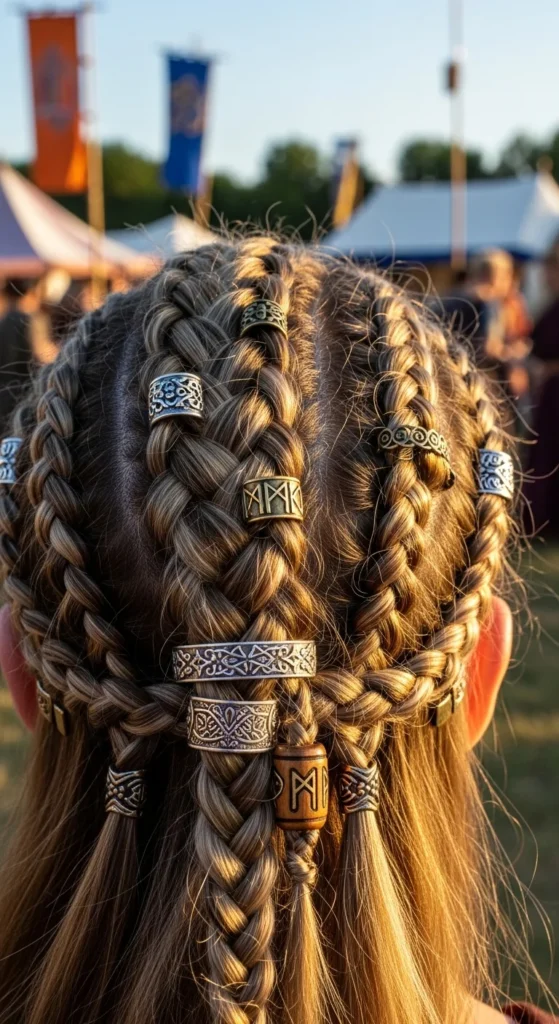
Step 4: Join Everything at the Back
Gather:
- Center braid
- Two side braids
- Remaining loose hair
You can now:
- Do a large loose braid
- Create a rope braid
- Leave it half-up with waves
Secure well with an elastic.
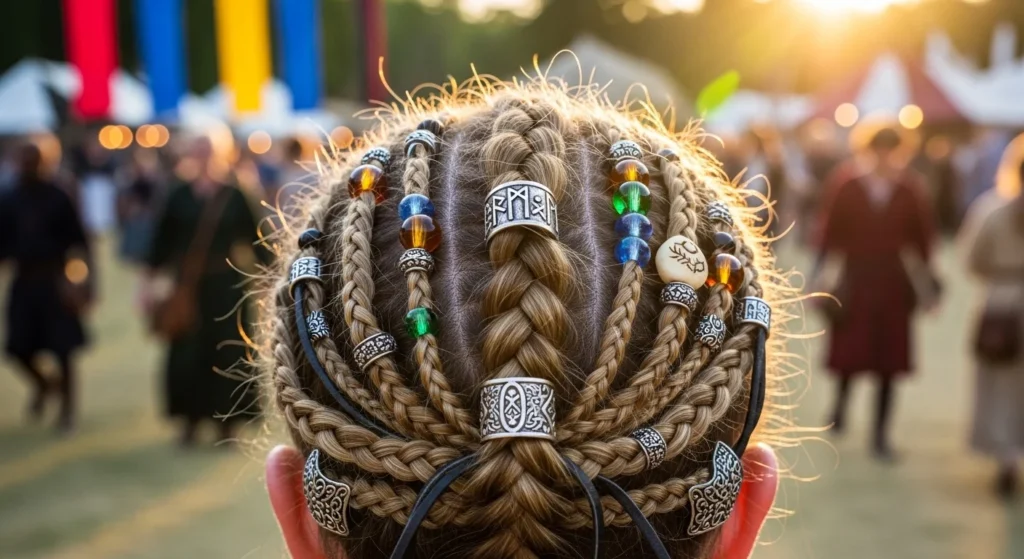
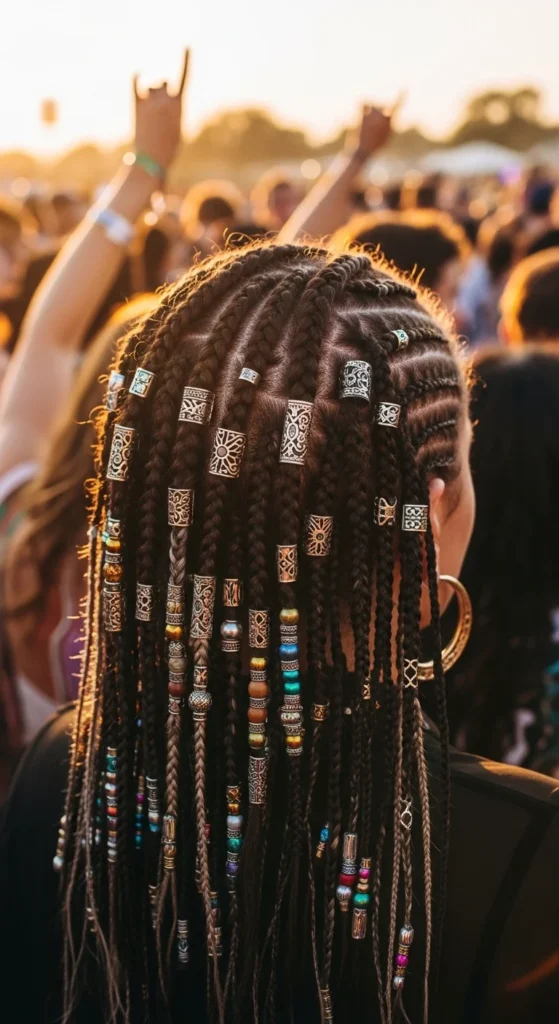
Add the Festival Look with Beads and Cuffs
This is where your braid goes from “nice” to Viking festival-ready.
Add:
- Hair beads to the ends of braids
- Metal cuffs clipped onto braid sections
- Small charms woven into the sides
Keep it minimal. You want detail, not weight.
H2: How to Make It Survive Heat, Sweat, and Dancing
This step is the part most tutorials skip.
Lock it in:
- Spray hairspray along each braid line
- Pin the braids flat to the scalp where they feel loose
- Tug slightly on braid loops for volume after spraying
Emergency fix tip:
Carry 3 things in your bag:
- 2 elastic bands
- 4 hairpins
- Travel hairspray
If a section loosens, you can fix it in 60 seconds.
Best Braid Type for Your Hair Length
Not all braids work for all lengths.
Shoulder-length hair
- Go for a half-up Viking style
- Focus on tight side braids and a small center braid
Medium to long hair
- Full center braid + side braids + long back braid
Very long hair
- A rope braid or thick three-strand braid at the back looks powerful and holds best
Quick 10-Minute Version (When You’re Running Late)
No time? Do this:
- One tight Dutch braid in the center
- Two mini side braids
- Leave the rest of the hair loose
- Add cuffs
Done. The style remains authentically Viking.
DIY vs. Salon — Should You Braid It Yourself?
Most festival Viking braids are DIY-friendly.
Book a braider if:
- You struggle with Dutch braids
- You want extensions added for volume
- You want very intricate bead work
Otherwise, this is absolutely doable at home with a mirror and patience.
Keep It Neat for Photos (Messy but Polished Trick)
Viking braids look textured but not messy.
After finishing:
- Gently pull braid edges for volume
- Smooth flyaways with a tiny bit of gel or wax
- Spray once more with hairspray
You’ll get that fierce Valkyrie look without frizz.
Final Takeaway
Viking braids are one of the few festival hairstyles that are beautiful, practical, and durable at the same time.
With the right prep, smart sectioning, and a few cuffs or beads, you’ll have a style that lasts from the first song to the last photo.
Save this guide, grab your elastics, and braid like a warrior before your next festival.