Thin hair and Viking braids don’t sound like a match… until you learn the right tricks.
The truth is that Viking braids are not about having thick hair; they’re about placement, illusion, and grip. Once you understand how to build volume visually, even fine strands can turn into bold, warrior-style braids that stay put all day.
If your braids usually slide out, look flat, or disappear into your scalp, this guide will change everything.
Start With the Right Prep (This Is Where Most People Go Wrong)
Viking braids fail on thin hair because the base is too soft and slippery.
You need grip before braiding.
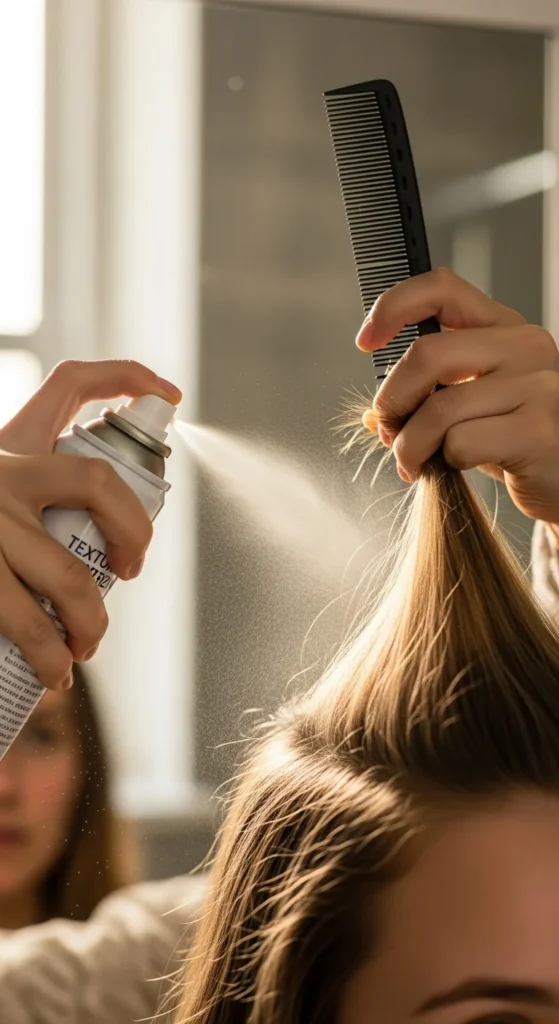
Prep checklist:
- Work on day-old hair (freshly washed hair is too silky)
- Use a texturizing spray or dry shampoo at the roots
- Lightly tease the crown area for a hidden lift
- Avoid heavy conditioner near the scalp before styling
This technique creates a rough surface that helps braids hold and appear thicker.
Step 1: Create Fake Volume at the Crown (Viking Illusion Trick)
Real Viking styles were bold at the top and tight at the sides. That contrast is what makes thin hair look fuller.
How to do it:
- Section a rectangle at the crown
- Gently backcomb underneath
- Smooth the top layer over the teased base
- Secure this puff with two bobby pins in an X shape
Now you’ve built a “volume cushion” your braids will sit beside.
This single step makes your braids look 2× thicker.
Step 2: Choose These 3 Viking Braids (They Work Best for Thin Hair)
Not all Viking braids are thin-hair-friendly. These three create the strongest visual fullness.
1. Side Dutch Braids (Best Starter Style)
Dutch braids sit on top of the hair, not inside it, which instantly makes them look bigger.
- Part hair down the middle
- Start Dutch braids near the temples
- Keep them slightly loose as you go back
- Pancake (gently pull) the braid edges after finishing
2. Mohawk Pull-Through Braid (Secret Weapon)
This isn’t a real braid, but it looks huge.
- Create small ponytails down the center
- Split and loop each into the next
- Pull the loops wide
It gives dramatic Viking height without needing thick hair.
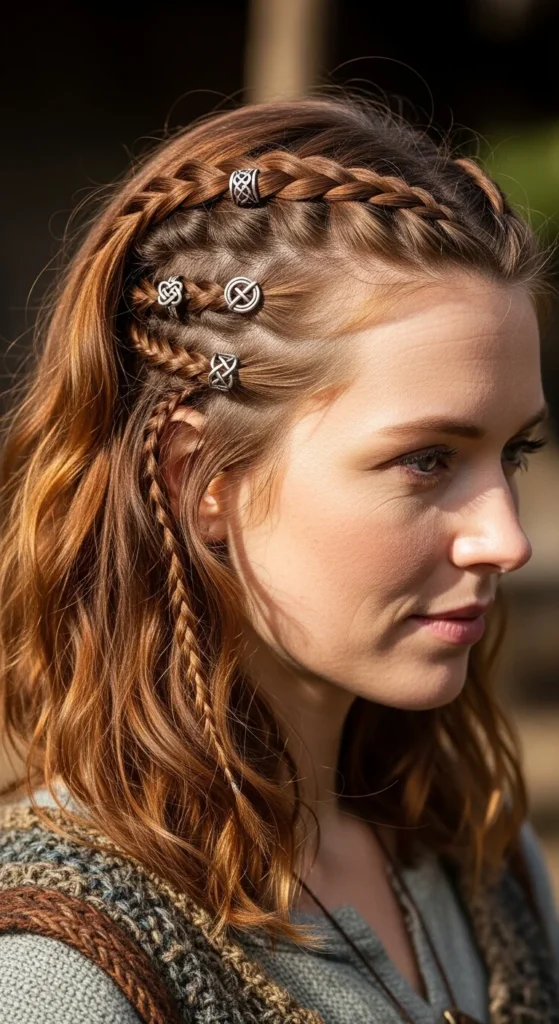
3. Micro Accent Braids
Tiny braids beside bigger ones create contrast, making the main braid look thicker.
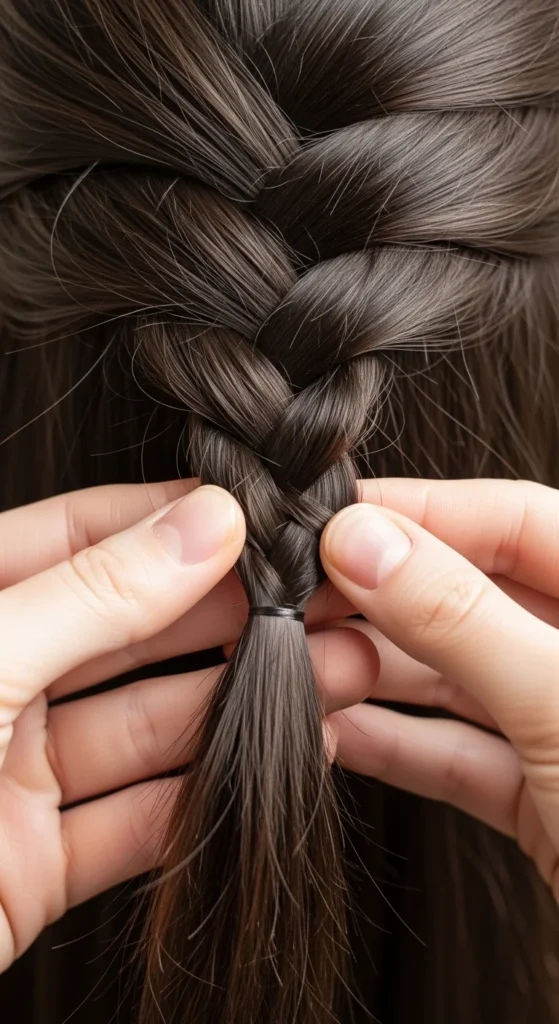
Step 3: Pancaking — The Make-or-Break Step
If you skip this step, thin hair braids look stringy.
After finishing each braid:
- Hold the end firmly
- Use fingers to pull the braid edges outward gently
- Work from bottom to top
You’re not loosening it. You’re widening it.
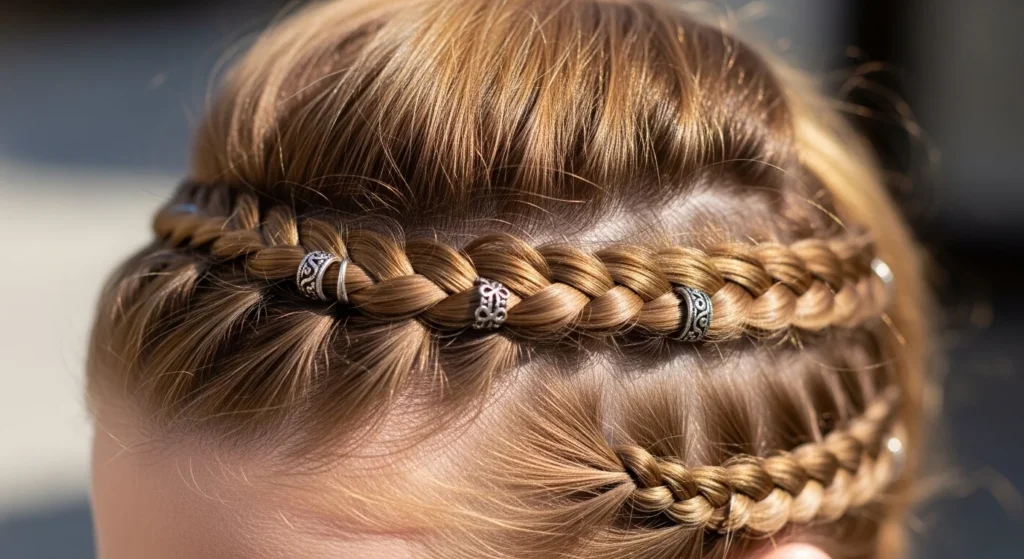
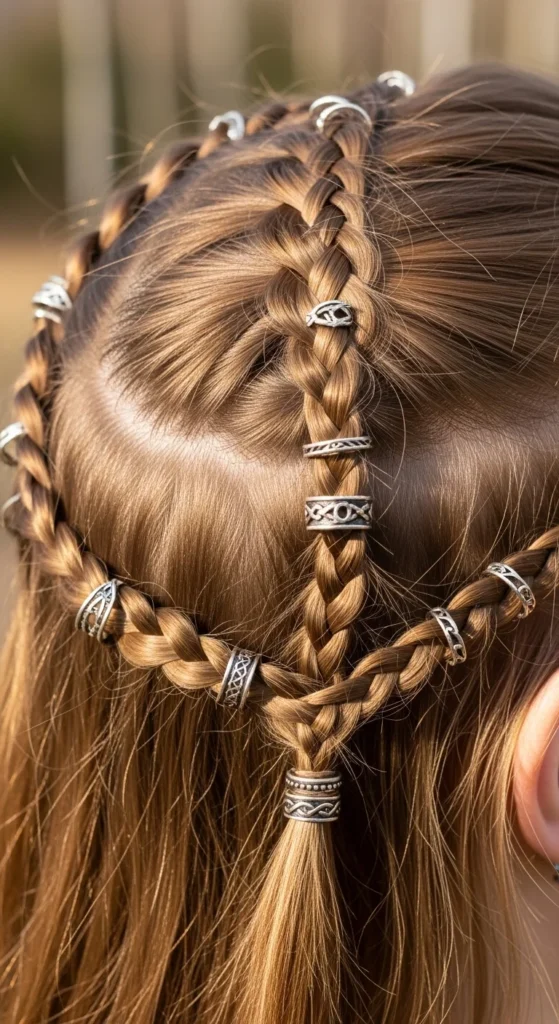
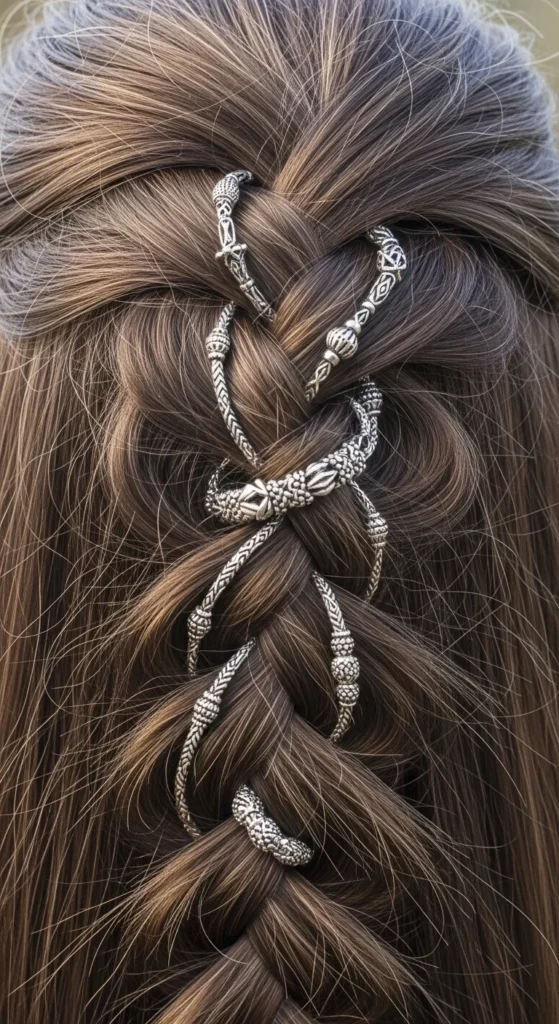
Step 4: Add Viking Accessories for Instant Thickness
This step is where the magic happens.
Hair rings, beads, and clips don’t just decorate. They fill visual gaps in thin braids.
Try adding:
- Small metal hair rings
- Decorative beads
- Mini clips placed where braids look sparse
These act like “volume fillers” for the eye.
Step 5: How to Make Viking Braids Hold All Day on Fine Hair
Thin hair slips. So we anchor the braids strategically.
Hold checklist:
- Use tiny, clear elastics at the end of each braid
- Cross two bobby pins over the braid base
- Light mist of hairspray after pancaking
- Tuck the braid ends under the teased crown section and pin
This hides the ends and locks everything in place.
Step 6: Best Placement by Hairstyle (So the Scalp Doesn’t Show)
Placement matters more than braid size.
| Hairstyle | Where to Braid |
|---|---|
| Side part | Braid along the heavier side |
| Middle part | Two temple braids + crown volume |
| Ponytail | Add braids before tying the pony |
| Half-up | Braid the top section only |
| Bangs/fringe | Start braids slightly behind the fringe |
This prevents visible scalp lines that make hair look thinner.
Step 7: The 5-Minute “Lazy Viking” for Thin Hair
No time? Do this:
- Tease crown
- Make two tiny temple braids
- Pancake them wide
- Add 2–3 hair rings
- Leave the rest of the hair loose and textured
It looks intentional, bold, and takes minutes.
Step 8: Common Mistakes That Make Thin Hair Braids Look Worse
Avoid these, and your braids instantly improve:
- Braiding too tightly
- Skipping texture spray
- Using conditioner before styling
- Making braids too small
- Not pancaking
Thin hair needs optical tricks, not tight braids.
Final Words
Viking braids for thin hair are all about the following:
- Volume at the top
- Raised braids at the sides
- Widened braid edges
- Strategic accessories
- Smart pin placement
Once you see it this way, you realize you don’t need thicker hair.
You just need smarter braiding.