
Spring is the perfect time to switch up your nails with colors and designs that feel light, soft, and easy to wear every day. This year, the focus is on simple layouts, clean finishes, and small details that still feel fun. From pastel tones to tiny florals and soft chrome shine, these ideas are all about balance. You can keep things minimal or add a playful twist without spending too much.
1. Milky Pink “Clean Girl” Nails
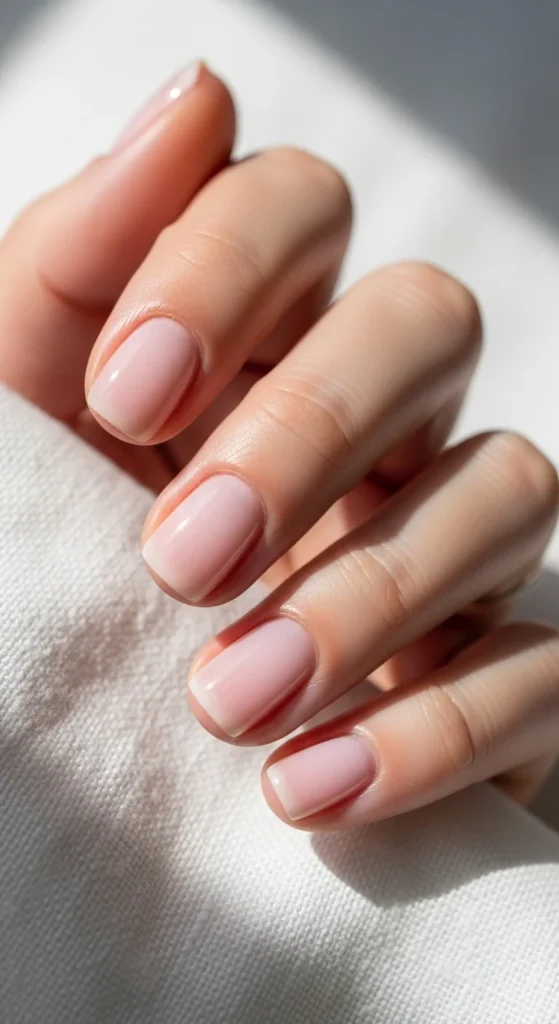
Milky pink nails give a soft and natural look that works for daily wear. The color is sheer, so your nails still show through slightly. This makes them look neat and healthy without heavy color. Short nails suit this style best because they keep everything clean and simple. You can wear this to work, college, or casual outings without thinking twice.
To create this at home, use a sheer pink polish and apply two thin coats. Finish with a glossy top coat for shine. If your nails feel weak, add a strengthening base underneath. Budget tip is to pick local Polish brands instead of salon ones. Focus on smooth edges and even application because this look depends on neatness more than design.
2. Baby Blue Micro French Tips
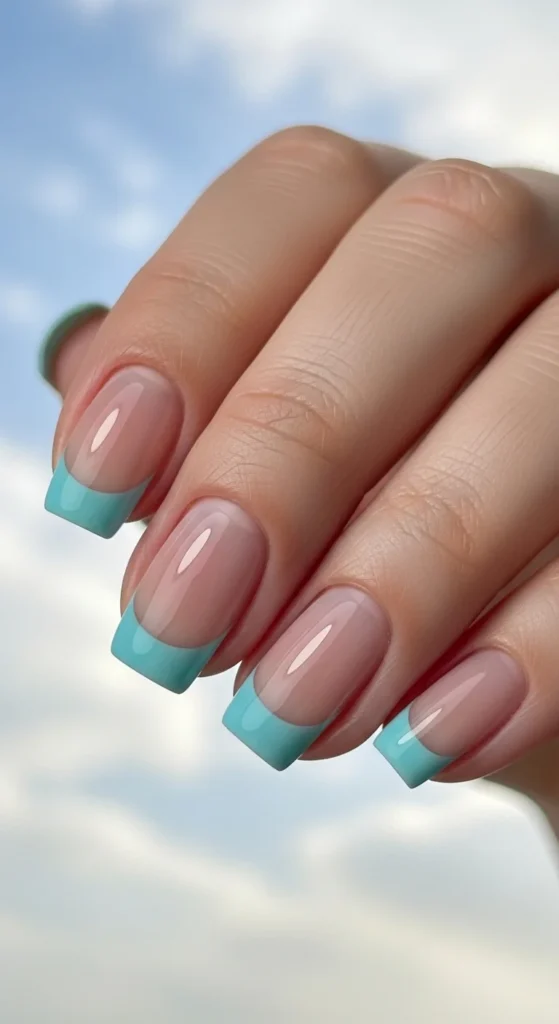
Micro French tips are a modern version of the classic French manicure. Instead of thick white tips, you draw a very thin line using baby blue polish. This small detail makes your nails look stylish without being loud. It works well on short nails and matches almost every outfit in your wardrobe.
Start with a nude or milky base and let it dry fully. Use a thin brush or even a toothpick to draw a fine line across the tip. If you struggle with steady hands, use nail guides or tape. You can also switch blue with lilac or mint for variety. Keep the line thin because that is what gives this design its clean feel.
3. Tiny Daisy Accent Nails
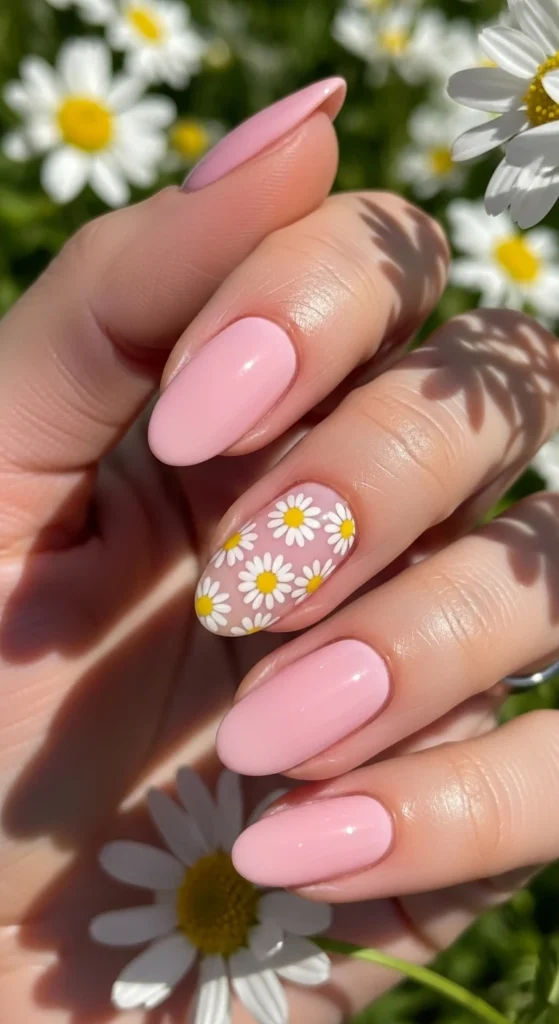
Tiny daisy nails are a soft way to include florals without making your nails look busy. Instead of painting flowers on every nail, you only add them to one or two fingers. The rest stay plain in a soft pink or nude shade. This keeps the design balanced and easy to wear.
To create daisies, use a dotting tool or a bobby pin to make small white dots in a circle. Add a yellow dot in the center to finish the flower. You do not need perfect shapes because small dots already look cute. This is very beginner-friendly and does not require expensive tools, making it ideal for a budget setup.
4. Mint Green Chrome Nails
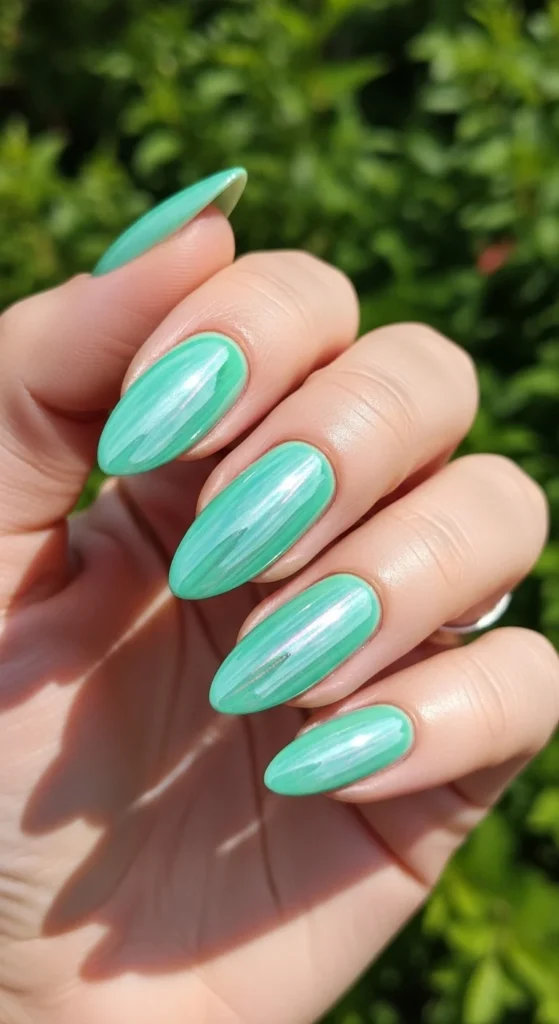
Mint green chrome nails give a soft shine that catches light without heavy decoration. The color feels calm while the chrome finish adds a slight glow. This combination makes your nails stand out in a simple way. It works on both short and long nail shapes.
Apply a mint green polish as your base and let it dry. Then gently rub chrome powder on top to create the shine. Seal it with a top coat so it lasts longer. If chrome powder feels expensive, you can use ready-made chrome polishes instead. Many affordable options are now available in local stores and online.
5. Lilac Aura Nails
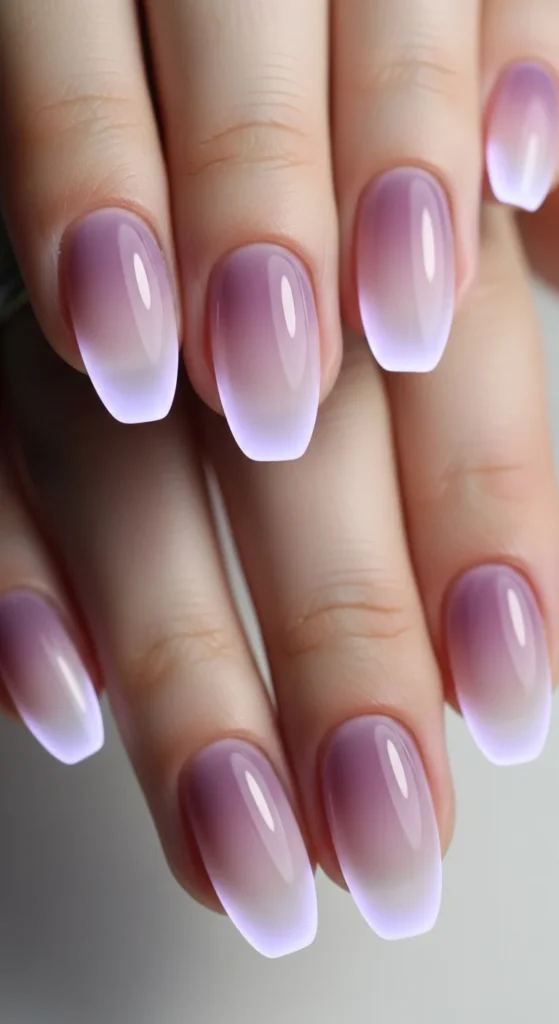
Lilac aura nails create a soft gradient effect that looks dreamy and smooth. The color fades from a deeper center into lighter edges, giving a blurred look. This style feels creative but still light enough for spring. It also looks great in photos.
To try this at home, apply a pale base color first. Use a small makeup sponge to dab lilac polish in the center of the nail. Blend it gently so the edges stay soft. Do not worry about making it perfect because the blur is part of the style. Finish with a glossy top coat to smooth the surface and add shine.
6. Sheer Jelly Pink Nails
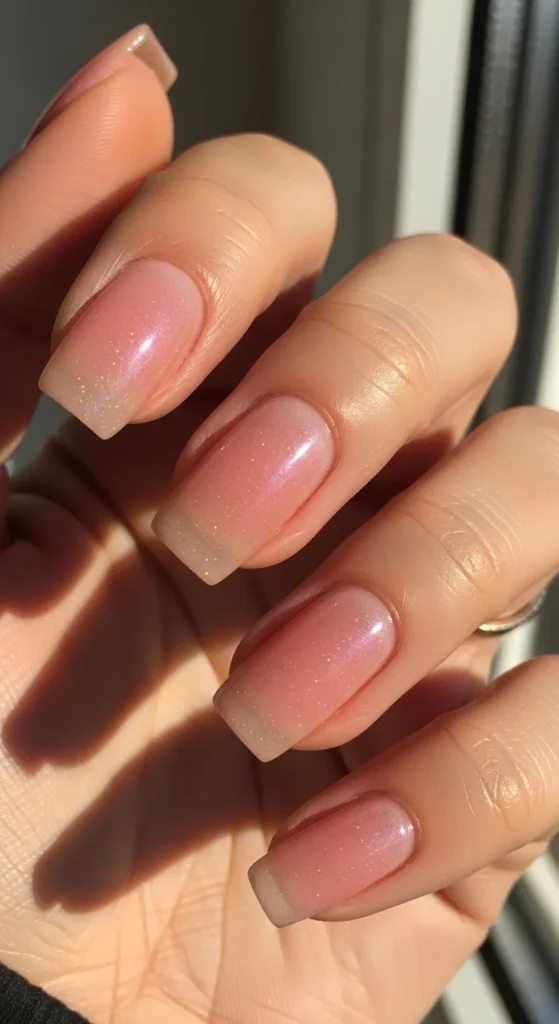
Sheer jelly pink nails give a light and see-through look that feels soft and airy. The color is not fully solid, so your natural nail shows through a little. This creates a glass-like effect that looks clean and simple. It is perfect if you like low-effort styles that still look pretty in daylight.
To create this at home, use a jelly polish or mix a drop of pink polish into clear polish. Apply two layers and build the color slowly. Finish with a glossy top coat for shine. This style is very budget-friendly because you can make your own shade. It also grows out nicely, so you don’t need frequent touch-ups.
7. Sage Green Leaf Art
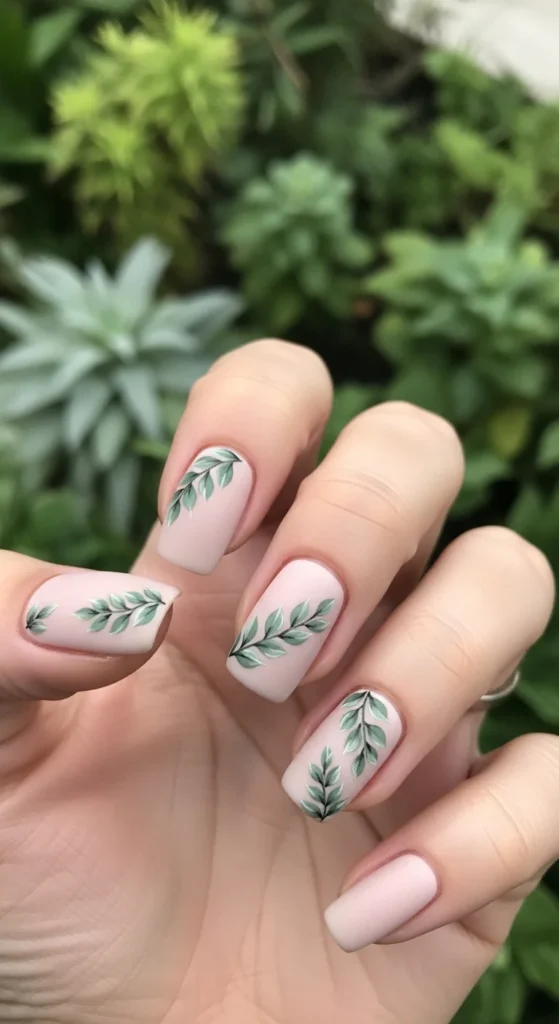
Sage green leaf nails bring a calm and nature-inspired feel to your manicure. Instead of heavy designs, you only add small leaves on one or two nails. The rest stay plain in nude or soft green tones. This keeps the look simple and easy to match with everyday outfits.
Start with a neutral base and let it dry. Use a thin brush or toothpick to draw small leaf strokes in green polish. You can also use stickers if drawing feels tricky. Keep the design minimal with just a few leaves per nail. This saves time and effort while still giving a soft artistic touch without extra cost.
8. Butter Yellow Short Nails
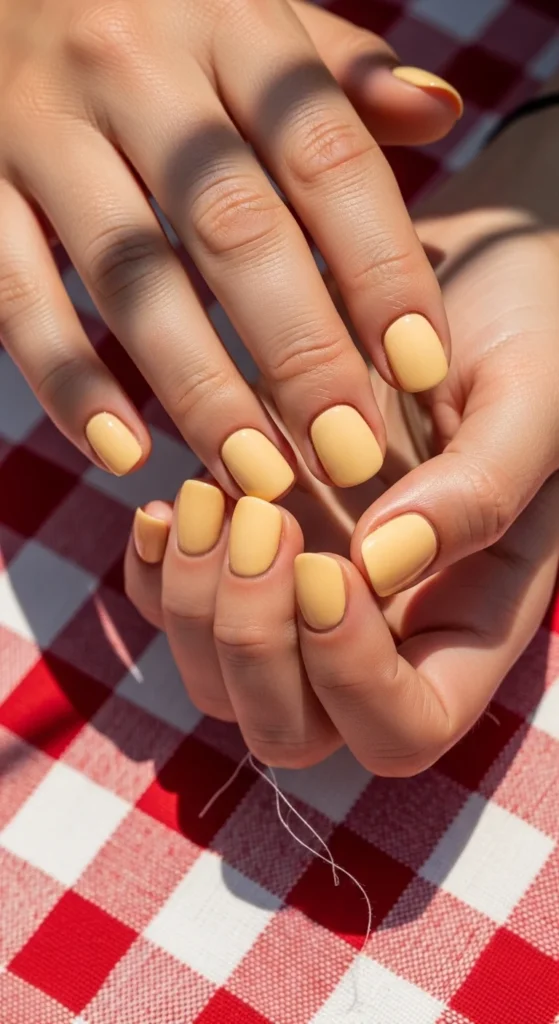
Butter yellow nails are soft, warm, and perfect for sunny days. This shade looks best on short nails because it feels neat and balanced. It brightens your hands without looking too bold, making it great for daily wear. The color also pairs nicely with light outfits.
Apply two thin coats of butter yellow polish for smooth coverage. Shape your nails in a rounded style for a softer look. If you want a small change, try a matte top coat instead of glossy. This idea is very affordable since you only need one polish. It is quick to do and easy to maintain at home.
9. Glazed Pastel Nails
Glazed pastel nails add a soft shine over light colors like pink, lilac, or mint. The finish looks smooth and slightly pearly, catching light in a gentle way. It gives your nails a polished look without adding extra designs or patterns.
To get this style, paint your nails with a pastel base and let it dry. Add a glazed top coat or lightly apply chrome powder for a similar effect. Seal everything with a clear top coat. This design is simple and works for any occasion. You can find affordable glazed polishes, so it does not have to be expensive.
10. Gingham Picnic Nails
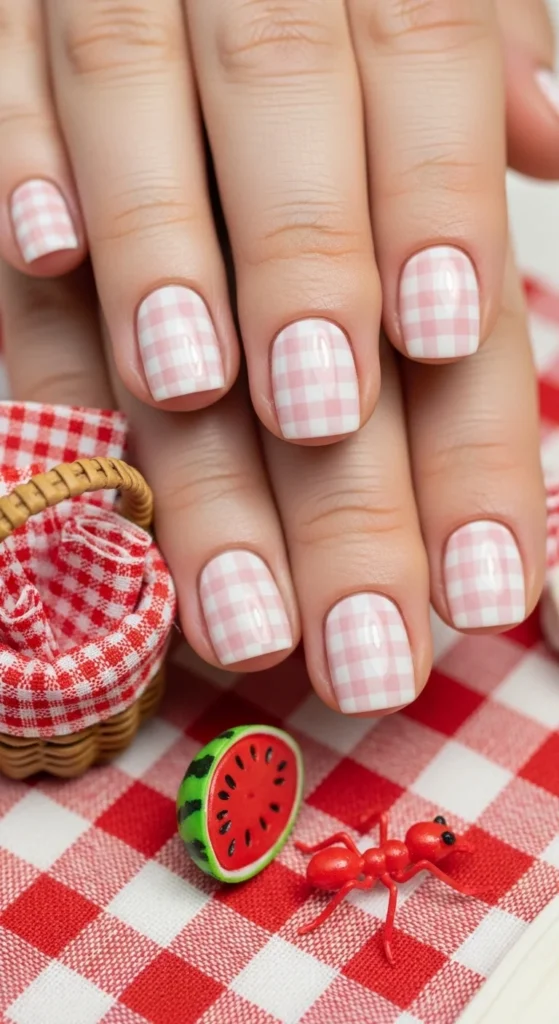
Gingham nails bring a playful pattern that feels perfect for spring days. The soft check design looks cute but still neat when done in pastel shades like pink and white. It works well for outings and casual looks.
Start with a light base color and let it dry completely. Use a thin brush or striping tool to draw straight lines across the nail, then cross them to form small squares. If freehand feels hard, use tape as a guide. Keep the lines thin to avoid a heavy look. This design may take a little time, but it is still possible at home with simple tools.
11. Tiny Tulip Nail Art
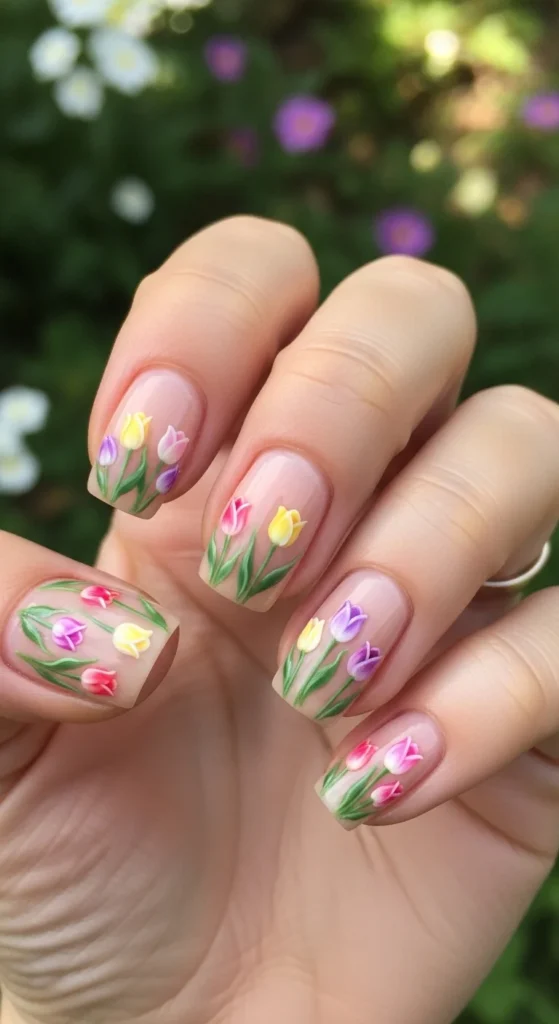
Tiny tulip nails bring a soft spring feel without making your nails look crowded. Instead of covering every nail, you add small tulips on one or two fingers only. The rest stay nude or light pink, which keeps the design balanced and easy to wear daily.
To create tulips, use a dotting tool or toothpick to make two small petal shapes. Add a thin green line for the stem. Keep the flowers spaced out so they look neat. This design is beginner-friendly and does not require expensive tools. You can also use nail stickers if painting feels hard, making it even easier on a budget.
12. Soft Pink Chrome Tips
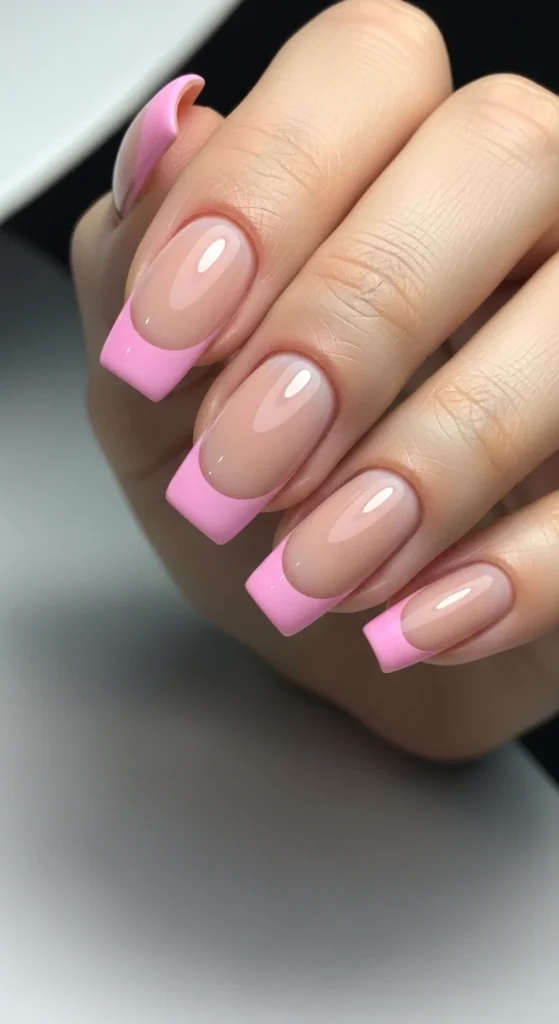
Soft pink chrome tips are a simple twist on classic French nails. Instead of white tips, you use a light pink chrome finish. This gives your nails a subtle shine while still keeping them clean and wearable for everyday use.
Start with a nude or milky base and let it dry fully. Apply chrome powder only on the tips using a small applicator. Keep the line thin for a modern look. Seal with a top coat to lock in the shine. If chrome powder feels tricky, you can use chrome-effect polish, which is easier and more affordable for home use.
13. Dew Drop 3D Nails
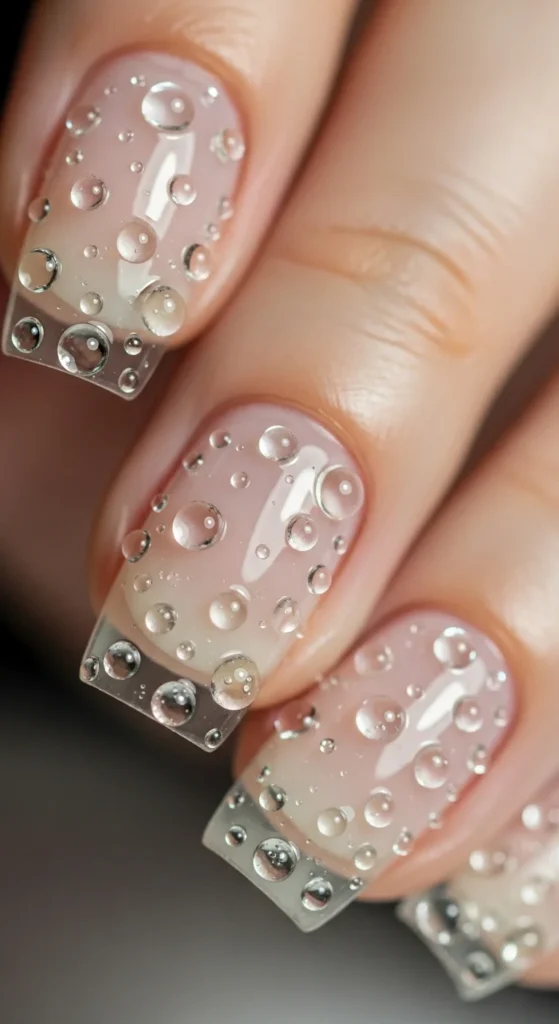
Dew drop nails add a soft texture that looks like tiny water droplets sitting on your nails. The effect is simple but eye-catching, especially when light hits the surface. It works best on milky or sheer bases where the drops can stand out clearly.
To create this look, apply a base color and let it dry. Use clear gel to place small dots on the nail surface and cure them under a lamp. Keep the drops small and spaced out. If you don’t have gel tools at home, this design is better done at a salon. It still remains a simple idea if you want to try something slightly different.
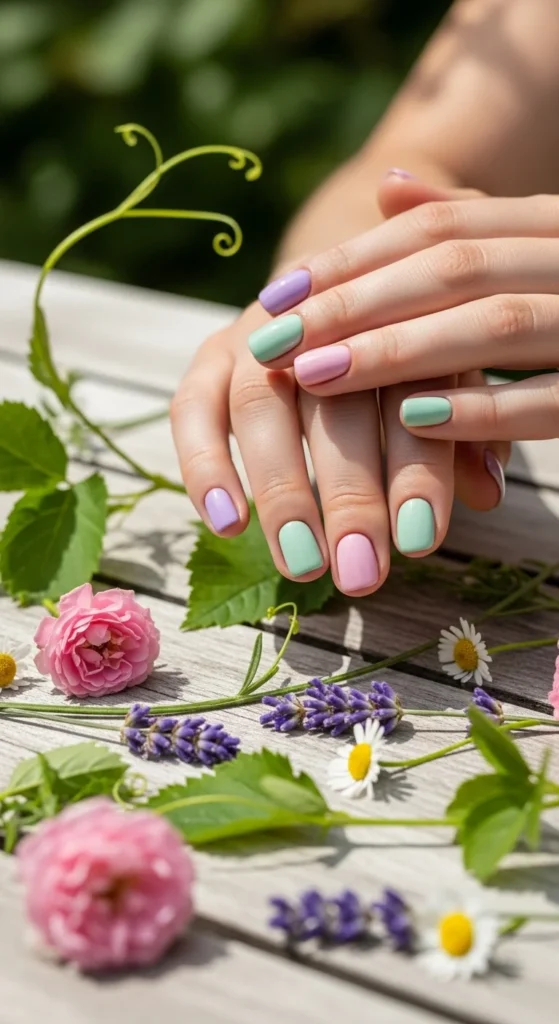
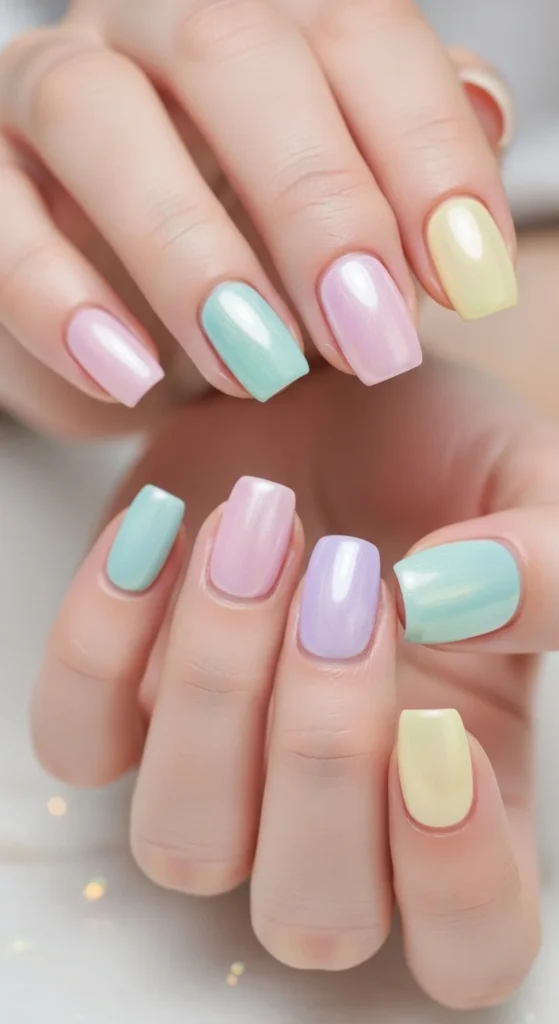
14. Pastel Rainbow Skittles Nails
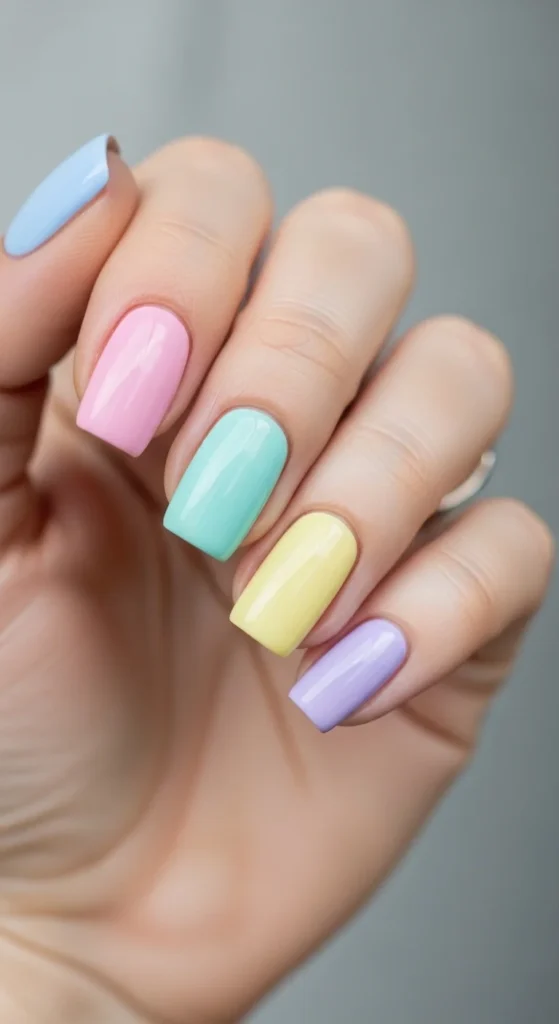
Pastel rainbow nails are fun and very easy to create. Each nail is painted in a different pastel shade like pink, blue, mint, and yellow. This gives a colorful look without needing any detailed art or tools.
Start by picking five soft shades and apply one color per nail. Keep the tones in the same pastel family so they look balanced together. Finish with a glossy top coat for a smooth finish. This is perfect for beginners because it requires no drawing skills. It is also budget friendly since you can use any pastel polishes you already have.
15. Minimal Gold Foil Nails
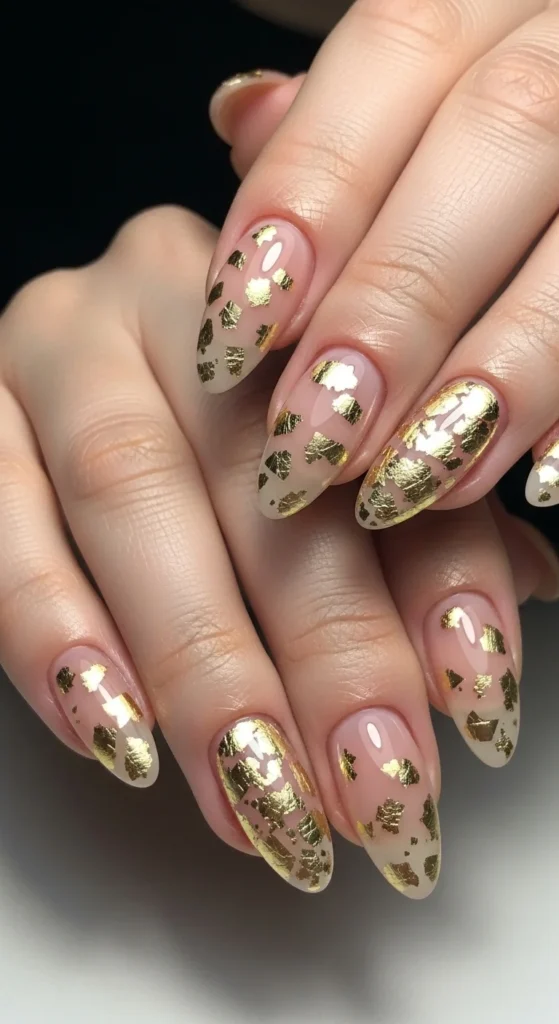
Minimal gold foil nails give a simple but stylish touch to a nude or pastel base. Small pieces of foil catch the light and add a little shine without making your nails look heavy or busy. This makes the design suitable for both casual and dressy looks.
Apply your base color and let it dry. Place tiny foil pieces randomly on one or two nails using tweezers. Press them gently and seal with a top coat. Avoid adding too much foil so the design stays clean. Gold foil kits are affordable and last a long time, making this a great low-cost option for trying something new.
16. Soft Ombré Baby Boomer Nails
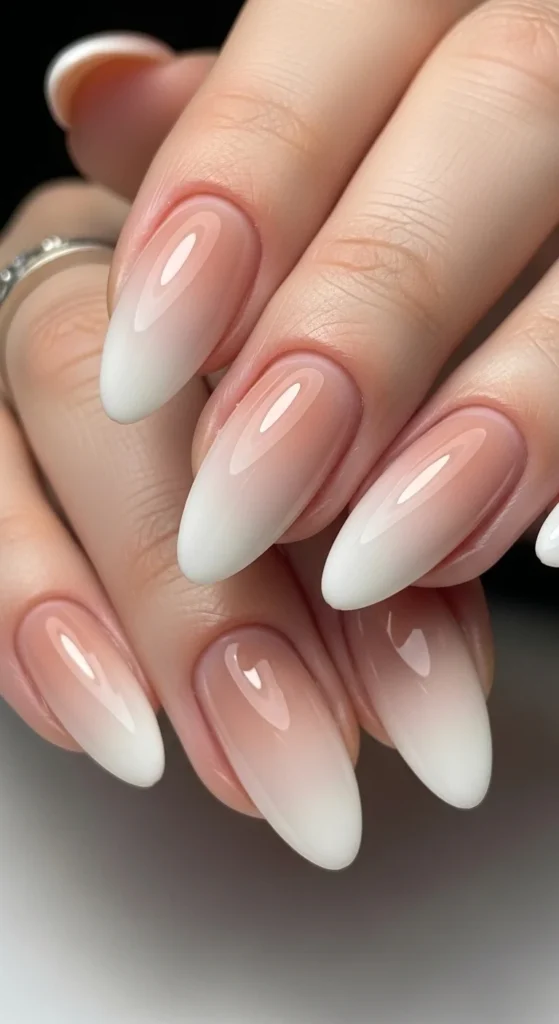
Soft ombré nails create a smooth fade from pink or nude into white. This style looks clean and natural, making it perfect for daily wear. It works especially well on short to medium nails because the gradient makes them appear longer and more polished.
To create this look, apply a nude base and let it dry. Use a small sponge to dab white polish on the tips and blend it gently downward. Keep blending until the line looks soft. Finish with a glossy top coat to smooth everything out. This technique is easy to learn and only requires basic tools, making it a great low-cost option for home use.
17. Green Chrome Accent Nail
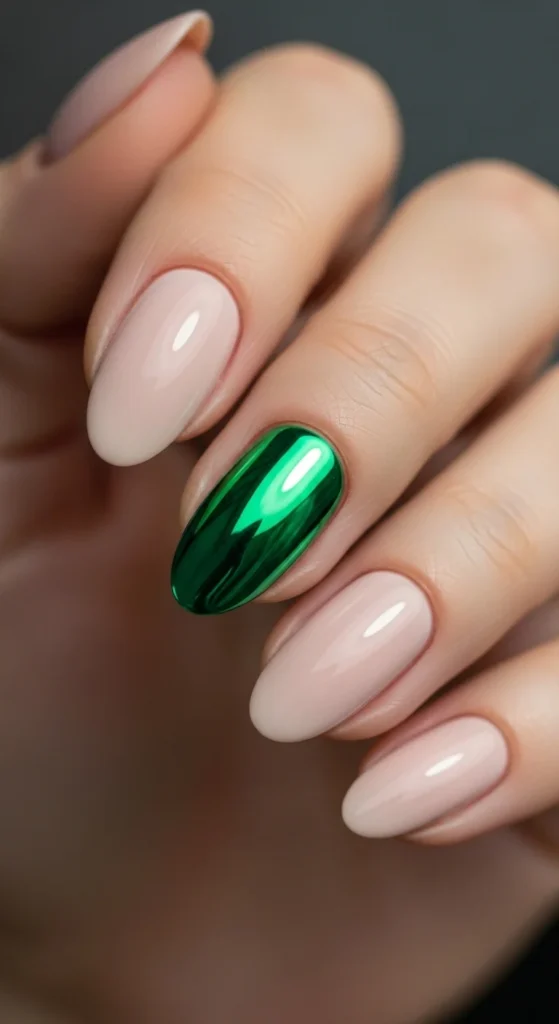
A green chrome accent nail is a simple way to add shine without going all out. Most nails stay nude or soft pink, while one nail gets a bold green chrome finish. This creates contrast while still keeping the overall look balanced.
Start with a neutral base on all nails. Choose one nail and apply green polish, then add chrome powder on top. Seal it with a top coat for shine. This idea saves time and money because you only need to focus on one nail. It is perfect if you want something trendy but easy to manage at home.
18. Press-On Floral Nails
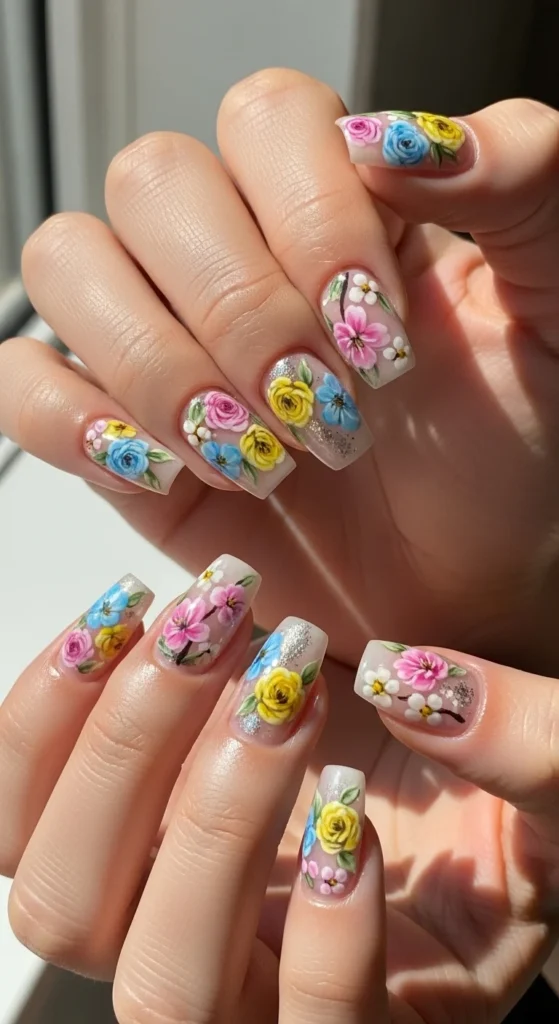
Press-on nails are a quick way to try detailed floral designs without spending hours painting. They come ready with patterns like daisies, tulips, or soft pastel flowers. This makes them ideal for beginners or busy days.
To use press-ons, clean your nails and apply glue or adhesive tabs. Press each nail firmly and hold for a few seconds. They can last for several days and are reusable if removed carefully. This is a budget-friendly option because one set can be used multiple times, saving both time and effort.
19. Pink Pearl Accent Nails
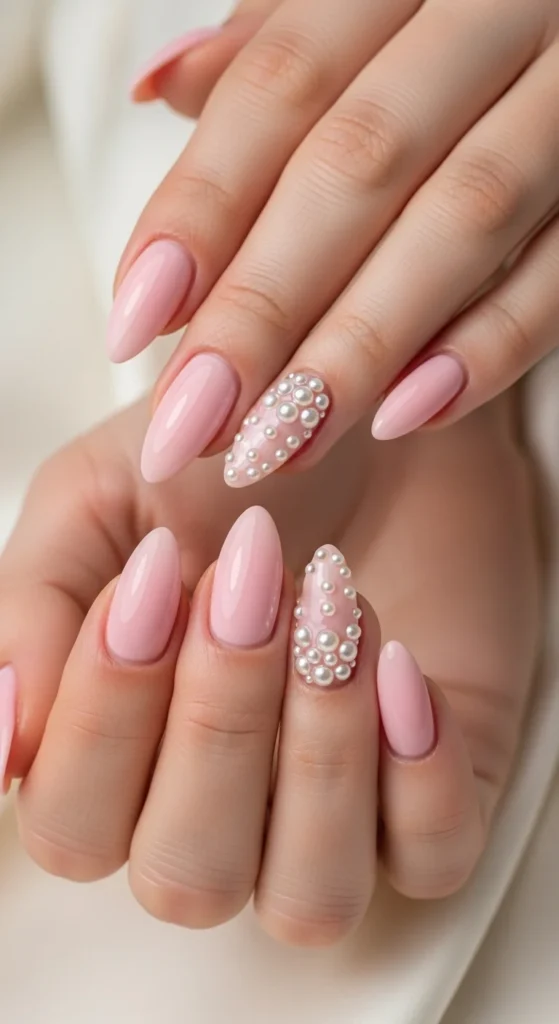
Pink pearl nails add a soft, decorative touch without heavy designs. Most nails stay in a simple pink shade, while one nail features small pearl accents. This creates a delicate and pretty look that works for both casual and special occasions.
Apply a soft pink base and let it dry completely. Use nail glue to place tiny pearls on one nail in a simple pattern. Keep the placement minimal so it does not look crowded. Pearl packs are inexpensive and last for many uses, making this an easy and affordable way to try something slightly decorative at home.
20. Mixed Spring Story Nails
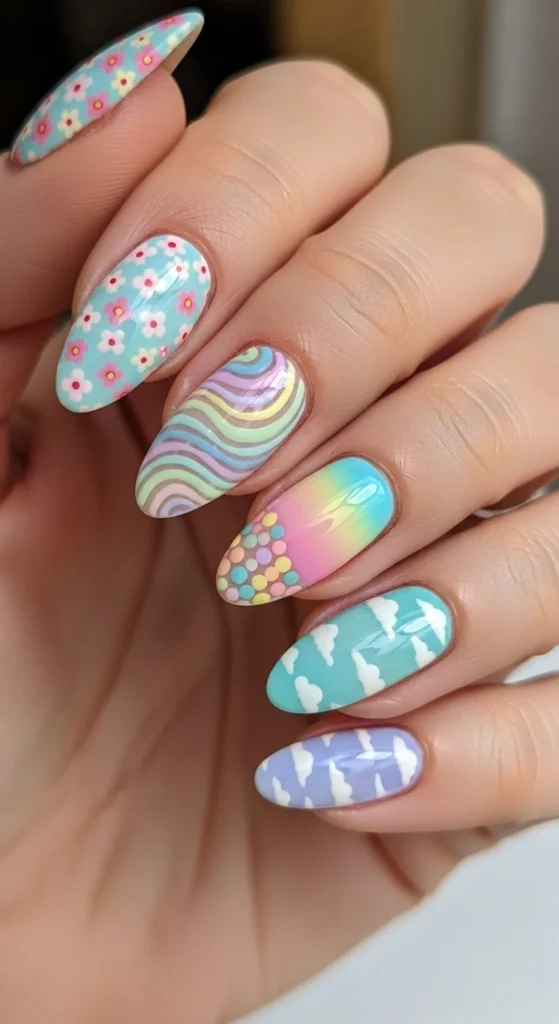
Mixed spring nails allow you to combine different ideas in one set. One nail can have flowers, another can have swirls, and another can stay plain. The key is to keep all colors in the same pastel range so everything looks connected.
Start by choosing two or three main colors. Apply different simple designs on each nail without overloading them. Keep each design small and neat. This approach lets you try multiple styles at once without needing advanced skills. It is also budget-friendly because you can use the polishes and tools you already own.
Conclusion
Spring nail ideas can be simple, fun, and easy to try at home without spending too much. Start with one or two designs that match your style and slowly test new looks. Save your favorite ideas, try them this week, and see which ones you enjoy the most.

Leave a Reply