
A wedding day brings cameras from every angle. Close-ups during hugs. Group portraits at sunset. Candid shots on the dance floor. Choosing the right mother-of-the-bride hairstyle means finding a look that feels like you, photographs beautifully, and lasts from ceremony to final song. Below you’ll find timeless, photo-ready styles with practical, budget-friendly tips you can try at home or take straight to your stylist.
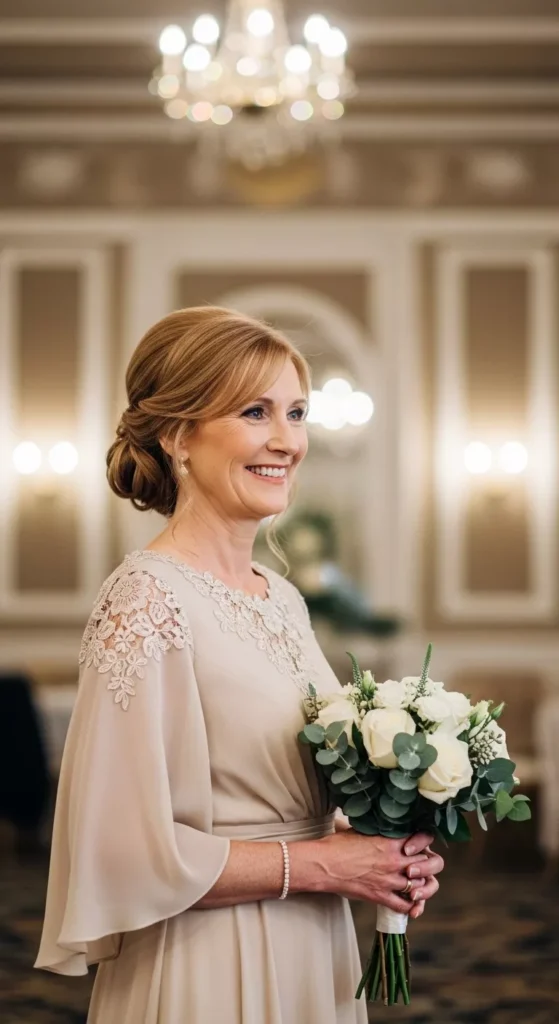
1. Classic Low Chignon for a Timeless Finish
A classic low chignon remains one of the most trusted mother-of-the-bride hairstyles because it works with almost every dress neckline. It sits neatly at the nape, keeping hair off the face while highlighting earrings and makeup. This style looks graceful in close-up photos and elegant in full-length portraits. Soft volume at the crown prevents it from appearing flat and helps balance facial features beautifully in camera shots.
You can recreate this look at home with second-day hair for better grip and hold. Start with a light texturizing spray, gather hair into a low ponytail, then twist and pin in sections rather than wrapping it all at once. Use bobby pins that match your hair color for a seamless finish. A few pearl pins can add subtle detail without increasing your budget, while a flexible hairspray keeps the bun secure but touchable.
2. Modern French Twist with Soft Texture
The French twist offers structure without feeling overly formal when styled with texture and movement. This updated version avoids heavy spray and stiff shaping. Instead, it features gentle volume at the crown and soft tendrils around the face for a flattering effect. It pairs especially well with open-back or high-neck gowns because it keeps the neckline clear and balanced in photographs.
To try this style yourself, lightly tease the crown area before smoothing the top layer over it. Roll the hair upward and secure it vertically with long pins placed in a crisscross pattern for stability. Focus strong-hold spray on the twist itself rather than the entire head to keep the style secure without stiffness. If your hair is fine, a small clip-in volume piece can help create fullness while keeping the overall look natural and comfortable.
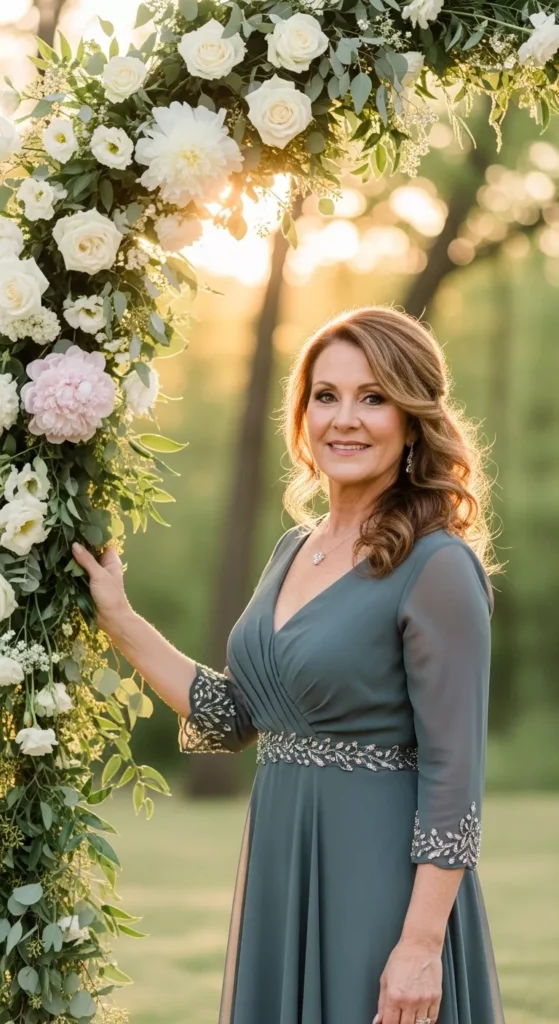
3. Half-Up, Half-Down with Loose Waves
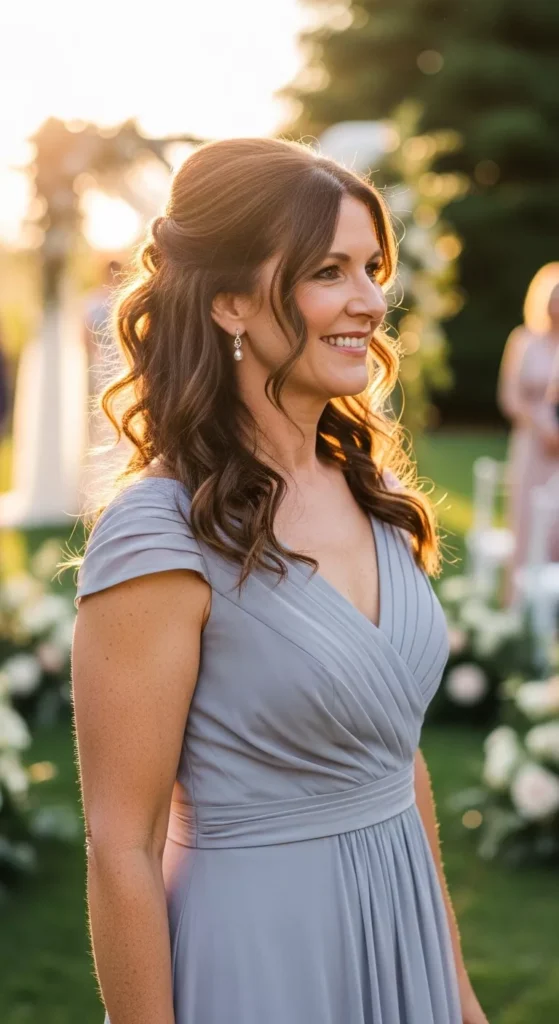
The half-up, half-down hairstyle is perfect if you want the elegance of an updo while still showing length. It gently pulls hair away from the face while allowing soft waves to frame the shoulders. This style flatters most face shapes and works beautifully for outdoor weddings, where movement and natural light enhance the curls in photographs.
Begin by curling the lower sections with a medium-barrel iron and allowing them to cool before brushing into loose waves. Tease lightly at the crown to add lift before securing the top section with discreet pins or a decorative clip. A light texturizing spray helps maintain volume, especially for thin hair. Keep the finish flexible so the hair moves naturally while still holding its shape throughout the ceremony and reception.
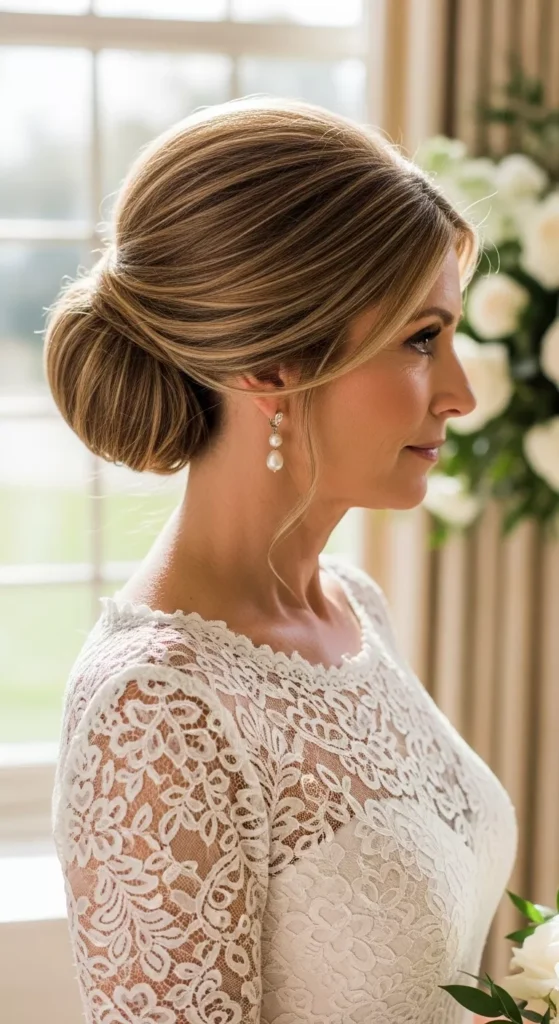
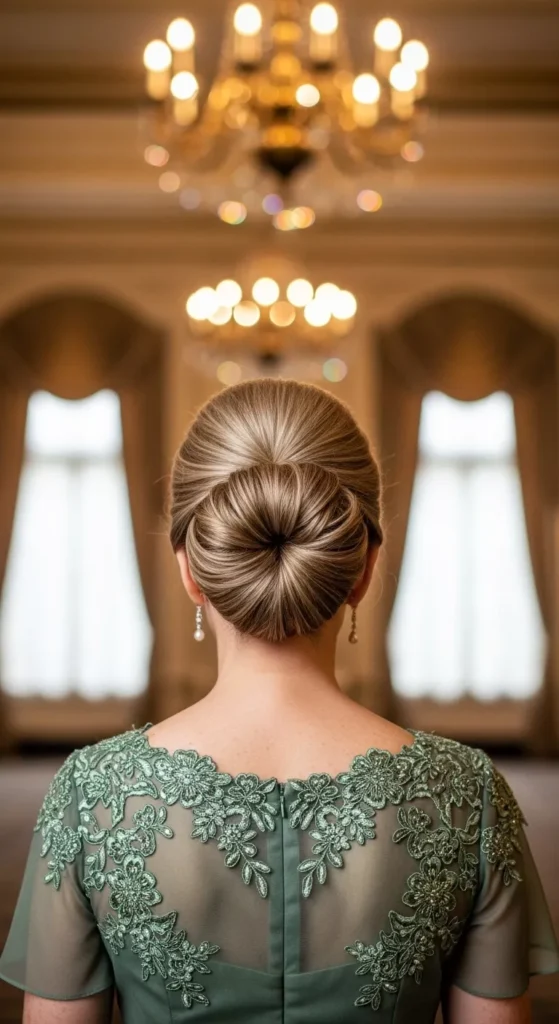
4. Sleek Low Bun for Formal Weddings
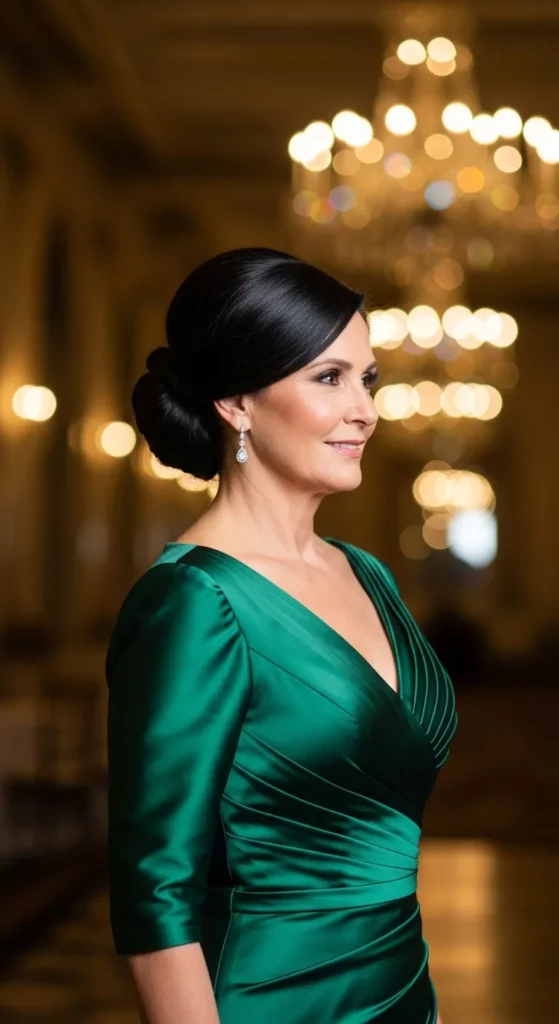
A sleek low bun creates a clean and refined appearance that suits formal evening weddings perfectly. Its smooth surface reflects light beautifully in professional photography, making it ideal for black-tie settings. This hairstyle highlights statement earrings and dramatic necklines without competing for attention, giving a balanced and graceful overall look.
To achieve this style, apply a smoothing serum to damp hair before blow-drying straight with a round brush. Create a defined part, gather the hair at the nape, and secure it tightly before wrapping into a compact bun. Tuck ends neatly and pin discreetly underneath. Finish with a shine spray and a light mist of strong-hold hairspray for durability, especially if the celebration includes dancing and extended photo sessions.
5. Textured Low Bun for Outdoor Ceremonies

A textured low bun is a beautiful choice for garden, beach, or countryside weddings. It offers the security of an updo while maintaining softness and movement. Gentle waves add dimension and prevent the style from feeling overly structured. This approach photographs especially well in natural light, where subtle texture becomes more visible.
Start by curling the hair loosely and avoiding uniform ringlets. Gather the hair at the nape and twist it into a relaxed bun, pulling small sections slightly loose for a softer outline. Use texture spray before styling to create grip and fullness. Secure the bun with extra pins hidden underneath for windy conditions, and finish with a light flexible spray to keep everything in place without sacrificing comfort.
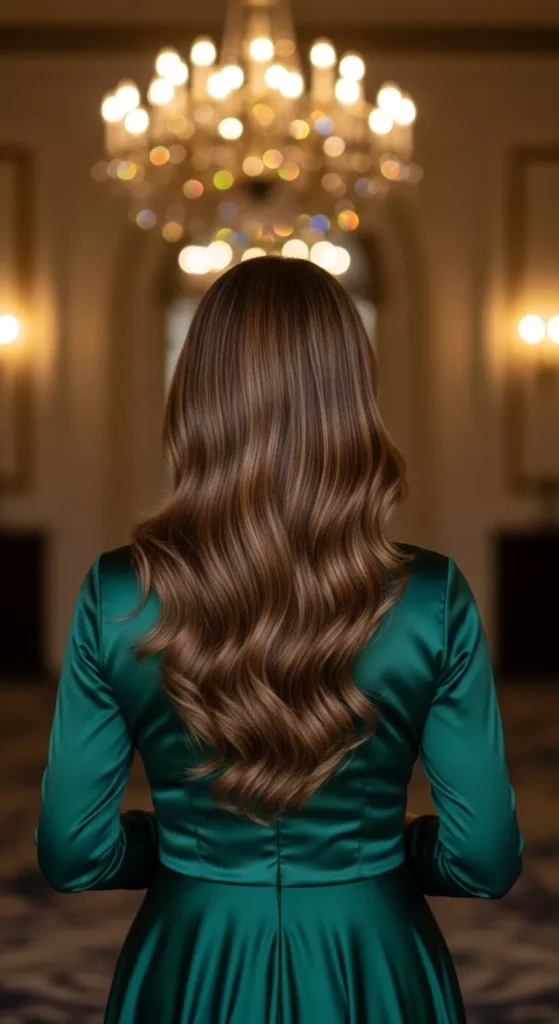
6. Voluminous Blowout for Medium-Length Hair
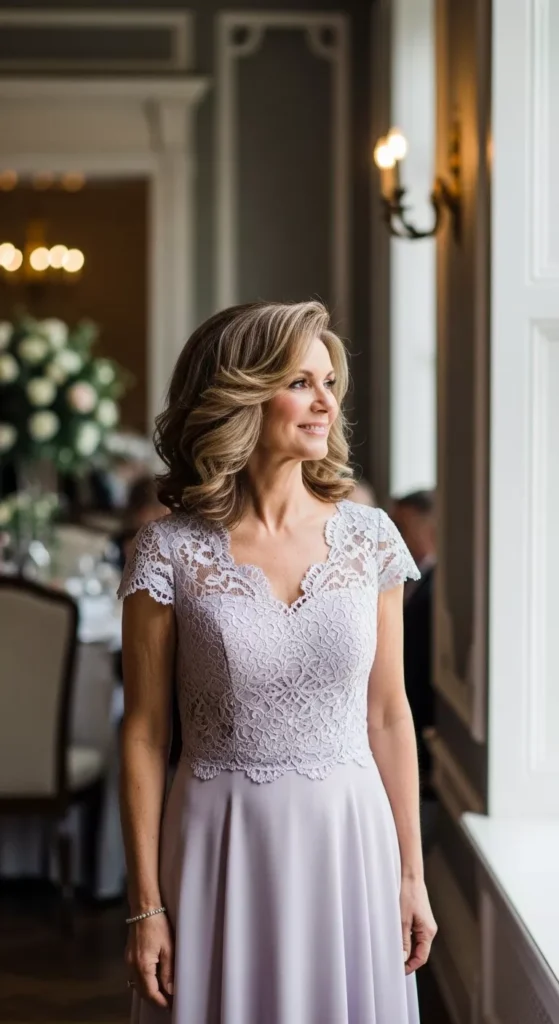
A voluminous blowout is perfect if you prefer wearing your hair down but still want a polished, photo-ready finish. Medium-length hair responds beautifully to round-brush styling because layers create natural lift and movement. Soft bounce around the face keeps the style flattering, especially for women over 50 who want shape without heavy teasing. This look pairs well with structured dresses and looks graceful in both indoor and outdoor lighting.
Start with volumizing mousse on damp roots, then blow-dry using a medium round brush, lifting upward as you go. Focus on crown volume to prevent the top from looking flat in pictures. Once dry, lightly curl the ends for subtle bend rather than tight curls. Finish with flexible hairspray so the hair moves naturally. If you’re on a budget, practice your blowout a few times before the wedding to save on salon costs while still achieving a smooth, lifted finish.
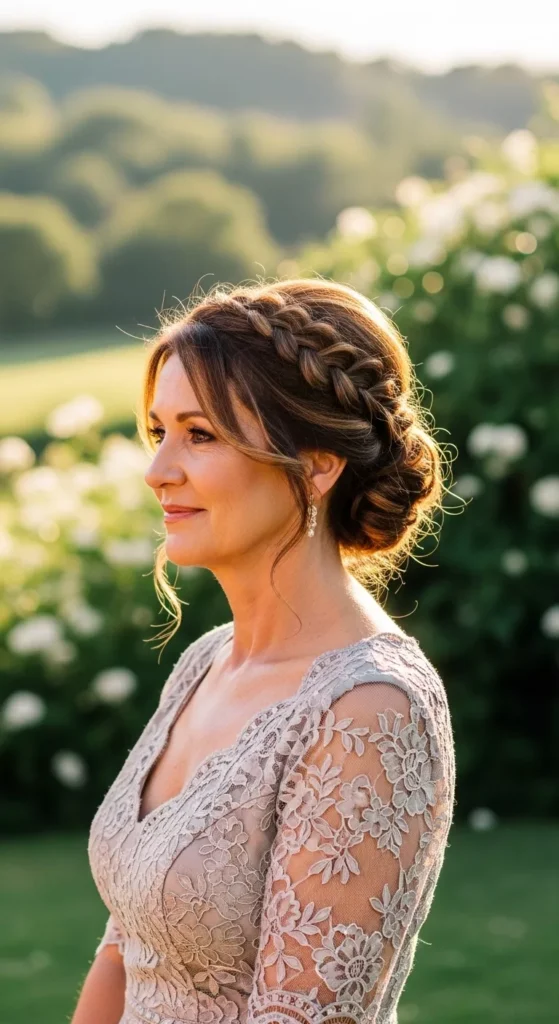
7. Crown Braid with Loose Waves
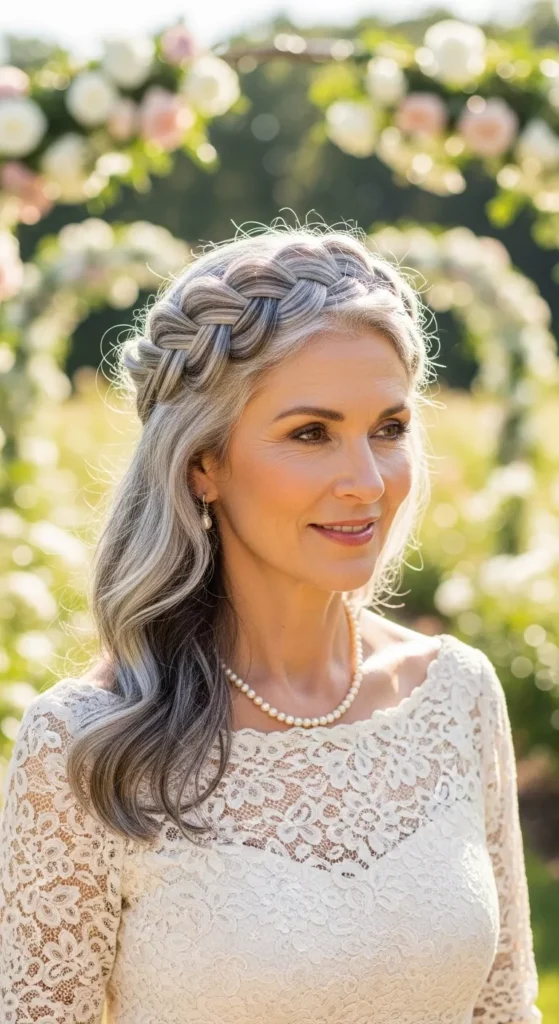
A crown braid adds gentle structure while still feeling soft and romantic. It works beautifully for garden or countryside weddings where natural elements complement textured hair. The braid frames the head like a halo, while loose waves below keep the overall look relaxed. This style also photographs well from multiple angles because the detail wraps around the head.
To recreate it, curl the hair loosely first for added grip and dimension. Braid a section from one side and guide it across the top, pinning securely behind the opposite ear. Keep tension light so the braid appears fuller. Gently pull at the braid edges to widen it slightly. Finish with light hairspray focused on the braid. Small decorative pins can add elegance without increasing your styling budget.
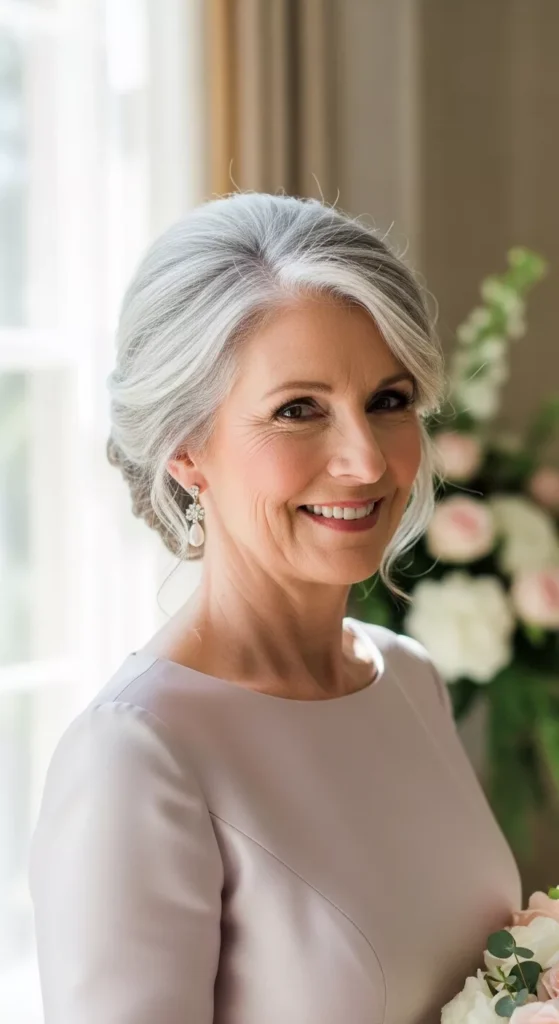
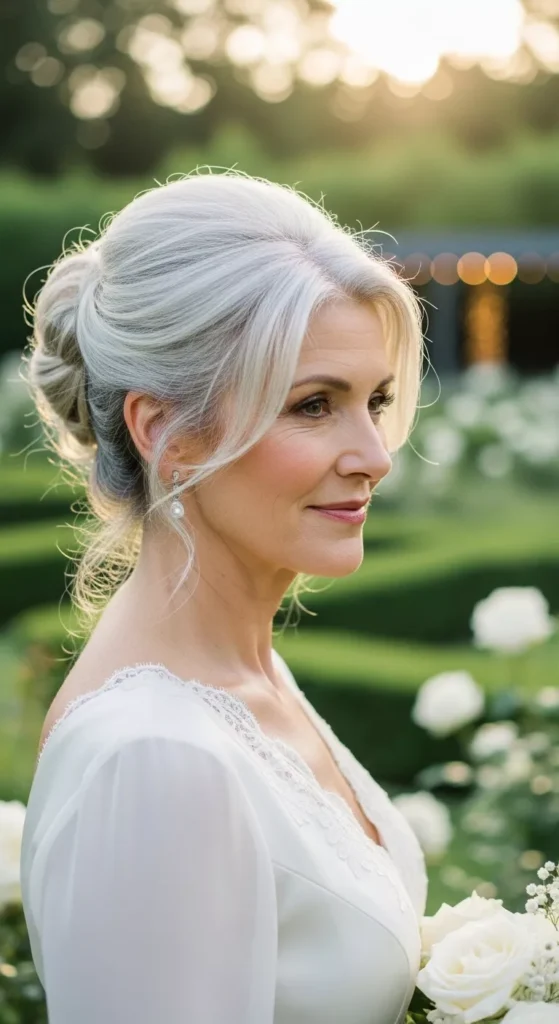
8. Elegant Silver Hair Updo
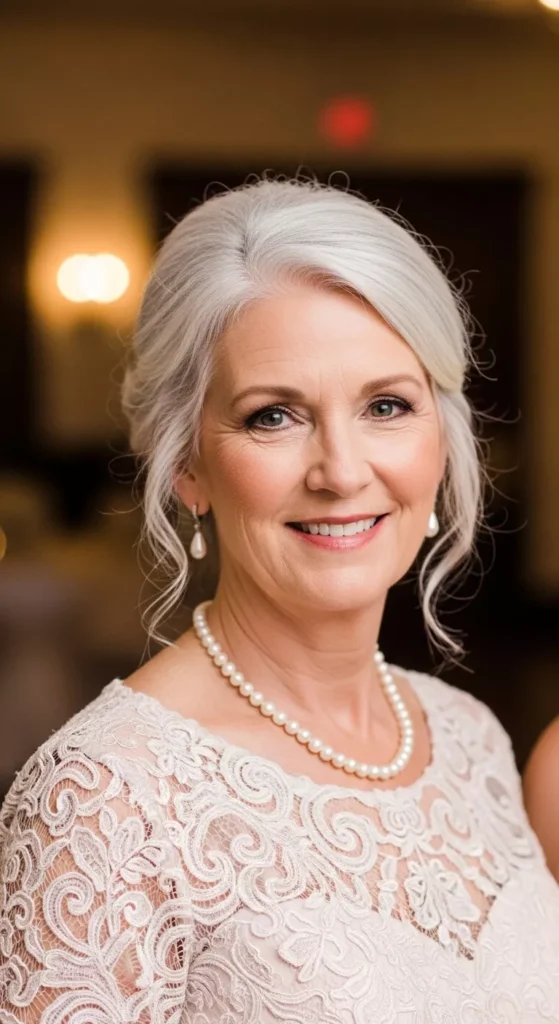
Silver hair has natural dimension that looks stunning in textured styles. A soft twisted updo allows light to reflect beautifully across different tones. Instead of covering gray strands, this hairstyle celebrates them with shape and gentle volume. It feels graceful without trying too hard and works well with both modern and traditional gowns.
Prepare hair weeks ahead with a purple shampoo routine to maintain brightness. On styling day, use a lightweight mousse for lift and twist sections loosely before pinning at the nape. Avoid overly dark styling products that can dull shine. A touch of shine spray enhances silver tones for photography. Keep the style comfortable by testing it during a trial run so you feel confident wearing it all day.
9. Twisted Low Knot for Fine Hair
Fine hair can appear fuller with smart twisting techniques. A twisted low knot creates the illusion of volume because multiple sections overlap rather than forming one tight bun. This style is light, secure, and comfortable for long wedding days. It works well with high necklines and statement earrings.
Begin by applying texturizing spray to dry hair for grip. Divide the hair into two sections and twist them individually before wrapping together at the nape. Pin in layers instead of compressing everything into one coil. Light teasing at the crown adds lift without stiffness. Finish with strong-hold spray directed at the knot itself. Practicing this method once or twice beforehand makes it easy to recreate on the big day without salon costs.
10. Half-Up Style with Crown Volume
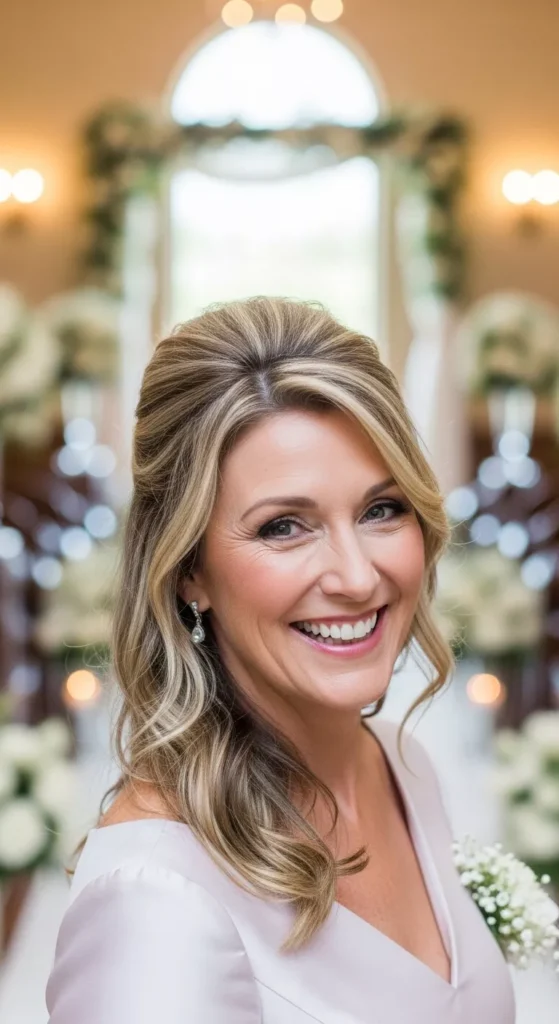
This half-up style focuses on crown lift to create a flattering silhouette. Volume at the top elongates the face and keeps the hairstyle from falling flat in photographs. Soft waves flowing over the shoulders add movement without overwhelming the overall look. It pairs beautifully with off-the-shoulder or V-neck gowns.
Create loose curls first and let them cool completely. Lightly tease the crown area before smoothing the top layer over it to maintain softness. Secure the upper section with discreet pins placed low at the back of the head. Use a light texture spray to hold volume in place. This style is simple to practice at home and comfortable enough to wear from ceremony through reception.
11. Short Bob with Soft Waves
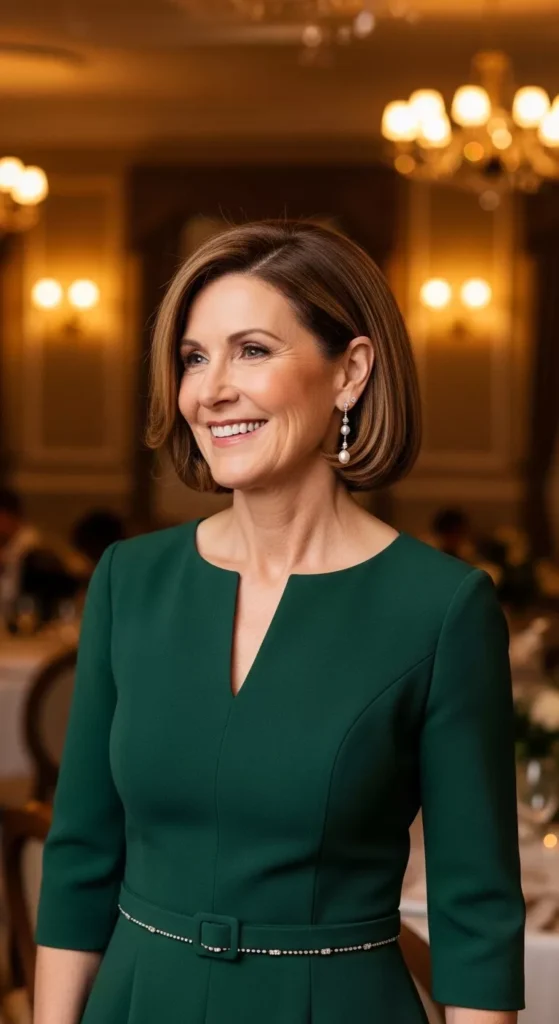
A short bob can look incredibly polished with just a little added texture. Soft waves prevent the cut from appearing flat in photographs and give movement around the jawline. A deep side part adds instant volume at the roots and frames the face beautifully. This style works especially well for mothers who already wear their hair short and do not want dramatic changes before the wedding.
To achieve this look at home, apply a lightweight mousse to damp hair and blow-dry with a round brush for shape. Use a small curling iron to add loose bends rather than tight curls. Alternate curl directions for a natural finish. Finish with a flexible hairspray to hold the shape without stiffness. If your hair is fine, flip your part slightly deeper than usual for added lift without teasing.
12. Pixie Cut with Crown Lift
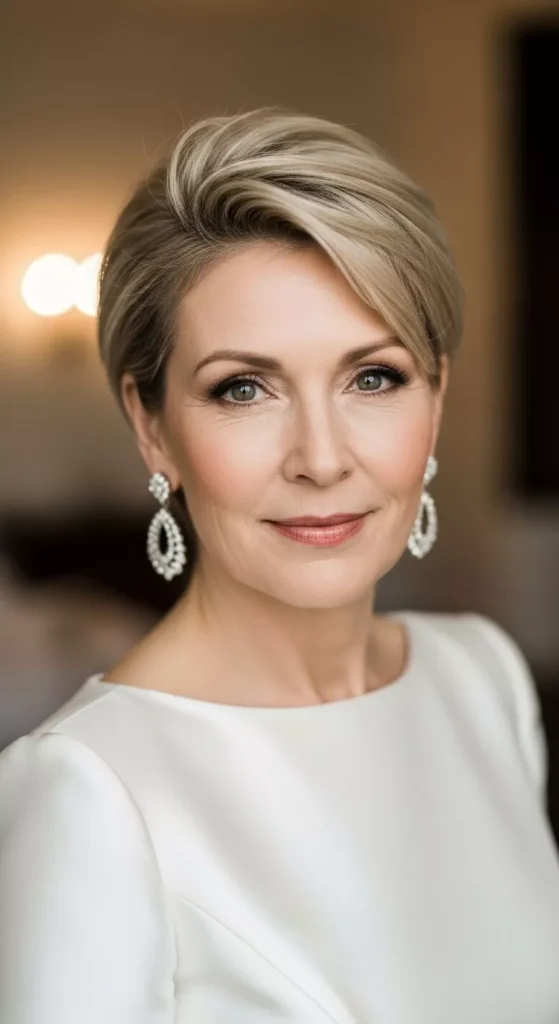
A pixie cut can look refined and photo-ready with proper styling. Adding volume at the crown keeps the shape flattering and prevents the hair from appearing too flat under bright lights. This style highlights facial features and pairs beautifully with bold earrings or detailed necklines. It is simple, modern, and comfortable for long celebrations.
Begin by applying volumizing spray to damp roots before blow-drying upward with your fingers or a small brush. Once dry, use a light styling cream to define sections and add subtle texture. Avoid heavy gels that make the hair stiff. Finish with a soft mist of hairspray for hold. Practicing this look ahead of time allows you to control the lift and placement easily on the wedding day.
13. Glamorous Side-Swept Waves
Side-swept waves bring a classic Hollywood feel while remaining timeless. This look works beautifully for evening weddings and formal venues. Sweeping the hair to one side draws attention to the neckline and elongates the silhouette in photographs. Smooth, defined waves reflect light and create a polished finish.
To create this style, curl the hair with a large-barrel iron in the same direction. Allow curls to cool fully before brushing them gently into smooth waves. Pin the hair discreetly behind one ear to secure the side sweep. Use shine spray sparingly for gloss without weighing the hair down. For extra hold, set each wave with clips briefly before final brushing.
14. Braided Low Bun with Texture
A braided low bun combines structure with visual interest. The braid adds dimension while the bun keeps the look refined and secure. This hairstyle works well for medium-length hair and offers more detail than a traditional smooth bun. It feels romantic without being overly styled.
Start by creating a simple three-strand braid from one section of hair. Then gather all hair into a low ponytail and twist it into a bun, wrapping the braid around the base. Secure with pins placed underneath for stability. Lightly pull at the braid to widen it slightly for fullness. Finish with a flexible spray to hold everything comfortably through photos and dancing.
15. Fascinator-Friendly Low Style
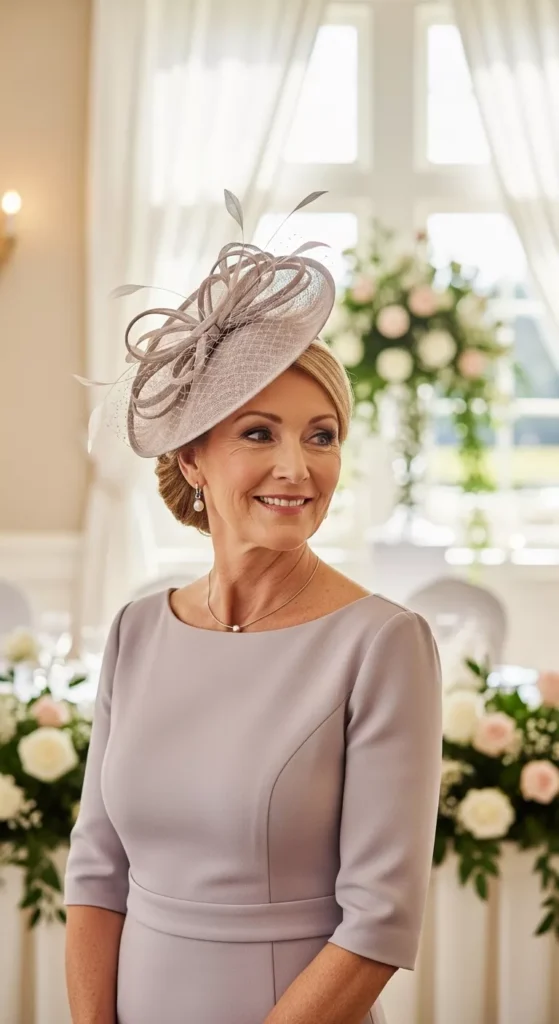
When wearing a fascinator or hat, balance is key. A low bun keeps volume controlled and prevents the accessory from appearing unstable. This approach works particularly well for formal daytime ceremonies. Keeping the bun neat allows the fascinator to remain the focal point while maintaining a polished hairstyle underneath.
Create a clean part where the accessory will sit comfortably. Form a smooth low bun at the nape, making sure it aligns with the headpiece placement. Secure the fascinator with firm pins that match your hair color. Test the entire look in advance to confirm comfort and stability. A light spray over the bun helps maintain shape without affecting the accessory’s structure.
16. Natural Curly Updo
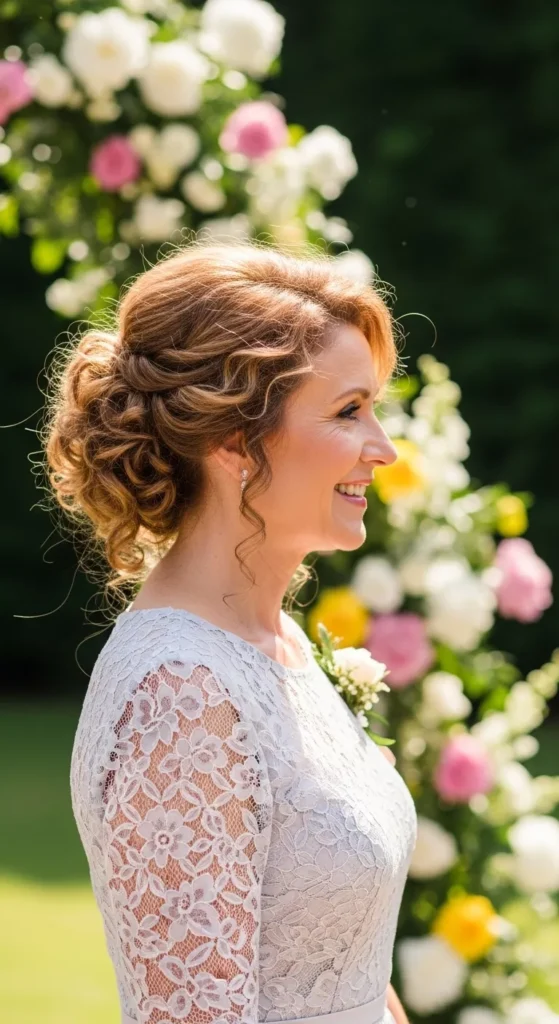
Natural curls look beautiful when shaped rather than straightened. A curly updo keeps the texture intact while lifting the hair away from the shoulders. This style works especially well for outdoor or humid weddings because it respects your hair’s natural pattern instead of fighting it. Defined curls create dimension and look stunning in close-up photos.
Start with curl-enhancing cream on damp hair and diffuse gently to maintain shape. Once dry, gather curls loosely and pin them section by section instead of compressing them into one tight bun. Let a few curls fall naturally around the face for softness. Finish with strong-hold spray focused on the pinned areas only. This approach keeps your curls bouncy while staying secure throughout the celebration.
17. Shoulder-Length Soft Layers

Shoulder-length hair offers flexibility and comfort. Soft layers create movement without dramatic styling changes. Gentle waves add body and make medium-length hair look fuller in photographs. This style pairs well with both structured gowns and flowing fabrics.
Apply volumizing mousse to damp roots and blow-dry using a round brush for lift. Once dry, use a curling iron to create loose waves that move away from the face. Avoid tight curls to maintain a natural finish. Finish with flexible hairspray so the hair remains touchable. This look is easy to practice at home and requires minimal tools, making it a budget-friendly yet polished choice.
18. Twisted Side Sweep
A twisted side sweep feels graceful and flattering. Sweeping the hair over one shoulder highlights statement earrings and elongates the neckline. The soft twist keeps the style secure while allowing curls to cascade naturally. This option works well for evening ceremonies and formal receptions.
Curl the hair first to add texture and grip. Then gently twist one side back and pin discreetly behind the ear. Let the remaining curls fall over the opposite shoulder. Light teasing at the crown adds subtle height. Finish with flexible spray to hold the twist without stiffness. Practicing the pin placement once beforehand makes this style easy to recreate on the big day.
19. Low Ponytail with Soft Volume
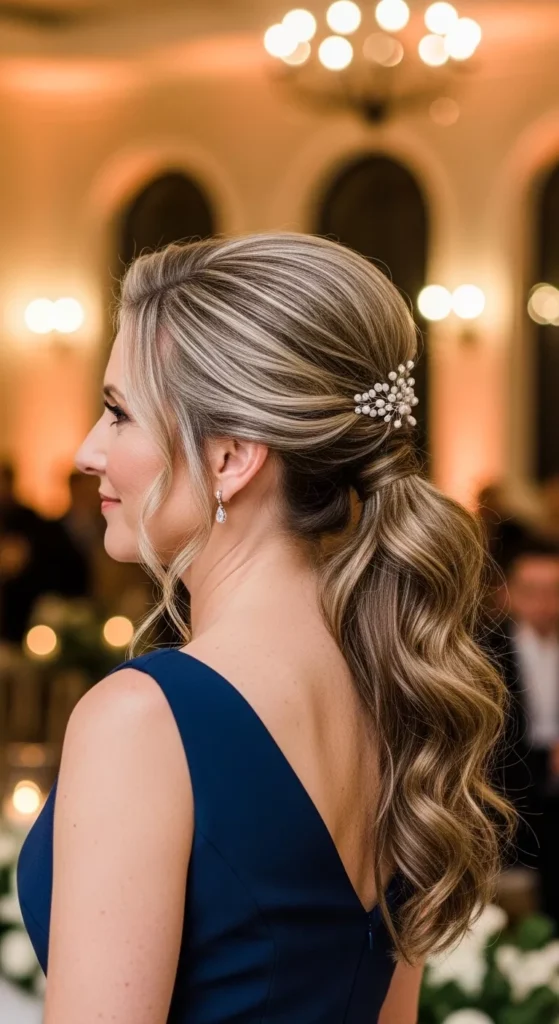
A low ponytail can look sophisticated when styled thoughtfully. Adding volume at the crown keeps it from appearing too casual. Soft waves in the ponytail create movement and elegance. This hairstyle is comfortable for long receptions and easy to maintain.
Begin by teasing lightly at the crown before smoothing the top layer. Gather the hair at the nape and secure with a strong elastic. Wrap a small strand of hair around the elastic to conceal it and pin underneath. Curl the ponytail ends for softness. A light mist of hairspray keeps the volume in place while allowing natural movement throughout the day.
20. Soft Updo with Face-Framing Tendrils
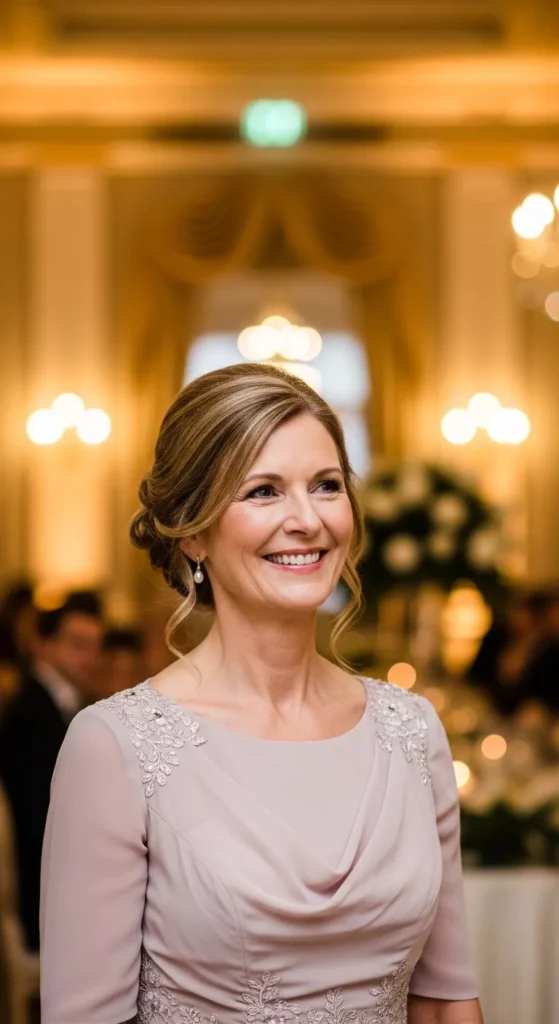
A soft updo with face-framing tendrils creates a gentle, flattering shape. Loose strands around the face soften features and add dimension in photos. The bun itself remains relaxed rather than tightly pulled back. This style feels natural while still polished.
Create loose curls throughout the hair first for texture. Gather into a low bun and secure with pins placed underneath. Carefully pull out a few small sections near the temples for softness. Avoid pulling them too thick. Finish with a light spray to maintain hold. This style suits many ages and dress styles while remaining comfortable.
21. Textured French Roll for All-Day Hold
A textured French roll offers strong structure with subtle softness. It stays secure during long ceremonies and active receptions. The shape elongates the neck and complements high-neck or open-back dresses beautifully. Adding slight texture keeps the look modern rather than rigid.
Prep the hair with texturizing spray before rolling it upward from the nape. Secure with long pins placed vertically for stability. Gently loosen the surface slightly to avoid a stiff appearance. Finish with strong-hold hairspray directed mainly at the roll. This style handles wind and movement well, making it ideal for destination weddings.
22. Coordinated Mother-Daughter Style
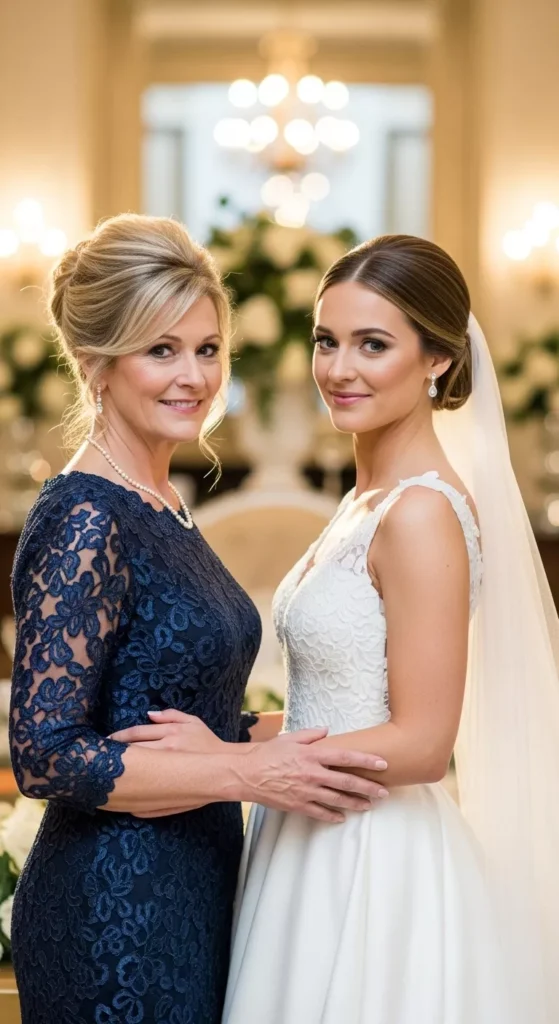
Coordinating hairstyles with the bride creates harmony in family portraits. The key is matching texture rather than copying the exact style. If the bride wears soft waves, you can choose a textured bun. If she selects a sleek updo, a smooth low bun complements the overall look.
Discuss ideas during your hair trial to confirm the balance feels natural. Bring photos of the bride’s chosen hairstyle for reference. Focus on similar finish and tone rather than identical placement. This approach keeps photos cohesive while allowing each person’s personality to shine. The result feels connected, polished, and thoughtfully planned without appearing overly matched.
Conclusion
Choosing the right mother-of-the-bride hairstyle comes down to comfort, dress neckline, hair texture, and wedding setting. Try your style at least once before the event. Use second-day hair for better hold. Add simple accessories if you want extra detail. Most of all, pick a look that feels like you, just polished and photo-ready for a day filled with unforgettable moments.

Leave a Reply