

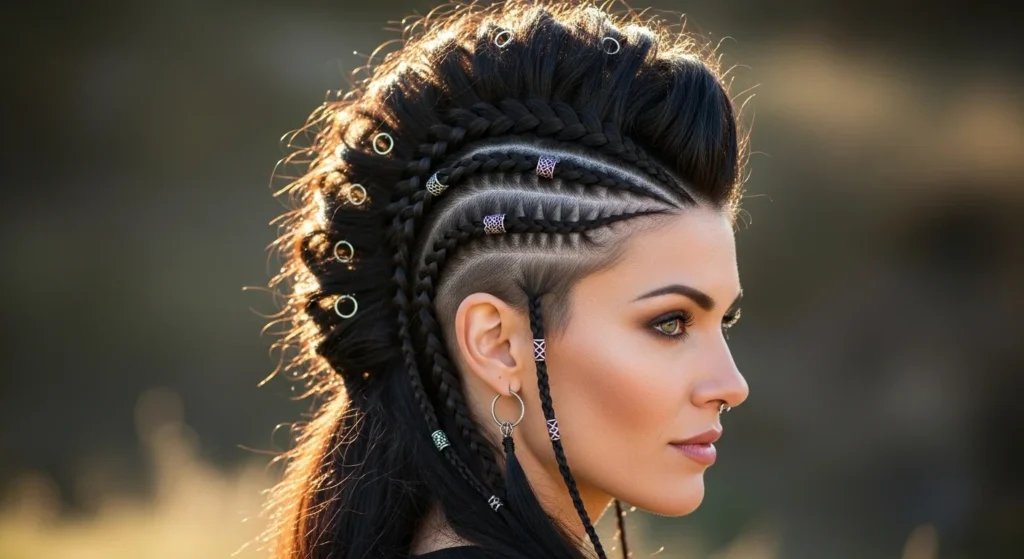
Viking braids aren’t just a hairstyle—they’re a statement. Whether you’re channeling a shieldmaiden vibe for a festival, cosplay, or just because you love warrior-chic hair, mastering these braids gives you a strong, bold, and beautifully textured look. From mohawk-inspired center braids to tight rope side braids, the key is structure, texture, and a little Viking flair.
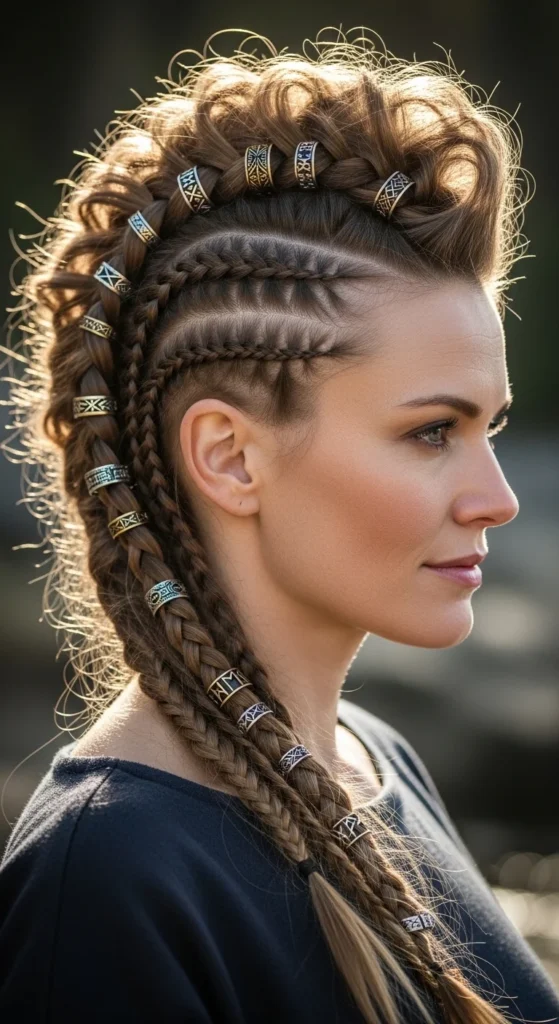
In this guide, we’ll break it down step by step, show you the tools and accessories you need, and even include variations for different hair lengths. By the end, you’ll have a braid that’s ready for battle—or a night out.
Prep Checklist: Texture is Everything
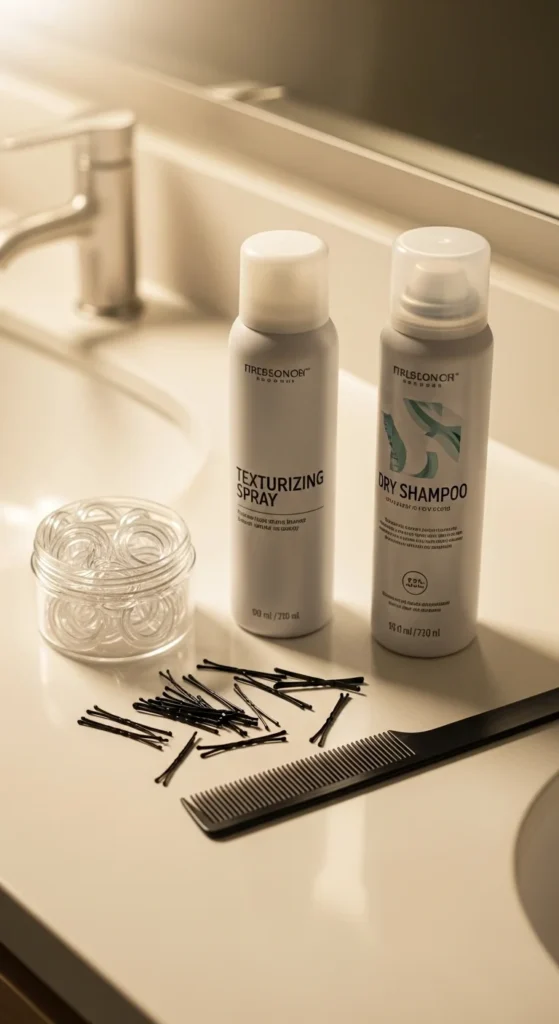
Before you start braiding, your hair needs grip and volume. Dry, slippery strands won’t hold a braid, so prep is key.
- Dry shampoo: Adds a bit of grit to second-day hair or freshly washed hair.
- Texturizing spray: Perfect for adding volume and holding the braid’s shape.
- Detangling brush: Smooth out knots but keep some texture for a Viking feel.
Pro tip: Don’t braid soaking-wet hair—it’s prone to breakage and won’t hold the style.
Step 1: Section Your Hair (3-Zone Viking Map)
A “shieldmaiden” style often uses a central braid plus two side braids. Think of your head in three zones:
- Top/Middle zone: For the main mohawk braid (Dutch, French, or fishtail).
- Side zones: Tight rope braids along temples or creating a faux-undercut illusion.
- Underlayers: Optional small braids or loose hair for volume and texture.
Sectioning keeps your braids organized and makes the next steps easier.
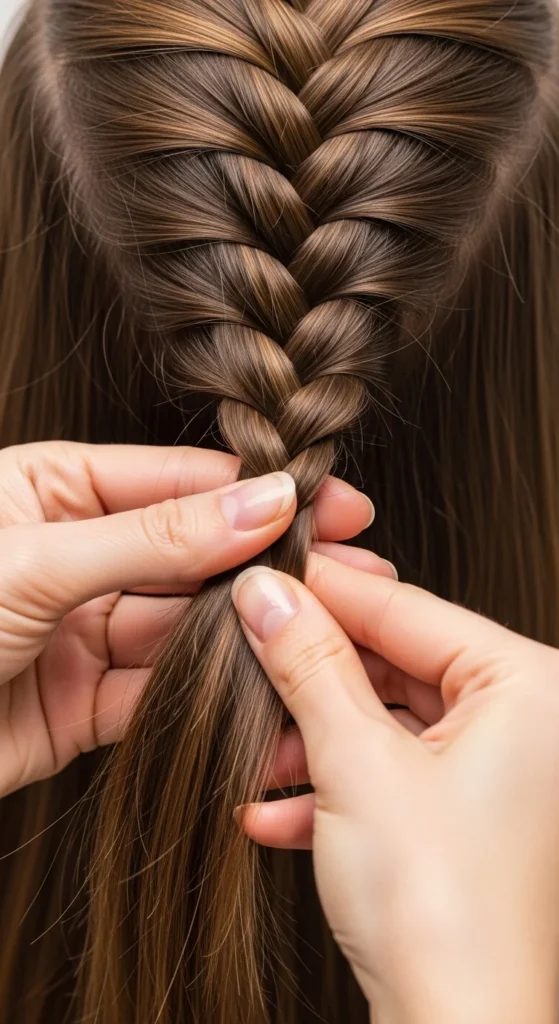
Step 2: Start the Central Braid
Choose your favorite style for the middle braid:
- Dutch braid: Raised braid, perfect for mohawk look.
- French braid: Sleek and classic.
- Fishtail braid: Adds texture and Viking flair.
Keep it tight at the scalp for structure, but don’t stress—later, we’ll pancake it for that messy, authentic vibe.
Step 3: Create the Side Rope Braids
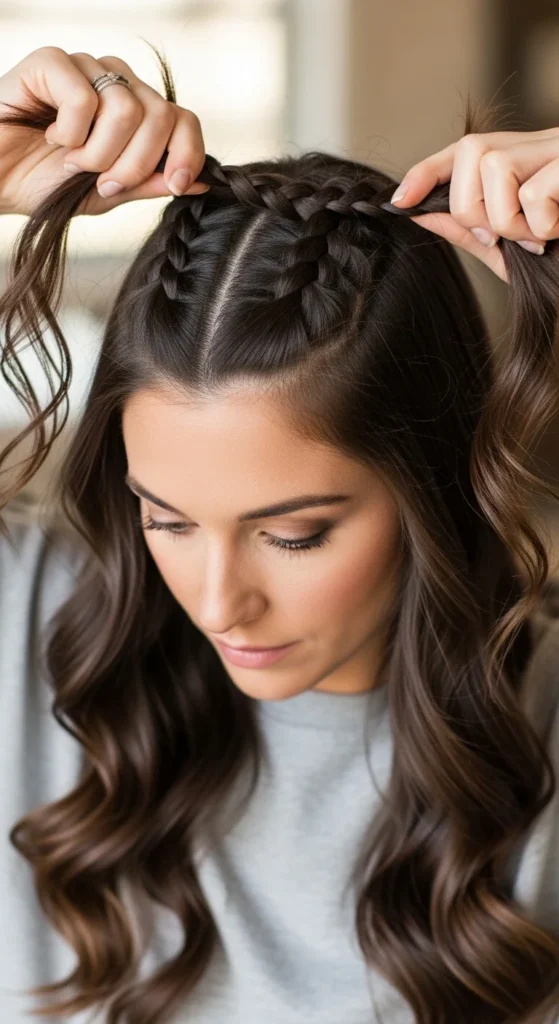
Side rope braids are the easiest way to get that shieldmaiden edge:
- Twist two small sections around each other and secure with clear elastics.
- Braid tight to the scalp if doing a faux-undercut style.
- Optional: mix in small leather cords or threads for an authentic Viking look.
If your hair is fine: Tease slightly before braiding to avoid slipping.
If your hair is thick: Divide sides into two smaller rope braids for manageability.
Step 4: Loosen and Pancake the Braids
Here’s the secret to that “authentically Viking” look:
- Gently pull at the edges of your central and side braids.
- Embrace flyaways—they give volume and a battle-ready edge.
- Avoid over-pulling, which can cause breakage.
Step 5: Add Accessories
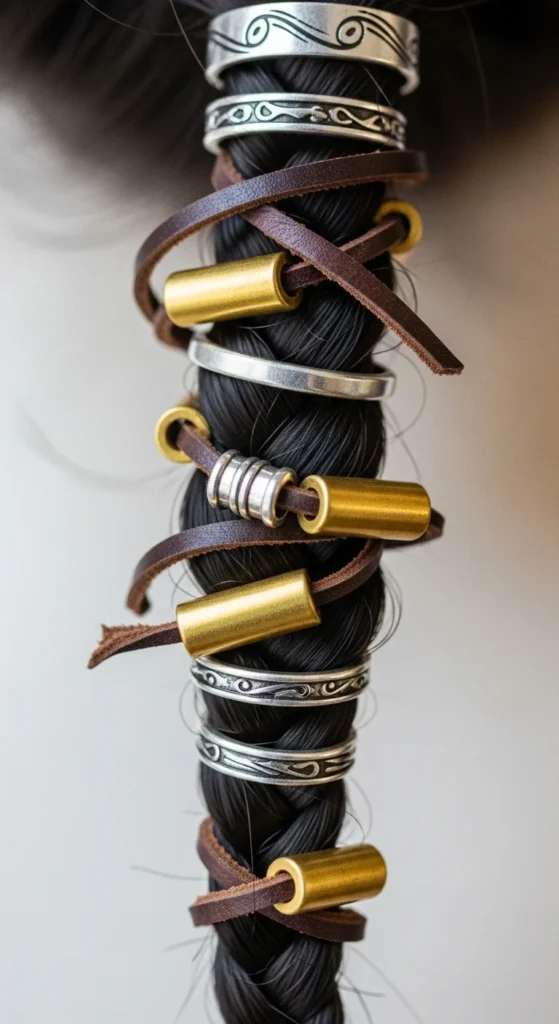
Accessories instantly take your braid to the next level. Try:
- Barrel beads
- Small metal hair rings
- Leather cords or strips
- Viking-inspired charms
- Fabric wraps
- Decorative elastics
- Hair cuffs
- Beaded chains
- Mini feathers (festival-friendly)
- DIY polymer-clay beads
Pro tip: Thread beads on before braiding ends for a seamless look.
Step 6: Romantic Viking (Half-Up, Half-Down Variant)
For weddings, photoshoots, or softer styles:
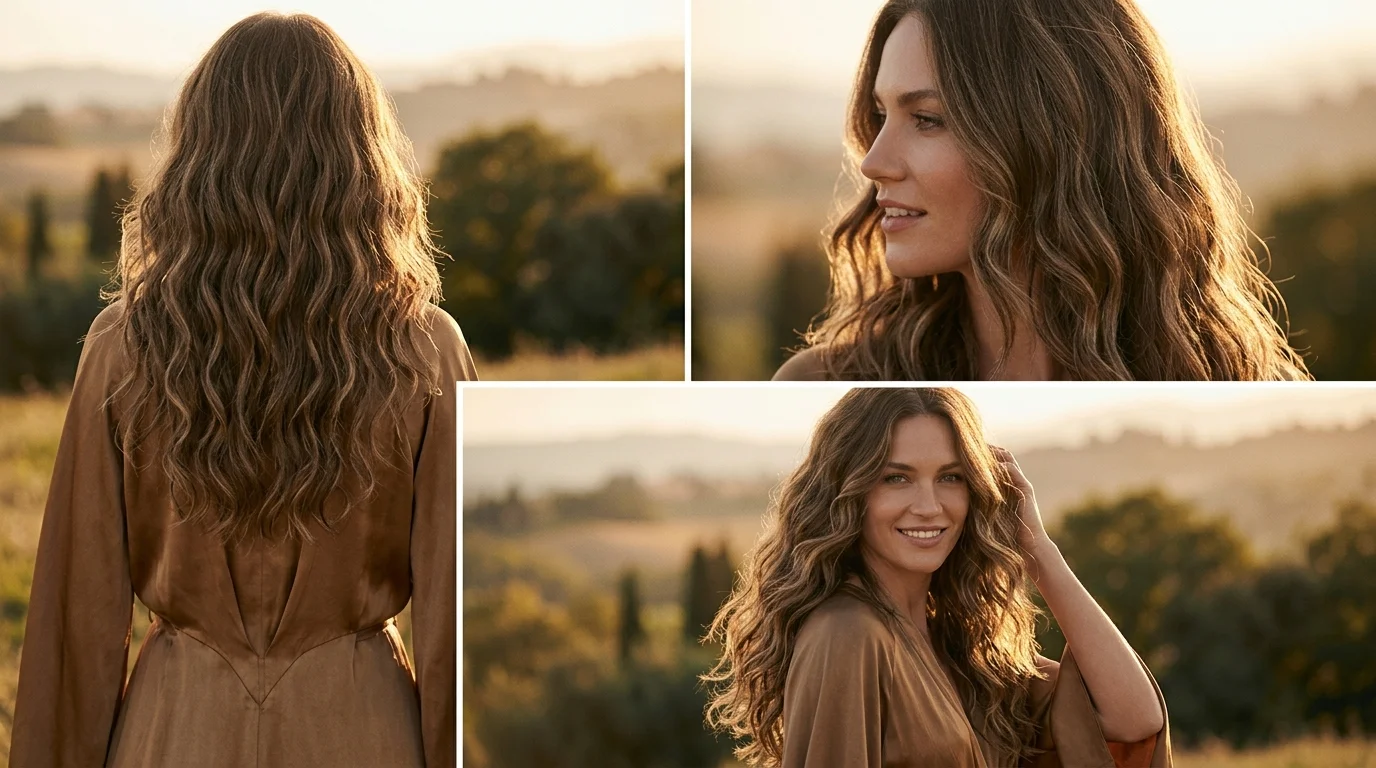
- Create central Viking braid, leaving bottom hair loose.
- Curl the loose hair softly for a flowing shieldmaiden effect.
- Small side braids or lace braids add subtle warrior details.
This style works beautifully on shoulder-length hair too, making it versatile for any occasion.
Step 7: TV-Inspired Shieldmaiden Braids
Bring a touch of Norse TV drama to your look:
- Lagertha battle braids: Tight central Dutch braid with rope side braids.
- Torvi braids: Messy, half-up style with cascading strands.
- Ragnar-inspired man-bun braid: Central braid pulled into a bun.
Each character style has a difficulty level: beginner to intermediate and can be adapted to your hair length.
Step 8: Maintain Your Viking Braids
- Sleep on a silk pillow or wrap braids in a scarf.
- Gentle shampoo without tugging on braids.
- Avoid leaving braids too tight for multiple days.
- Quick touch-ups with bobby pins and texturizing spray keep volume alive.
Quick Tips for Short or Fine Hair
- Shoulder-length hair: braid halfway, end in a mini bun or elastic.
- Fine hair: tease and pancake more for volume, use small accessories to “bulk up” braids.
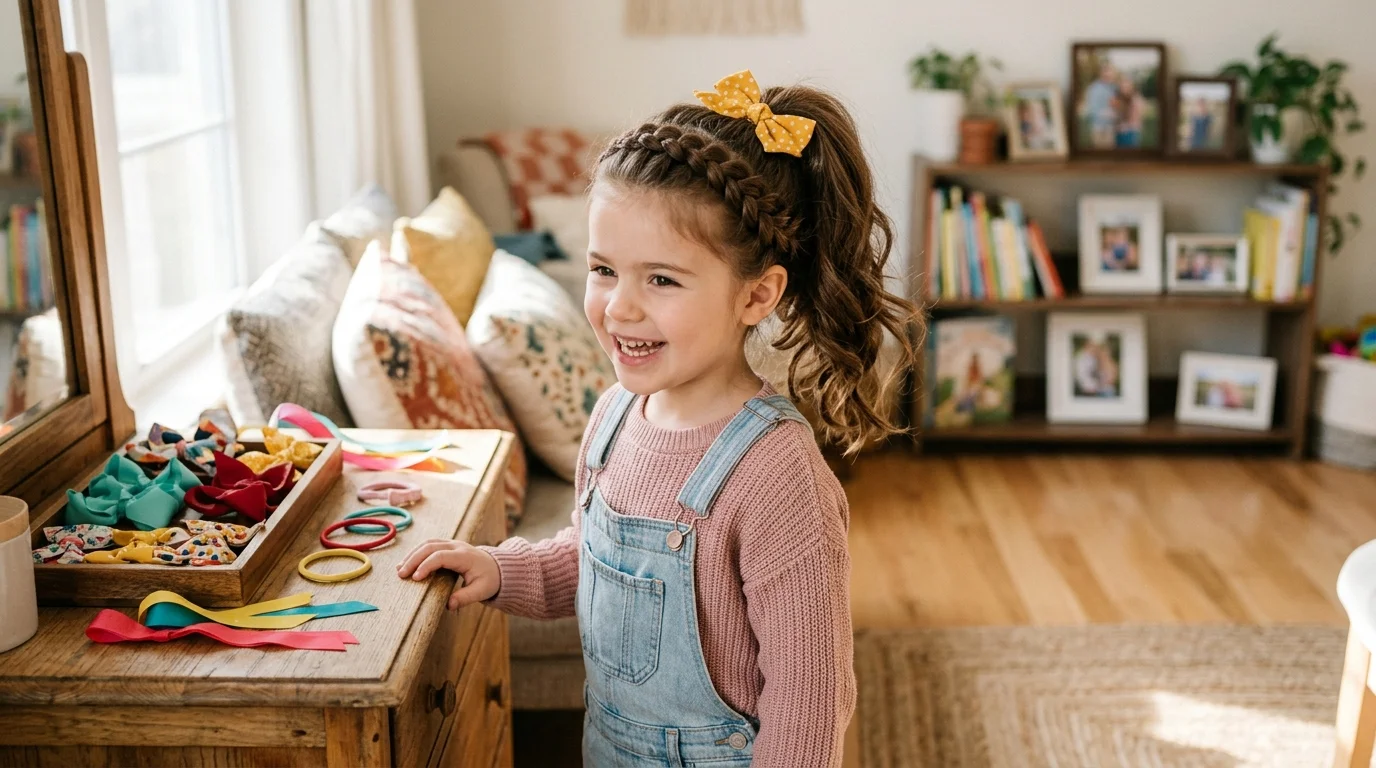
- Kids’ Viking braids: simpler single rope side braids plus a mini central braid for playful fun.
Conclusion
Viking braids are more than a hairstyle; they’re an expression of strength, style, and a little Norse flair. With practice, patience, and the right prep, you can rock anything from a festival-ready warrior braid to a soft, romantic shieldmaiden look.
Start with small braids, practice your pancaking technique, and don’t be afraid to add accessories. Save this guide and conquer your own shieldmaiden braids!