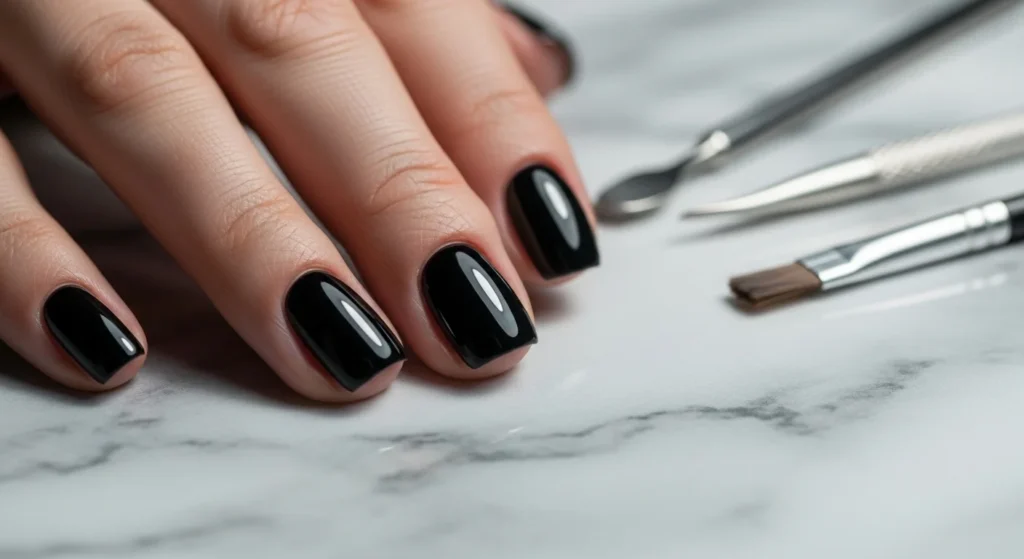
Black nails look bold, chic, minimalist, edgy… and somehow still elegant. But here’s the truth nobody tells beginners: black nail polish shows every mistake. Streaks, flooded cuticles, uneven edges — it all becomes obvious.
The good news? With the right prep and a few pro tricks, you can get a salon-quality manicure at home that looks glossy, clean, and perfectly sharp.
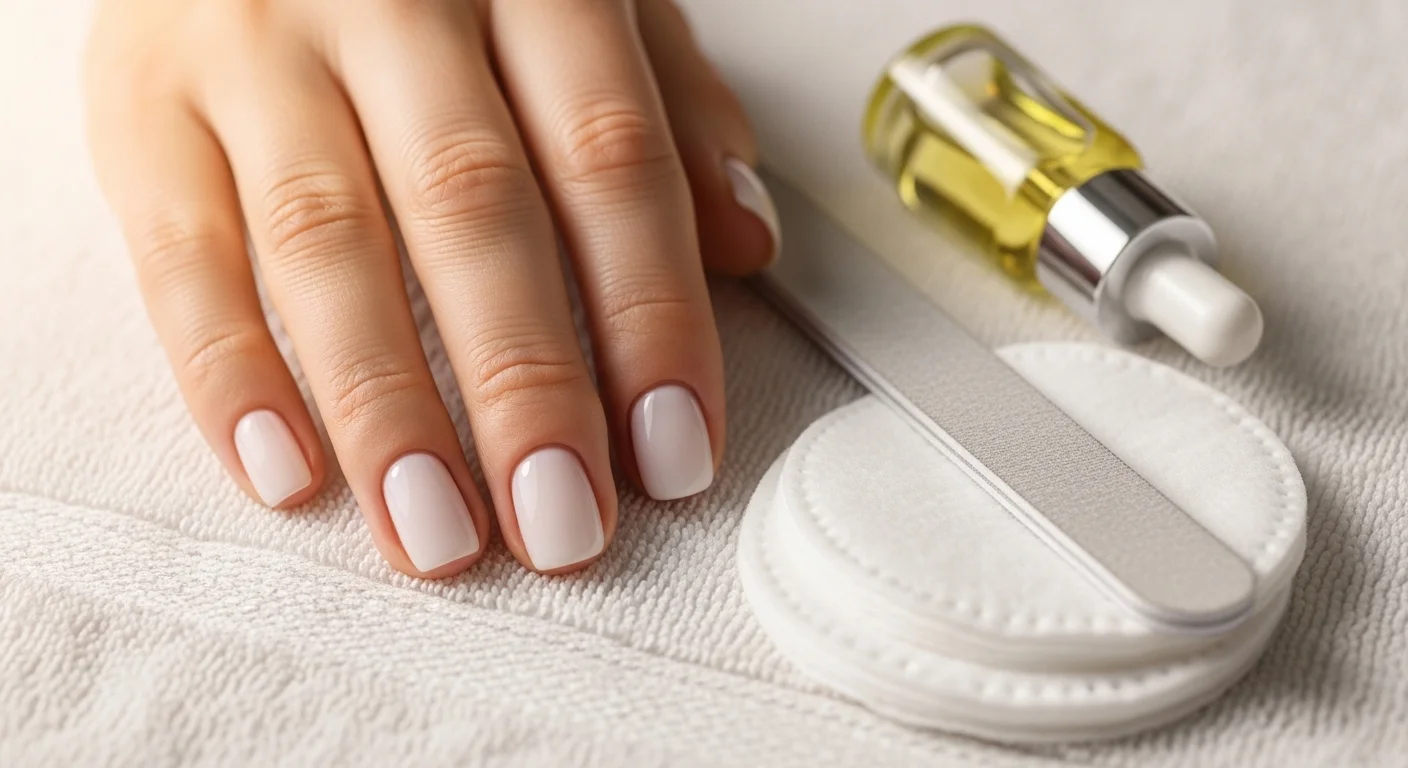
Step 1: The Prep Checklist (Most Important Part)
Almost every tutorial on YouTube and TikTok starts the same way, prep first, polish later.
Do this before you even open the bottle:
- Remove old polish completely
- Wash and dry your hands
- Push back cuticles gently
- Clip hangnails
- Shape nails with a file (square, round, or oval)
- Lightly buff the nail surface
- Wipe nails with remover to remove oils
Black polish sticks best to clean, oil-free nails. Skipping this is the #1 reason for streaky, uneven results.
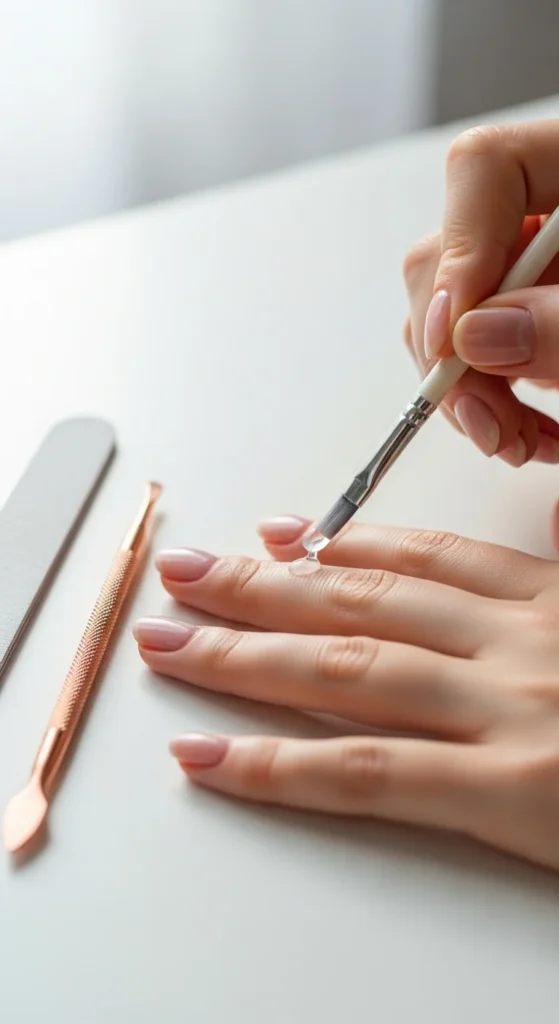
Step 2: Don’t Skip the Base Coat (Non-Negotiable)
A base coat is not optional. It:
- Prevents staining from black pigment
- Helps polish grip better
- Creates a smooth surface
- Extends wear time
Apply one thin layer and let it dry for 60 seconds.
This is what separates a DIY manicure from a salon-worthy finish.
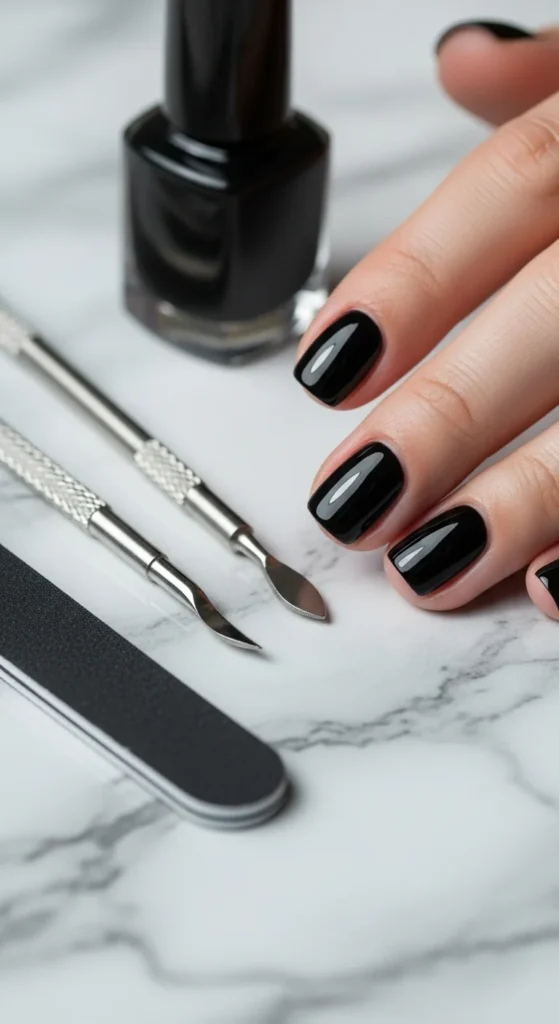
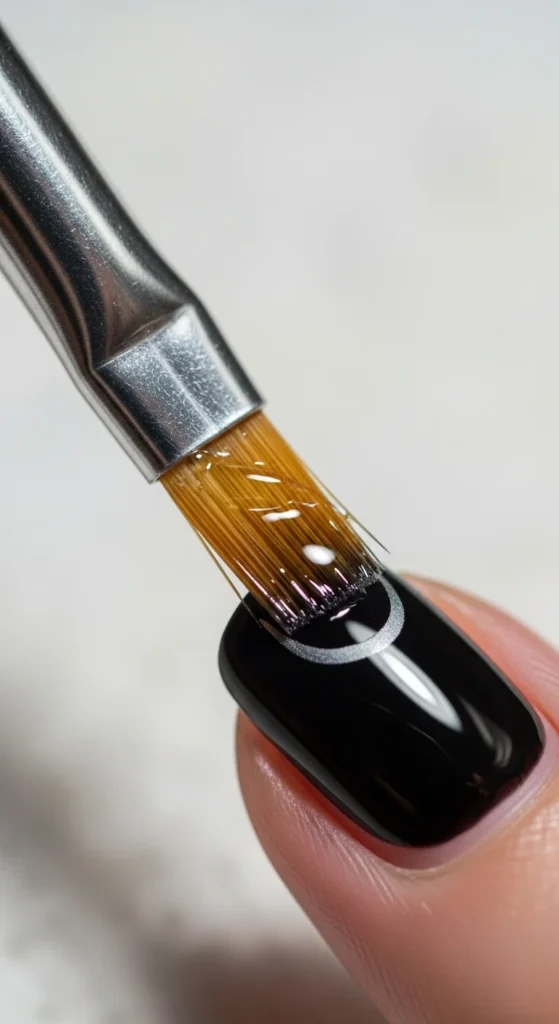
Step 3: Thin Layers for a Perfect Black Finish
Here’s where most people go wrong.
Black polish is usually ultra-pigmented. One thick coat seems tempting, but it causes the following:
- Pooling near cuticles
- Streaks
- Slow drying
- Smudges
Instead:
- Apply a very thin first coat (it will look patchy; that’s normal)
- Wait 60–90 seconds
- Apply a second thin coat
- Add a third coat only if needed
Brands like OPI, Sally Hansen, and LeChat Nails are known for highly opaque black shades that often need just two thin coats.
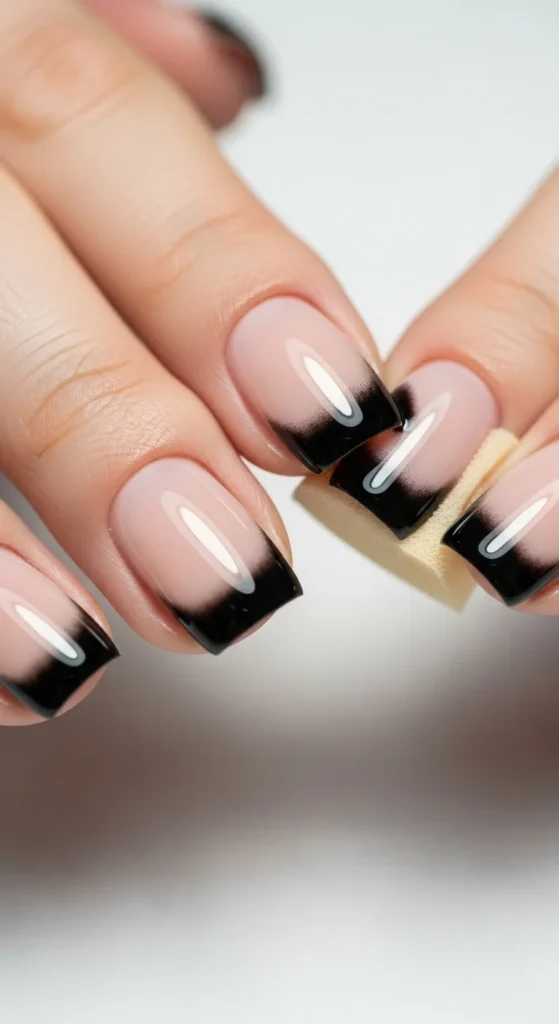
Step 4: The Secret to Clean Edges (Cuticle Cleanup)
This is the step that makes your nails look professionally done.
Keep nearby:
- An angled brush or cotton swab
- A little nail polish remover
Gently trace around the nail edges to remove any flooding. Black polish is unforgiving, so this cleanup step makes a huge difference.
Pro trick: You can apply a thin line of tape or even a glue barrier around the nail before painting for extra protection.
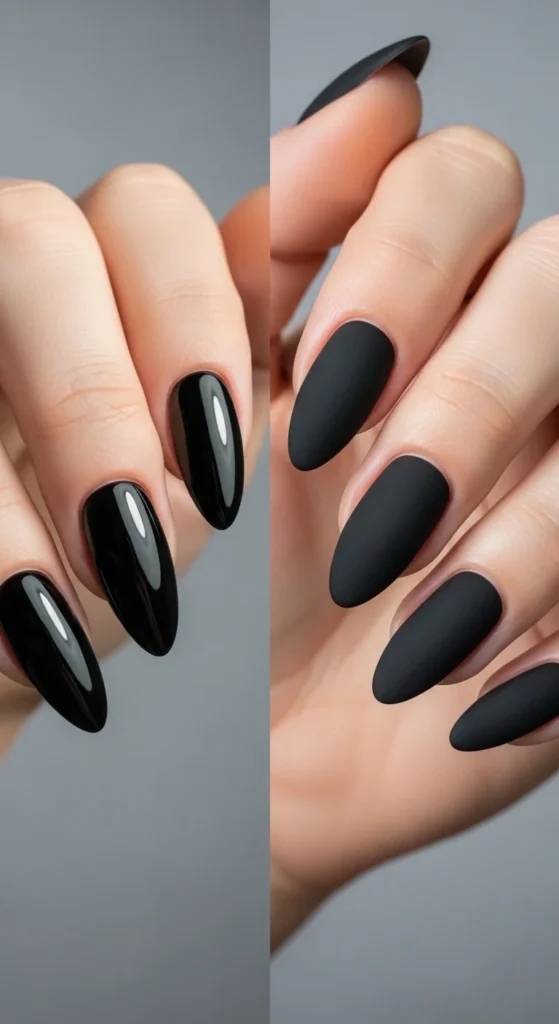
Step 5: Glossy vs Matte Top Coat (Choose Your Finish)
A topcoat is what gives shine, protection, and chip resistance.
Glossy Black (Beginner-Friendly)
- Classic, shiny, elegant
- Hides tiny imperfections better
- Lasts longer
Matte Black (Trendy & Chic)
- Modern, fashion-forward look
- Popular on Instagram and nail trend pages
- Can attract oils and dust faster
- May wear slightly quicker
If you’re new, start glossy. Once confident, try Matt.
Step 6: Easy Black Nail Designs (No Tools Needed)
You don’t need nail art tools for stylish designs. These are trending in 2026 tutorials:
- Accent glitter nail on one finger
- Minimal dots (dotticure) using a toothpick
- Negative space line using tape
- Black French tips (micro, thin tips)
- Tiny cuff design near the cuticle
These are beginner-friendly and look refined, not overdone.
Step 7: Want to Level Up? Try black ombré
Once you’re comfortable with solid black, try ombré.
Use a small sponge to blend black into the following:
- Nude
- Grey
- White
This style is popular around Halloween and the New Year, but looks stunning year-round.
Step 8: Regular Polish vs Gel Polish
You’ll see many gel tutorials on Reddit and nail forums.
| Regular Polish | Gel Polish |
|---|---|
| Air dries | Needs UV/LED lamp |
| Easier removal | Soak-off removal |
| Beginner-friendly | Longer lasting |
| Less prep | More prep required |
If you’re new, start with regular polish. Gel is great once you’re confident.
Brands like Madame Glam are popular for at-home gel kits.
Step 9: Black Nail Starter Kit (Shopping List)
For perfect black nails at home, keep:
- Ultra pigmented black polish
- Base coat
- Glossy or matte top coat
- Angled cleanup brush
- Nail file and buffer
- Cuticle oil
Cuticle oil after your manicure keeps the look fresh and healthy.
Step 10: Removal & Aftercare (Often Ignored)
Matte and gel black polish can be stubborn.
- Never peel polish off
- Soak cotton in remover and hold for 20–30 seconds
- Gently wipe away
- Apply cuticle oil after removal
This prevents staining and dryness.
Final Thoughts
Black nails are timeless, stylish, and surprisingly beginner-friendly, if you follow the right order: prep, base coat, thin layers, cleanup, and top coat.
Your at-home manicure can absolutely look salon-quality with just a little patience and the right technique.
Save this guide for your next manicure night!