








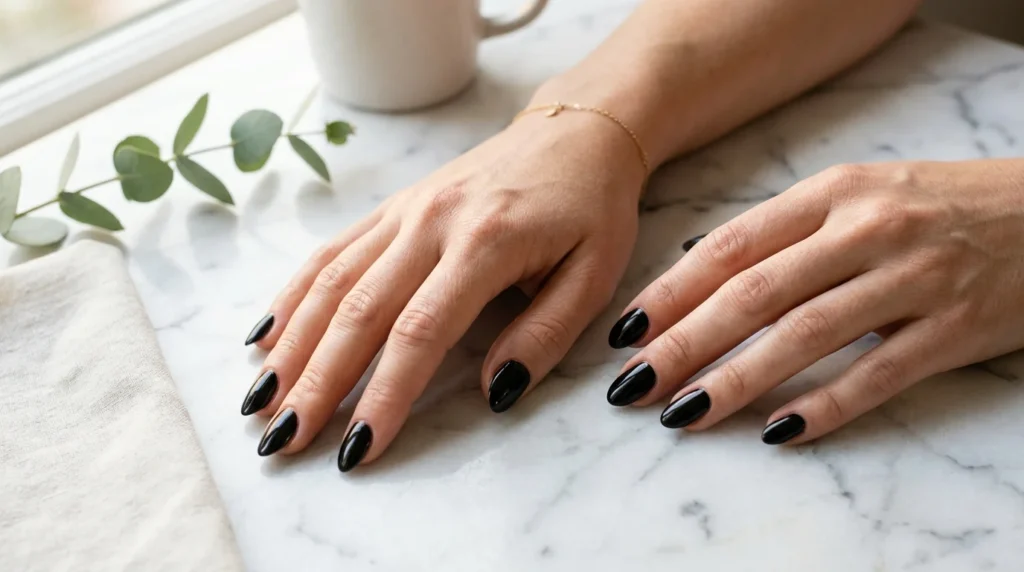
Black nail art is having a serious moment right now—think chic, moody, a little edgy, but still totally wearable for everyday life. The best part? You don’t need salon-level skills to pull it off. With just a few basic tools and the right techniques, you can create clean, minimal black nail designs at home that look straight out of Pinterest.
Whether you’re going for a soft goth vibe, a classy matte finish, or simple black-and-white accents, this guide will walk you through everything step-by-step.
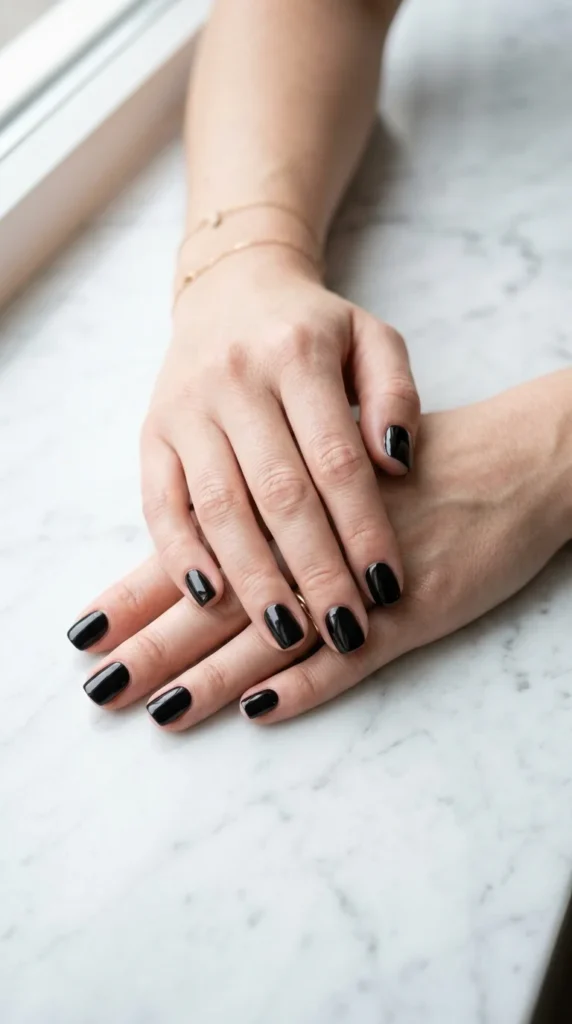
Step 1: Prep Your Nails for a Clean Base
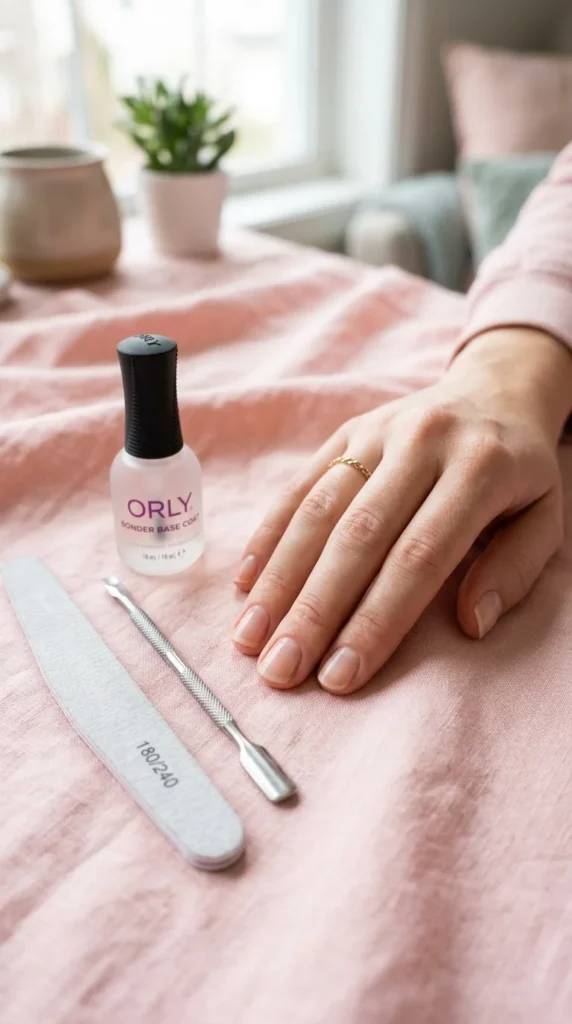
Before you even think about black polish, prep is everything. Black nail polish shows streaks, uneven patches, and ridges more than any other color, so a smooth base is your secret weapon.
Start by:
- Filing your nails into your desired shape (oval, square, or almond)
- Pushing back cuticles gently
- Cleaning nails with a remover or acetone to remove oils
- Applying a thin base coat for protection and smooth application
A good prep routine helps your manicure last longer and look more professional—even if you’re a complete beginner.
Step 2: Apply Black Polish the Right Way (Thin Layers Only)
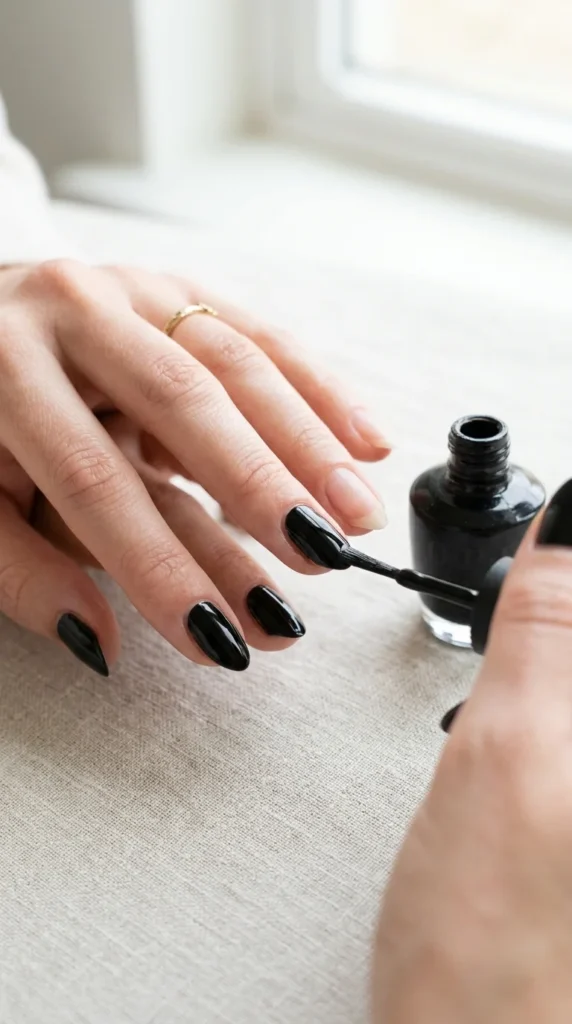
The biggest beginner mistake with black nail art is applying thick coats. Thick layers cause streaks, smudging, and uneven drying. The trick is patience and thin layering.
Here’s the easiest method:
- Apply the first thin coat of black polish
- Let it dry completely (don’t rush this step)
- Add a second thin coat for full opacity
- Finish with a top coat for shine and protection
If you want a softer modern look, switch the topcoat with a matte top coat for that trendy velvet-black effect.
Step 3: Easy Beginner Black Nail Art Designs You Can Try
Once your base is ready, it’s time for the fun part—simple designs that don’t require advanced skills. These are perfect for beginners and super Pinterest-friendly.
1. Black and White Accent Nails
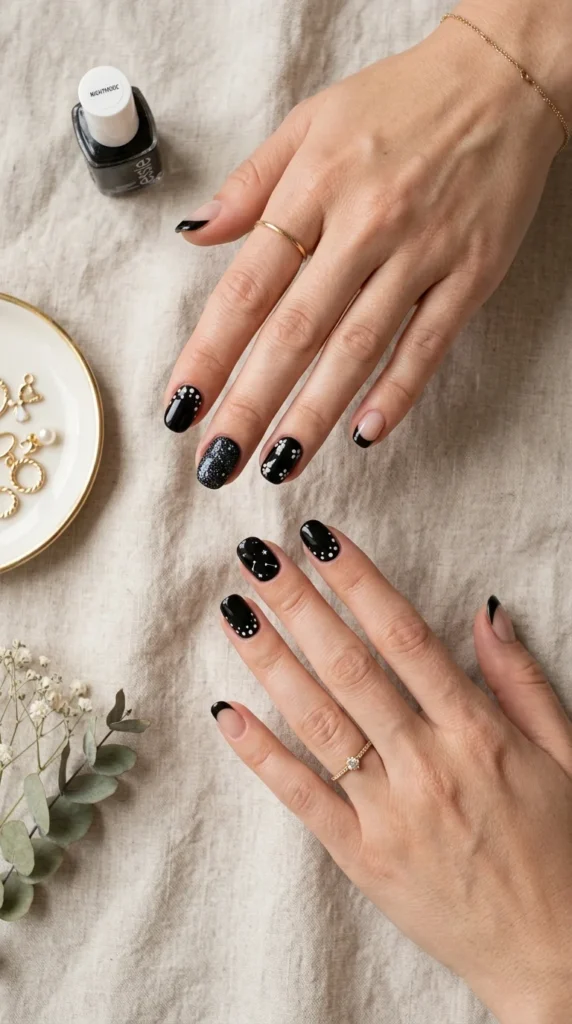
This is the most popular beginner combo. Paint most nails black and add white dots or stripes on one or two nails for contrast.
2. Black French Tips
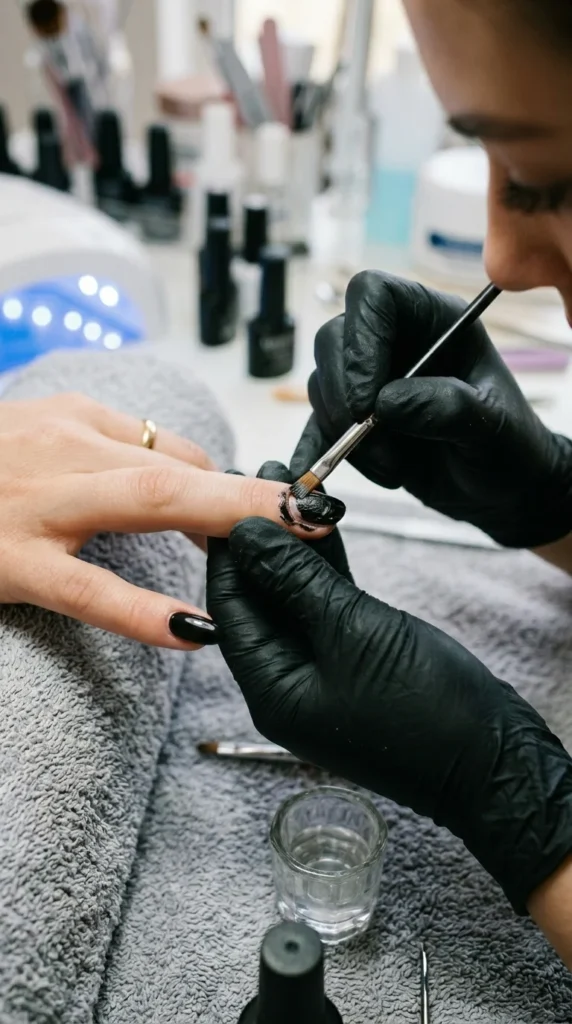
Use tape or a steady hand with a nail art brush or striping brush to create clean black tips over a nude or clear base.
3. Dot Art Designs
Use a dotting tool to create polka dots, tiny hearts, or flower shapes. Keep it minimal for a soft “dark cute” aesthetic.
4. Abstract Black Lines
Draw random thin lines or curves over a clear base for a modern minimalist look.
5. Glitter Accent Nails
Add a light layer of glitter on one nail for a subtle glam upgrade.
Step 4: Tools That Make Black Nail Art Easier
You don’t need a full salon kit, but a few basic tools will make your life much easier and your designs cleaner.
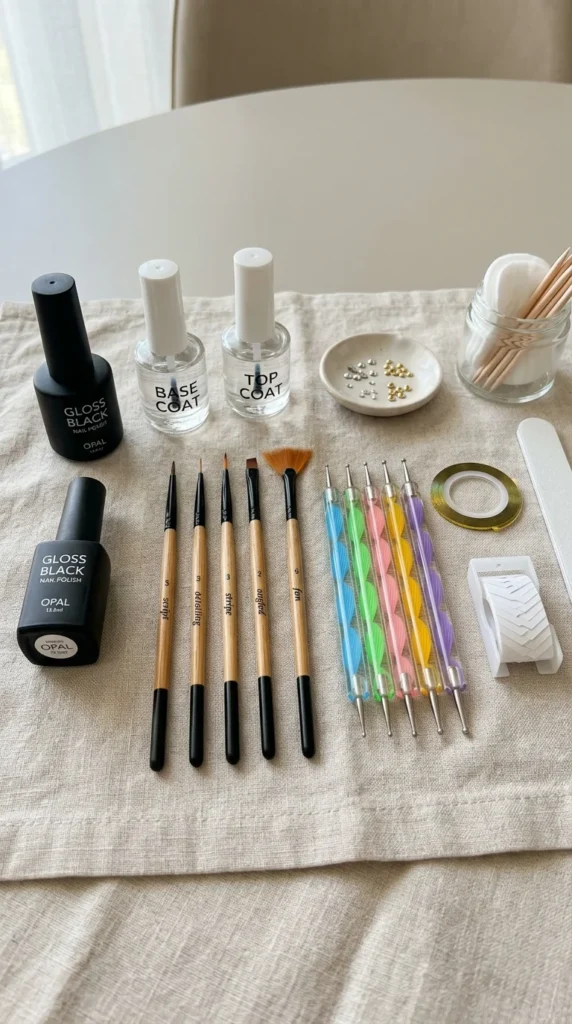
Must-have beginner tools:
- Base coat & top coat
- Black polish or lacquer
- Dotting tool for dots and floral patterns
- Nail art brush / striping brush for lines and tips
- Small cleanup brush with acetone for edges
Nice-to-have extras:
- Tape for geometric or negative space designs
- Glitter polish for accents
- Matte top coat for modern finishes
Brands like Essie, OPI, and Orly are often used for reliable base and top coats, especially when you want a smooth, salon-like finish at home.
Step 5: Pro Tips to Avoid Common Beginner Mistakes
Even simple black nail art can go wrong if you skip small details. These quick fixes will save your manicure:
- Always apply thin layers to avoid streaks
- Let each coat dry fully before the next step
- Use a cleanup brush to fix messy edges immediately
- Don’t overload your brush with polish
- Seal everything with a top coat to prevent chipping
If your design smudges, don’t panic—dip a small brush in acetone and gently reshape the edge. Most mistakes are fixable with a little patience.
Step 6: Finishing Touches for a Trendy Look
To make your black nail art feel more polished and fashion-forward, focus on finishing details. This is where your manicure goes from “simple DIY” to “Pinterest aesthetic.”
Try these upgrades:
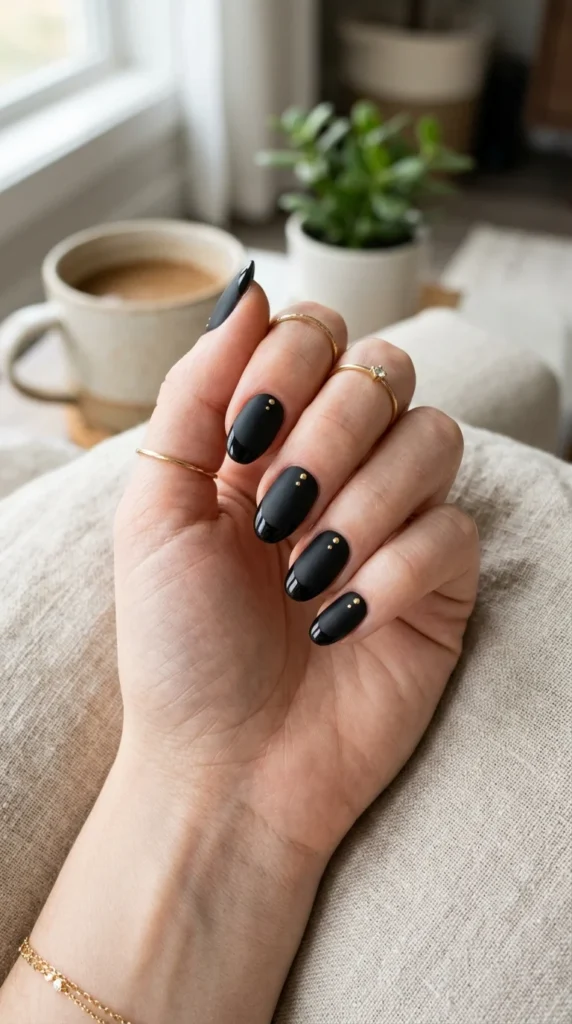
- Matte finish for a soft, modern vibe
- Glossy tips over matte nails for contrast
- Tiny silver or gold accents for a premium look
- Minimal star or dot designs for a celestial feel
Black nails are no longer just edgy—they’re chic, versatile, and seasonless. You can style them depending on your mood: cute, classy, or bold.
Final Thoughts
Black nail art is one of the easiest ways to look effortlessly stylish at home, even if you’re a total beginner. Once you master thin layers, simple tools, and minimal designs, you can create endless looks without needing a salon visit.
Start simple, practice steady hands, and experiment with black-and-white combos or matte finishes. You’ll be surprised how quickly your skills improve.
Save this guide for your next DIY nail day and try one design at a time—you’ve got this!