






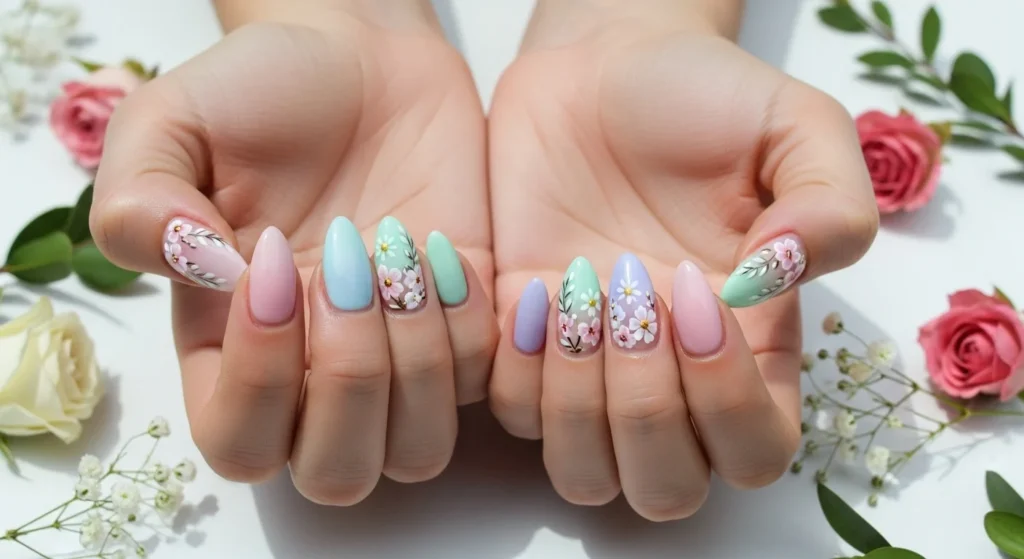
Spring is the season when everything feels softer, brighter, and more refreshing, and your nails deserve that same energy. Dark shades and heavy designs start to feel out of place, while airy colors and delicate details take center stage. If you want nail art that feels light, pretty, and perfectly suited for spring, these simple steps will help you create a look that feels effortless and fresh.
Step 1: Choose Soft, Spring-Inspired Colors
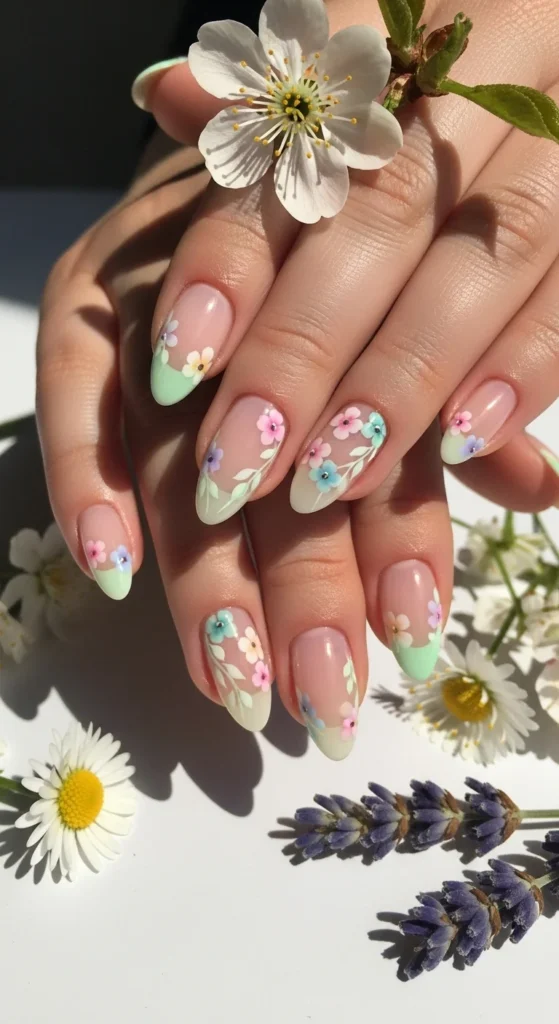
The first step is all about color. Spring nail art looks best when the palette feels calm and gentle rather than bold or dramatic. Pastels and soft neutrals instantly create a light and pretty base.
Milky white, sheer pink, lavender, mint green, baby blue, peach, and soft yellow are ideal choices. These shades feel fresh and feminine, and they pair beautifully with minimalist designs. If you love brighter colors, use them sparingly as accents so the overall look stays balanced and airy.
Step 2: Prep Your Nails for a Clean Base
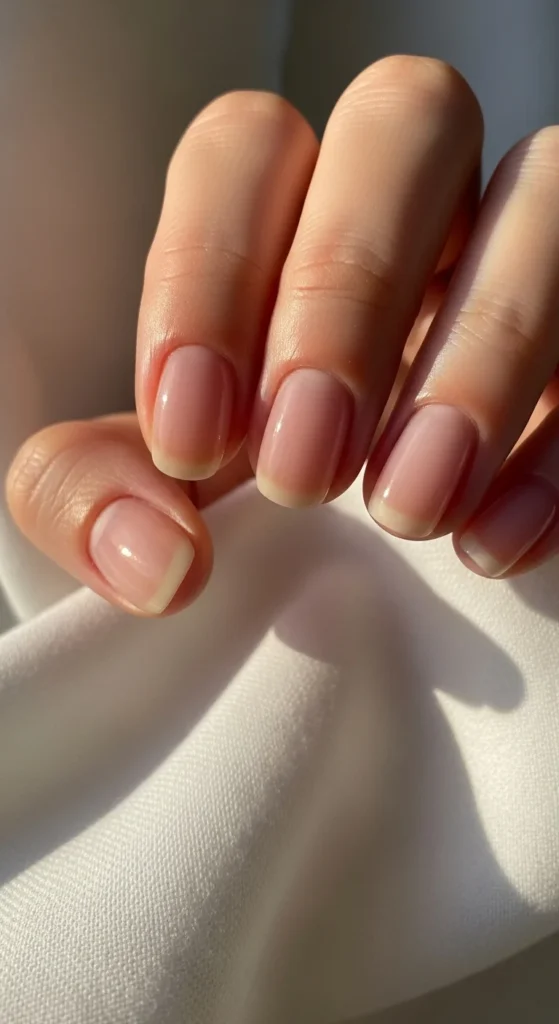
Good nail prep makes a huge difference in how light and polished your spring nail art looks. Clean, smooth nails allow soft colors and delicate designs to shine.
Shape your nails into softer styles like almond, oval, or short square. Gently push back cuticles, lightly buff the nail surface, and apply a smoothing base coat. A glossy base is especially flattering for spring because it reflects light and enhances pastel shades.
Step 3: Add Delicate and Minimal Designs
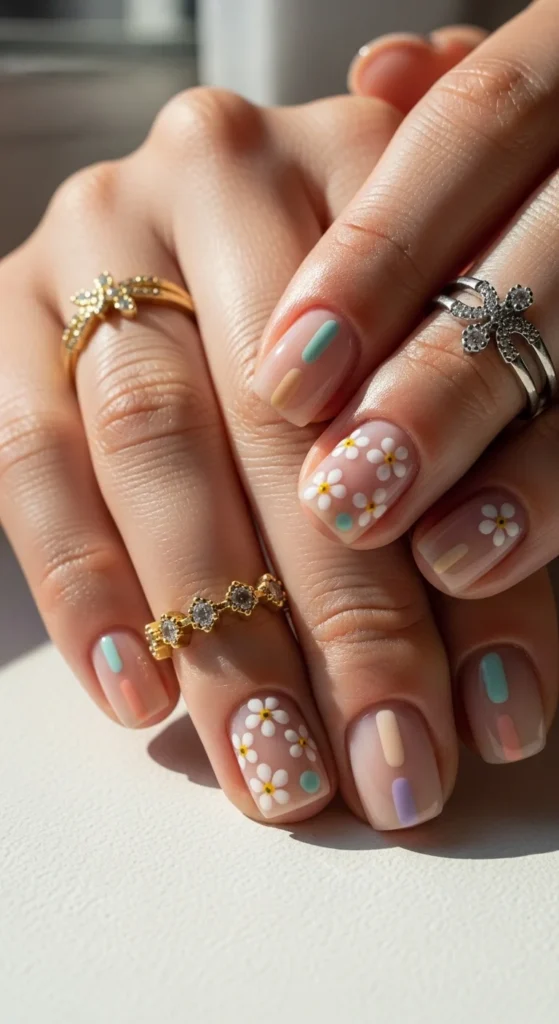
When it comes to spring nail art, subtle details always work best. Instead of filling the entire nail, focus on small designs that feel light and intentional.
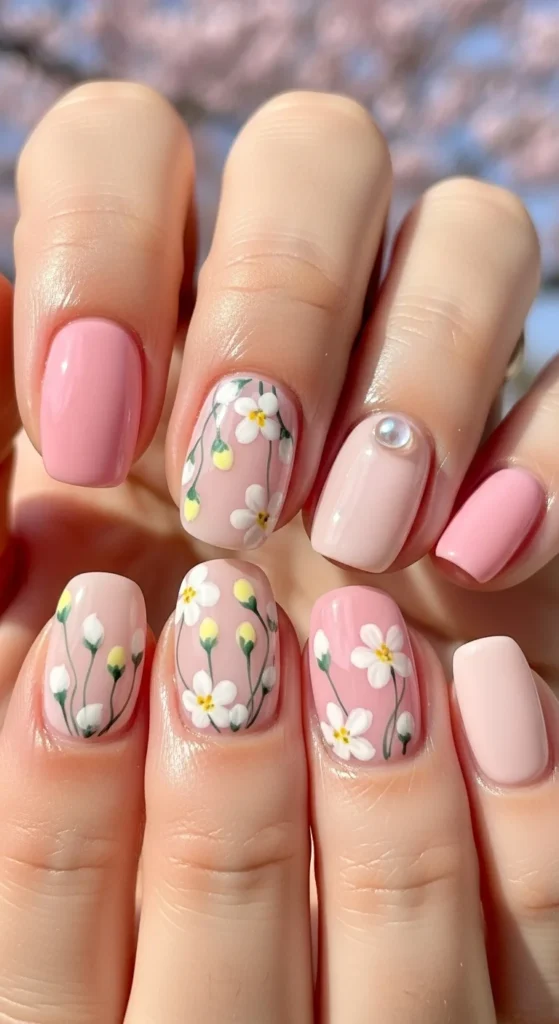
Tiny flowers, soft dots near the cuticle, thin pastel French tips, simple hearts, butterflies, or fine line art are all great options. These designs feel playful without being overpowering. You don’t need professional tools either. A dotting tool, toothpick, or bobby pin can help you create beautiful details at home.
Step 4: Use Sheer Layers and Negative Space
One of the easiest ways to keep nail art looking light is by letting some of the natural nail show through. Sheer layers and negative space make designs feel modern and breathable.
Sheer pinks or nude bases work perfectly for floating designs, half-moon details near the cuticle, or thin tips that don’t cover the entire nail. This approach keeps your nails looking clean and also helps the design grow out more gracefully.
Step 5: Add Subtle Texture for a Soft Touch
Texture can elevate spring nail art when used carefully. The key is to keep it minimal so it enhances the design rather than overpowering it.
A single pearl accent, a hint of fine shimmer, or a soft chrome highlight over a pastel base adds just enough interest. Limiting textured elements to one or two nails keeps the overall look elegant and light.
Step 6: Seal Everything With a Glossy Top Coat
The final step brings everything together. A good top coat smooths the surface, boosts shine, and helps your spring nail art last longer.
Apply the top coat gently to avoid smudging details and seal the edges of your nails to prevent chipping. Reapplying a thin layer every few days keeps your nails looking fresh and glossy.
Final Takeaway
Light and pretty spring nail art doesn’t need to be complicated. Soft colors, clean prep, delicate designs, and subtle details are all it takes to create a fresh seasonal look. Follow these steps, experiment with small details, and let your nails reflect the calm and cheerful vibe of spring.
Save this for later and come back to it whenever your nails need a spring refresh.