
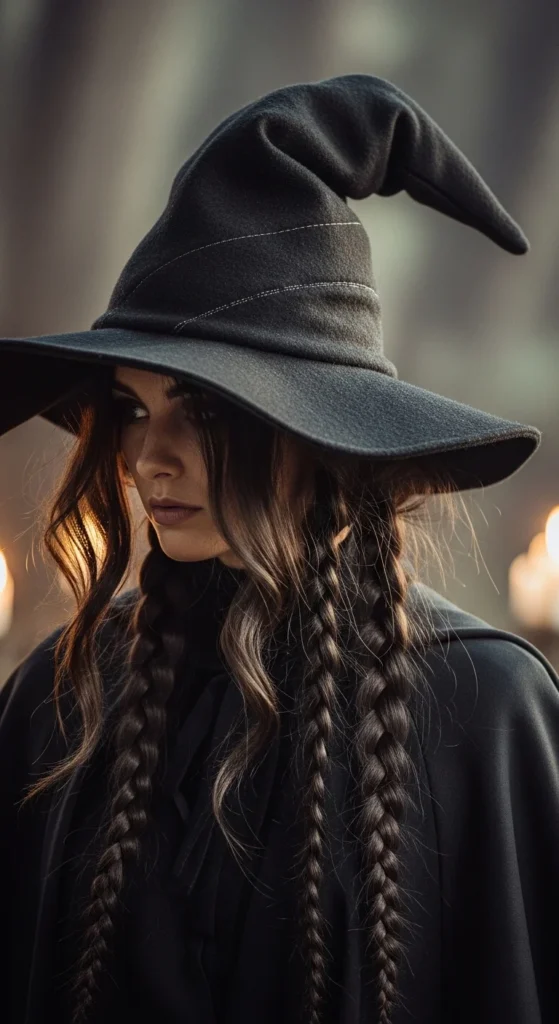
Every witchy look needs that little extra sprinkle of magic—and nothing adds instant texture, volume, and whimsy quite like braids. Whether you’re prepping for a last-minute Halloween party, channeling sea witch vibes, or just feeling a bit enchanted on a regular Tuesday, braided hairstyles can transform your ordinary hair into a mystical masterpiece. Today, we’re diving into easy, beginner-friendly ways to braid your hair for a witchy, voluminous effect that works for long, medium, and even short hair.
Easy Witchy Braids for Halloween
When it comes to Halloween hairstyles, simplicity is magic. Fluffy braids instantly add volume to your look while keeping it whimsical. Here’s a quick approach:
- Start with loose, brushed hair: Untangle any knots, but keep your hair soft and manageable.
- Choose your braid type: Dutch braids are perfect for full, textured hair. Fishtail braids create a mystical, intricate vibe. Rope twists add an effortless, enchanted feel.
- Secure with an elastic: Use a clear or black elastic to keep the braid in place.
Pro tip: Pull gently at the braid sections once complete to create a “pancaked,” voluminous effect. This is the secret to fluffy, goddess-style witch hair.
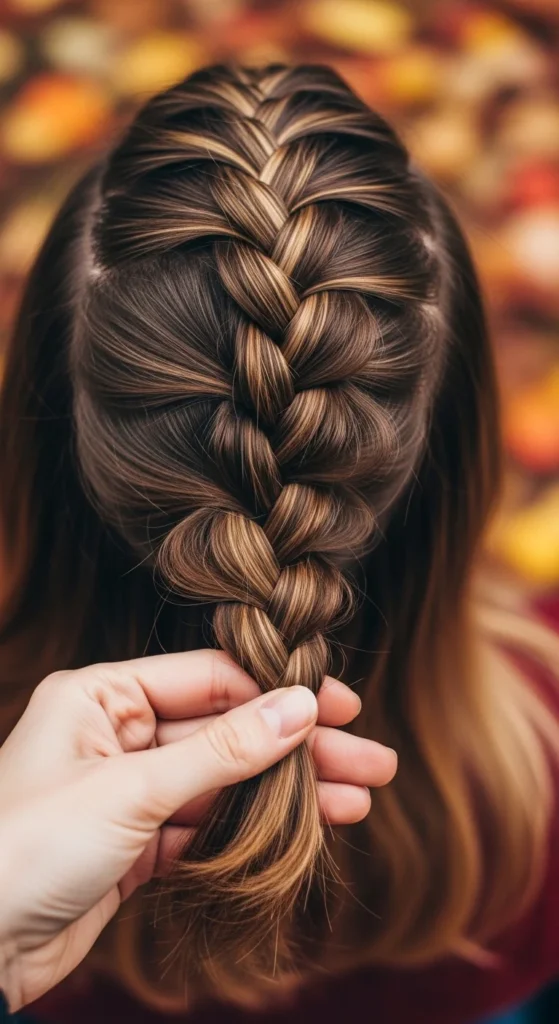
Step-by-Step Witch Braid Tutorial
If you’re a beginner, don’t worry—this 3-step guide makes it foolproof:
- Section your hair
Decide if you want one main braid, two side braids, or smaller micro braids for accents. Clip away the rest of your hair to keep sections tidy. - Braid it
Start your braid close to the scalp (like a French or Dutch braid) or mid-length for a relaxed look. Add hair gradually for a fuller, voluminous style. - Pull it out
Gently tug at each braid loop to create softness and texture. This gives a mystical, “just cast a spell” vibe.
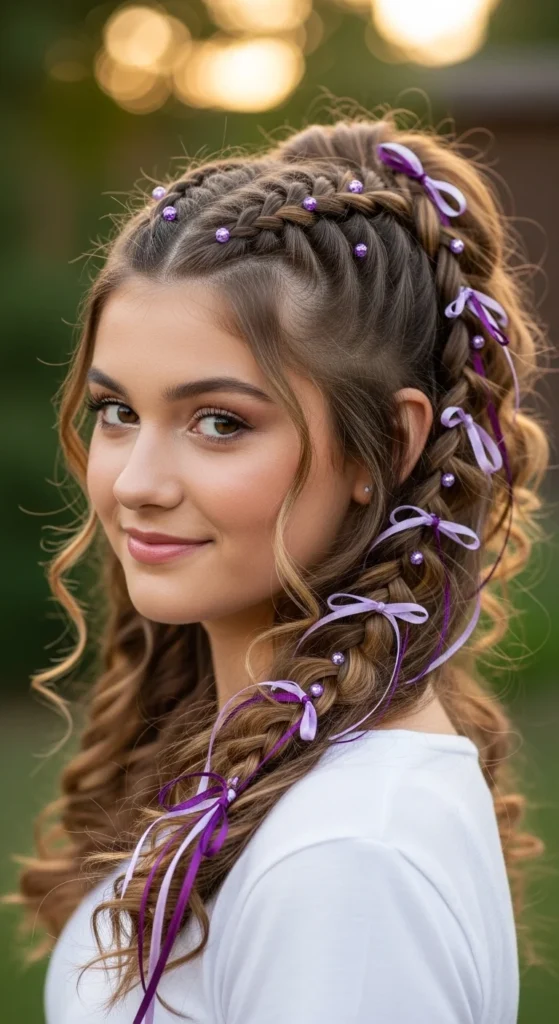
Tip: For extra magic, weave in ribbons, beads, or small hair clips as you go. It’s perfect for an enchanting fairycore finish.
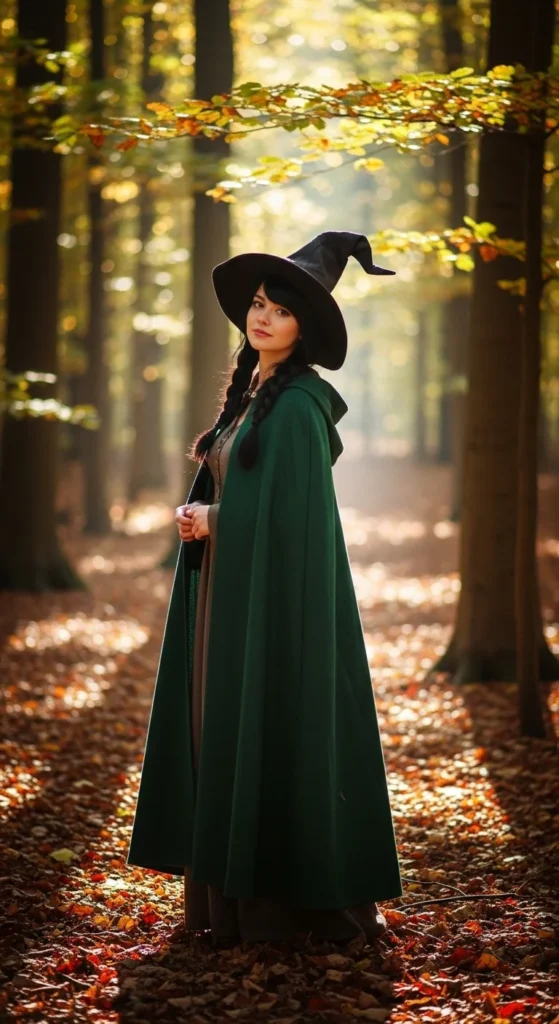
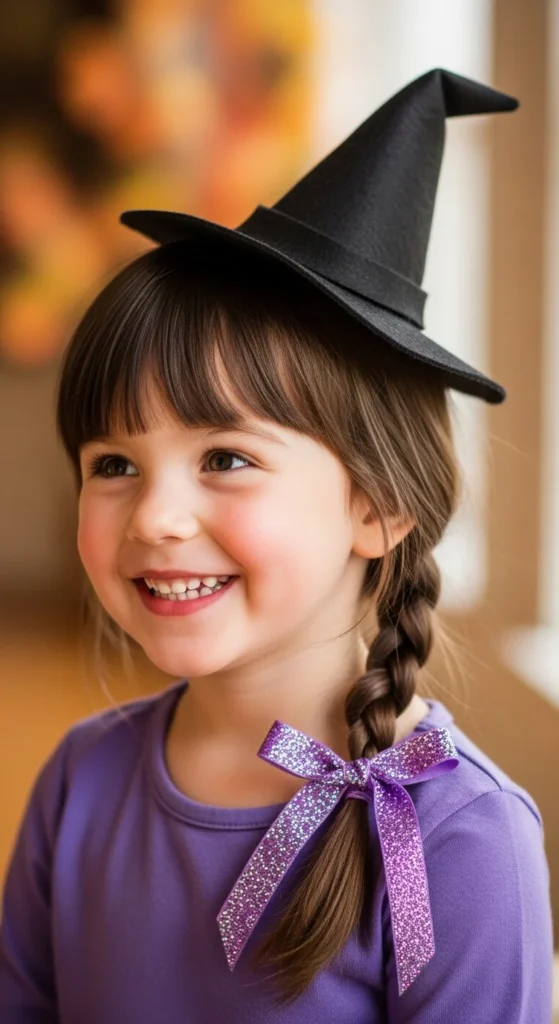
Witch Hat Hairstyle Compatibility
One of the trickiest parts of a witch braid is making it work under a hat. The goal is comfort without sacrificing style:
- High ponytail base: Creates space for your hat to sit without flattening the braid.
- Side or low braids: Keep braiding loose and slightly messy so they peek out beautifully under the brim.
- Face-framing pieces: Pull a few strands around your face to soften the silhouette and add that ethereal, magical vibe.
Pro tip: If your hair is shorter, fake braid extensions can give instant texture without extra fuss.
Protective Braids with Intention
Some witches like to combine a hairstyle with a bit of magic. The “protection braid” is a simple way to add spiritual intention while looking fabulous:
- Set your intention: Think of your braid as a charm for protection, confidence, or calm.
- Braid with purpose: As you weave, focus on your intention. Even a simple three-strand braid can feel magical.
- Secure and accessorize: Add a small ribbon or bead to symbolize your intention.
This approach works beautifully for kids’ Halloween hair too—fun, safe, and spiritually inspired.
Quick Tools and Tips
Before you start, here’s a mini checklist to keep your witch braids perfect:
- Elastics: Clear or black to secure braids.
- Bobby pins: Essential for keeping face-framing pieces in place.
- Wax spray: Tames flyaways and keeps braids smooth.
- Beads, ribbons, clips: Optional magical finishing touches.
- Extensions: Great for extra volume or creating long, flowing witchy braids.
And remember: loose, slightly messy braids are more enchanting than perfect, tight ones. Volume, fluff, and texture are the real magic here.
Wrapping It Up
Adding braids to a witch hairstyle is the perfect blend of practicality and enchantment. Whether you’re going full Halloween glam, crafting a last-minute witchy vibe, or styling for a family-friendly event, fluffy and voluminous braids make every look magical. Don’t forget to pull the braid slightly for fullness, add whimsical accessories, and leave some face-framing strands for softness.
Save this tutorial for your next spellbinding night out—or for the ultimate last-minute Halloween hairstyle that will have everyone asking how you did it!

Leave a Reply