
There’s something quietly powerful about French tip nails. They’re clean, elegant, and somehow make your hands look instantly put together—even if the rest of your day feels chaotic. The best part? You don’t need a salon visit or a perfectly steady hand to get that crisp, timeless look at home.
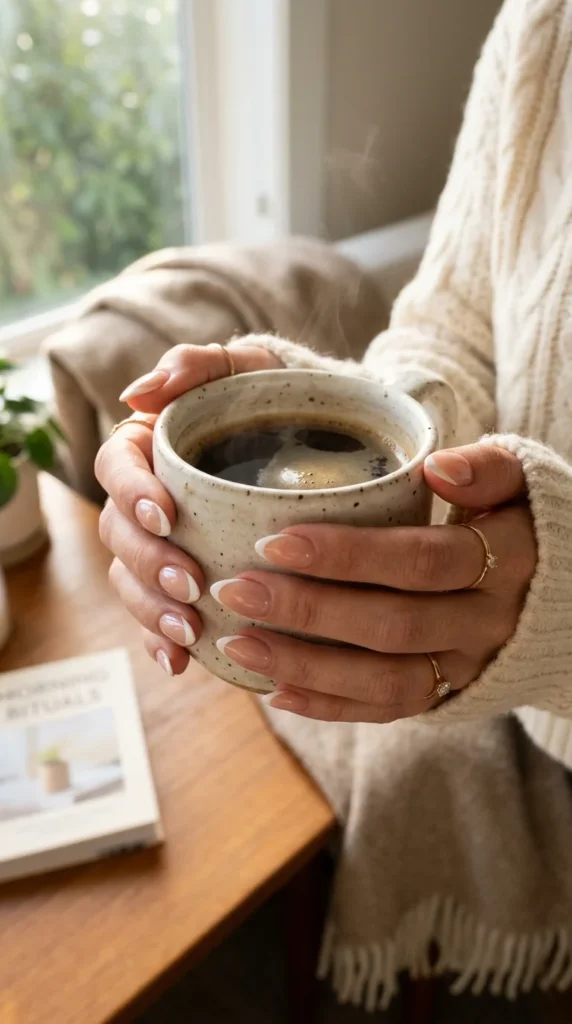
This guide focuses on the fastest, beginner-friendly way to create French tips with minimal tools, plus modern upgrades like micro French, colored tips, and easy fixes for shaky hands or short nails.
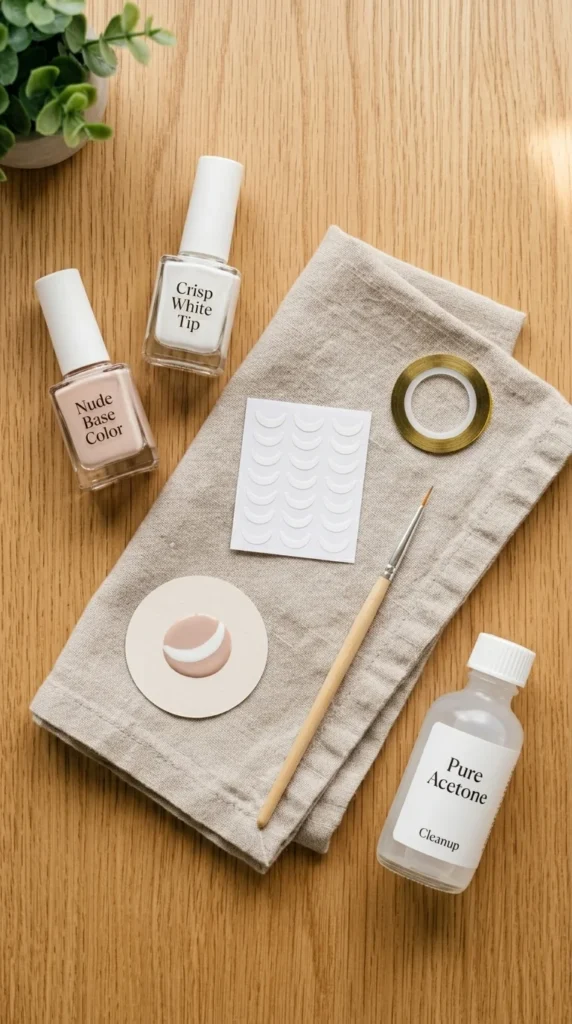
The Minimum Tools You Need (Beginner Kit)
You don’t need a drawer full of nail art supplies. This is your minimum viable kit for clean lines and a salon-quality finish at home.
Essentials:
- Nude or sheer pink base polish (try shades from OPI or Essie)
- White polish for the tip
- Base coat + glossy top coat
- French nail guide stickers
- Small brush + a little acetone for cleanup
Optional upgrades (if you want extra precision):
- Striping tape
- Silicone stamper
- Fine nail art brush
These tools matter because most people struggle with one thing: getting a clean smile line without freehand stress.
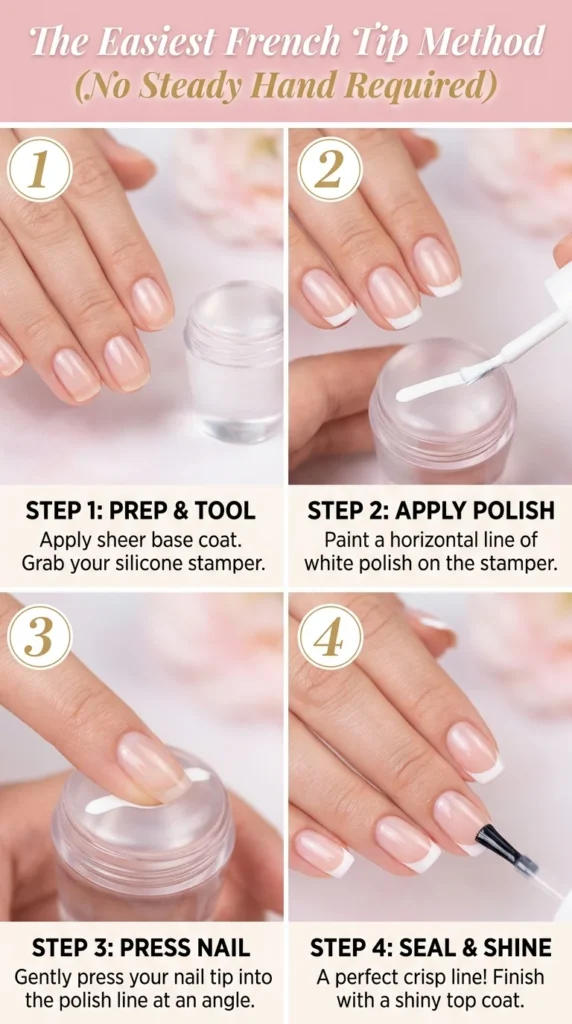
Step-by-Step: The Easiest French Tip Method (No Steady Hand Required)
This method is why French tips are now labeled “beginner-friendly” everywhere.
Step 1: Prep and Base
- Shape your nails (square, oval, almond—all work)
- Apply base coat
- Apply 1–2 coats of nude or sheer pink polish
- Let it dry completely
Step 2: Place the Guide Stickers
This is the game changer. Place the sticker where you want the tip to start. This curve is called the smile line.
Step 3: Paint the Tip
Paint the white polish above the sticker. Don’t worry about perfection.
Step 4: Peel While Wet
Peel the sticker off before the polish fully dries for the cleanest line.
Step 5: Cleanup Trick
Dip a small brush in acetone and gently trace under the smile line to sharpen it.
Step 6: Glossy Top Coat
Seal everything with a glossy top coat for that classic French manicure shine.
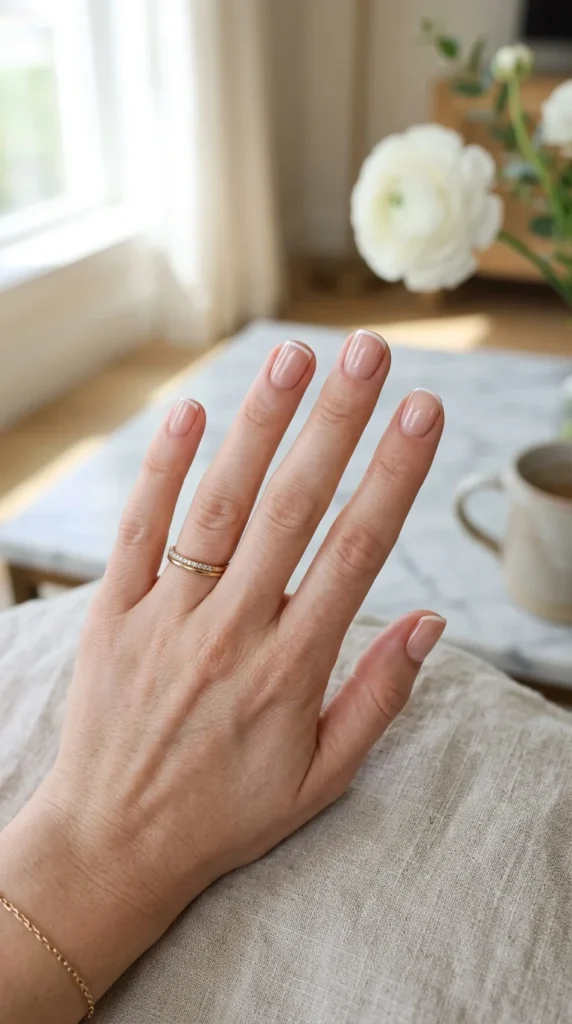
Micro French: The Modern, Office-Perfect Upgrade
If thick white tips feel outdated to you, you’re not alone. The biggest shift in French manicures is the micro French: ultra-thin, delicate lines that look minimal and modern.
This works beautifully for the following:
- Short nails
- Wide nail beds
- Everyday office looks
- The clean girl aesthetic
Instead of painting a thick tip, use:
- A fine brush, or
- The edge of striping tape as a guide
Keep the line very thin. Less is more here.
French Tips for Short Nails (Yes, They Look Amazing)
A common frustration is “My nails are too short for French tips.” Actually, short nails are perfect for micro or thin French styles.
Tips for short nails:
- Keep the tip thin (micro-French)
- Curve the smile line slightly higher on the sides
- Avoid thick white blocks at the edge
- Use sheer pink bases to elongate the nail visually
This creates the illusion of longer, slimmer nails without extensions.
Easy Style Upgrades Using the Same Technique
Once you master the basic white tip, you can create multiple looks using the same method.
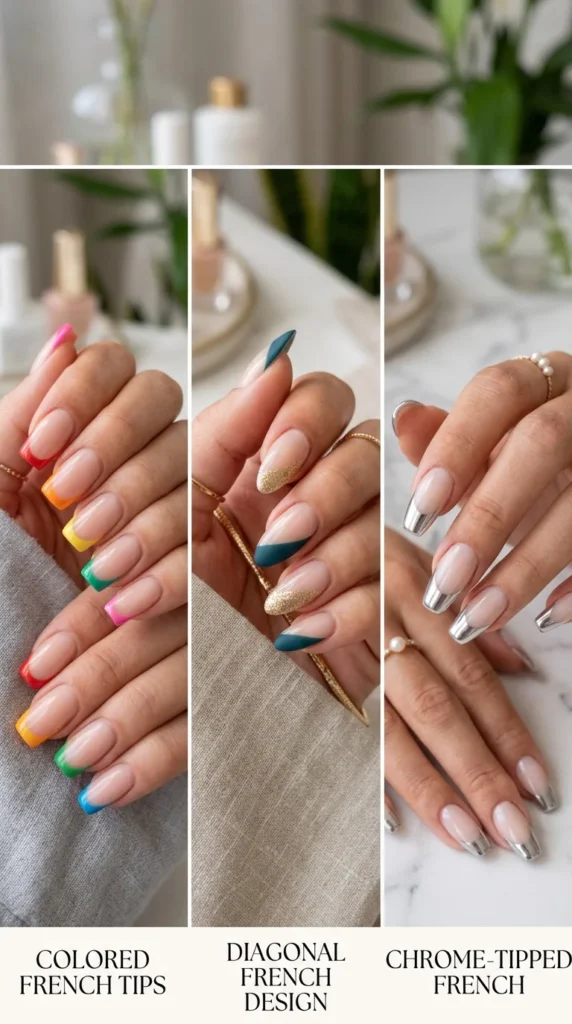
Colored Tips
Swap white for pastel, neon, or soft brown.
Diagonal French
Use striping tape diagonally instead of curvedly.
Double Line French
Create a thin white tip, then add a tiny gap and another line above it.
Chrome or Metallic French
Apply chrome powder over the white tip before top coat for a glazed finish.
Fashion sources like Who What Wear and Vogue regularly show how these variations are replacing the old thick-tip style.
Troubleshooting: Fixing the Most Common French Tip Problems
Problem: Messy edges or polish bleed
Fix: Peel stickers while wet + cleanup brush with acetone.
Problem: Uneven smile line
Fix: Let the base dry fully before placing stickers.
Problem: Tips look too thick
Fix: Switch to micro French using a fine brush.
Problem: Shaky hands
Fix: Stickers or silicone stamper method—no freehand needed.
Problem: Chipping quickly
Fix: Cap the edge of your nail with topcoat.
Creators like Gabby Angelique and Tina Yong often demonstrate these beginner hacks in short tutorials.
Choosing Your Finish: Glossy, Matte, or Chrome?
Your top coat changes the entire vibe.
| Finish | Look | Best For |
|---|---|---|
| Glossy | Classic, timeless | Everyday wear, weddings |
| Matt | Soft, modern | Minimalist looks |
| Chrome/Glazed | Trendy, reflective | Events, fashion-forward styles |
The classic glossy top coat is still the most versatile for a timeless everyday mani.
Gel Polish or Regular Polish?
If you want your French tips to last 2–3 weeks:
- Use gel polish
- Cure between steps
- Same sticker method applies
Many DIYers now use gel systems inspired by brands like Nails Inc. and tools from Makartt for longer wear at home.
Final Thoughts
French tip nails aren’t about perfect white stripes anymore. They’re about clean lines, subtle detail, and personal style—whether that’s micro French, colored tips, or a classic glossy finish. Start with the sticker method. Try micro French on short nails. Experiment with color once you’re confident.
This timeless manicure is now one of the easiest DIY nail looks you can master at home.
Save this guide for your next at-home mani session!

Leave a Reply