
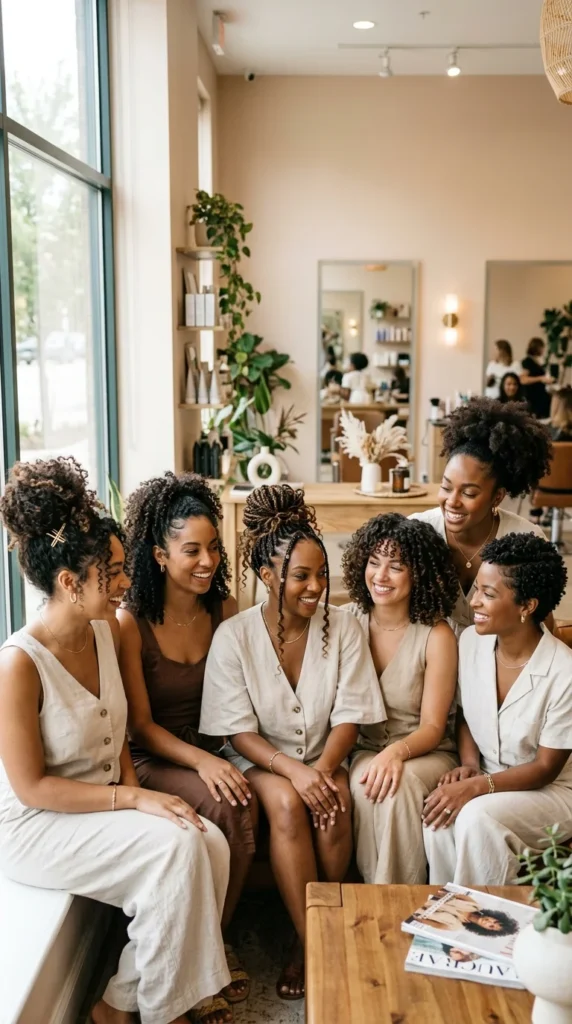
Curly hair styling has shifted toward fast, wearable, and low-skill looks that still feel polished. Readers want styles that work with their curl pattern, tame frizz in humidity, and stay neat from morning to night. This guide sorts easy curly hairstyles into practical buckets like buns, ponytails, braids, half-up looks, and short cuts that style themselves. Each idea includes simple steps, budget-friendly tips, and product notes for definition, volume, and frizz control.
1. Messy High Curly Bun for Humid Days
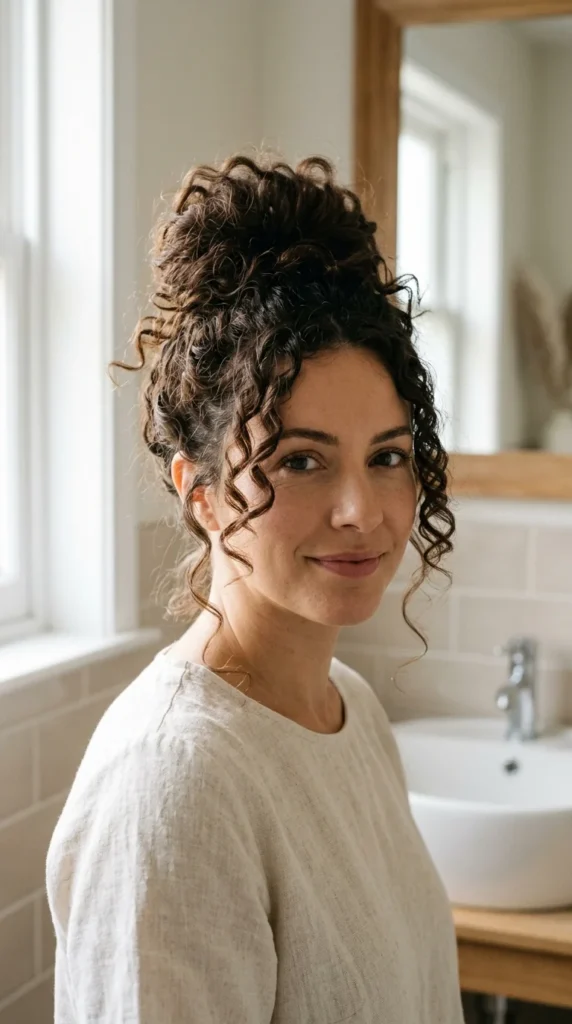
Flip your head forward and gather your curls at the crown. Twist loosely and secure with a soft scrunchie. Pull out a few curls near the temples for face framing. This bun keeps hair off your neck and away from your eyes. It works well on second-day curls that still have shape. The finish looks relaxed but neat for work, errands, or school.
Scrunch a small amount of lightweight mousse before styling if curls feel flat. Smooth a pea-sized gel over the crown for frizz control in humidity. Avoid tight tension so your curls keep their bounce. A fabric tie or scarf strip prevents dents and keeps this style damage-free.
2. Low Curly Bun with Center Part
Create a clean center part using your fingers. Lightly smooth the top with damp palms. Gather hair at the nape and twist into a soft low bun. Pin in place and allow a few curls to sit near the ears. This shape looks polished without hiding your natural texture.
Use a small amount of gel for clumping along the hairline to keep frizz down. Keep the bun loose so curls do not flatten. Basic bobby pins in an X shape hold well. This style shifts easily from day wear to evening plans.
3. Half-Up Clip Style for Thick Curls
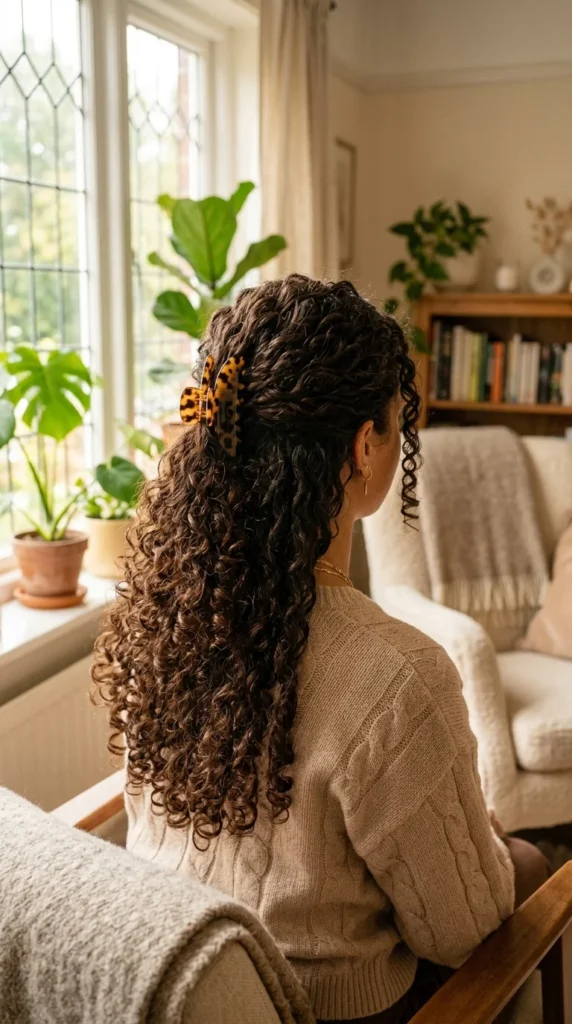
Section the top half from temple to temple. Twist once and secure with a claw clip. Let the rest of your curls fall freely. This adds lift at the crown and keeps hair away from your face. It feels polished but still very comfortable.
Scrunch mousse into the roots for extra volume before clipping. Diffuse for two minutes if you want more lift, or air dry for a softer finish. A medium claw clip grips thick curls without pulling or slipping.
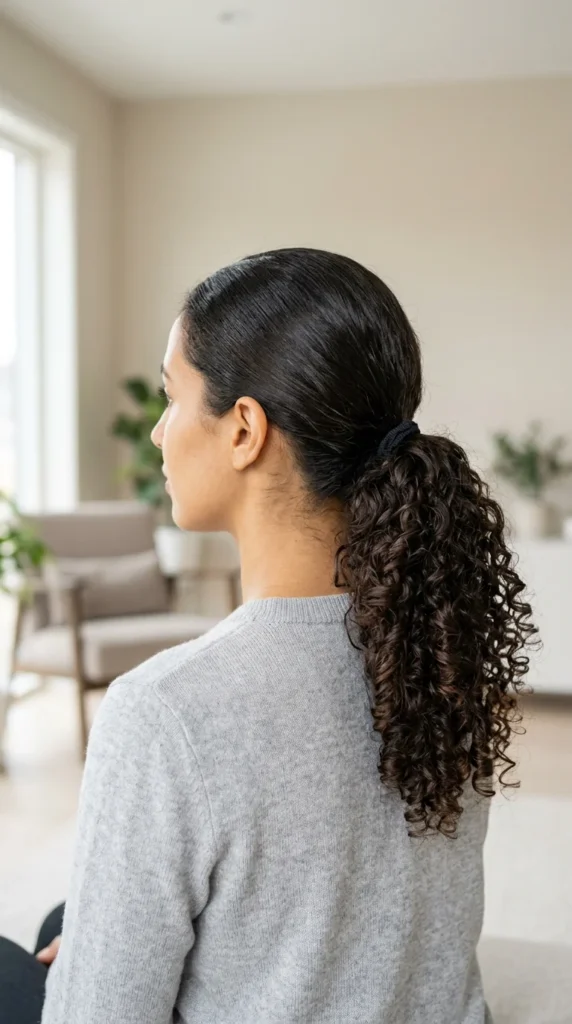
4. Curly Ponytail with Wrapped Base
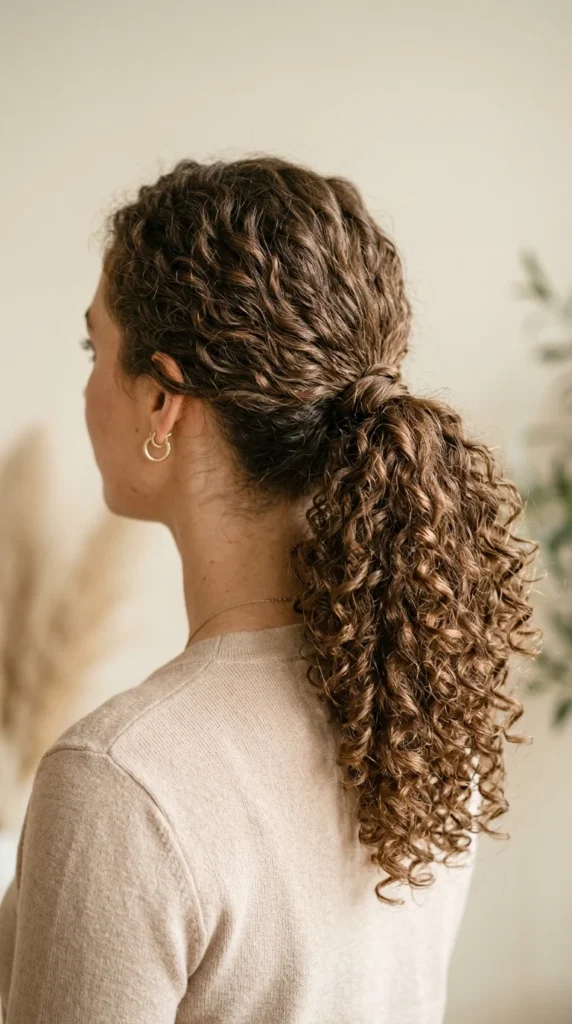
Tie your curls into a mid-height ponytail. Take a small curl from the pony and wrap it around the hair tie. Pin it underneath to hide the elastic. This tiny step makes the ponytail look salon-finished in seconds.
Smooth gel lightly over the crown for definition and neat edges. Shake the pony to let curls separate and look bouncy. This works well on second-day curls that still have their shape and shine.
5. Loose Side Braid on Defined Curls
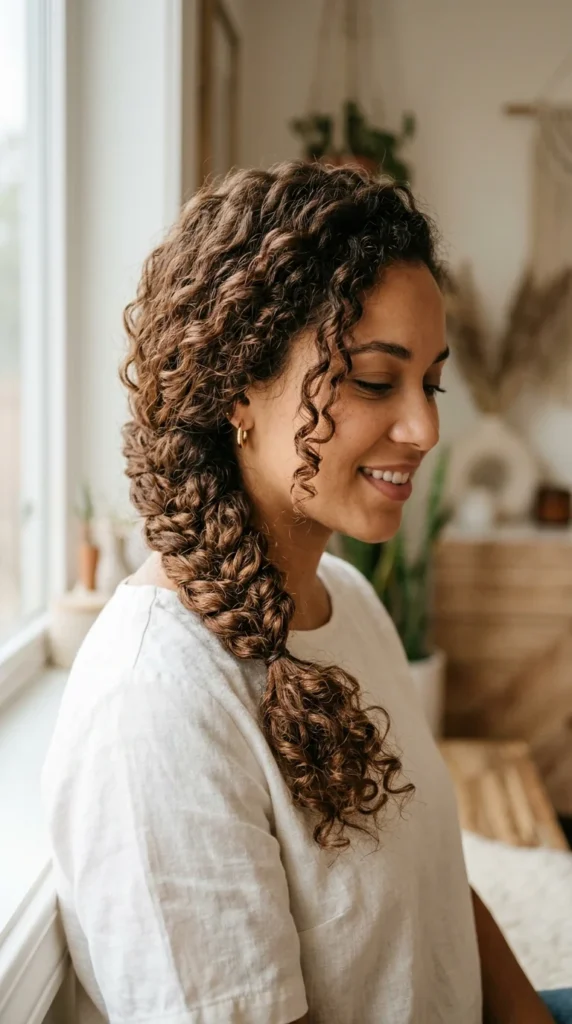
Part your hair to one side and bring all curls over one shoulder. Create a loose three-strand braid and secure it softly at the end. This keeps curls controlled while still showing their texture and shape.
Apply mousse before braiding for better grip and frizz control. Gently pull at the braid to make it look fuller. A small clear elastic works well and keeps the style light and comfortable.
6. Half-Up Top Knot in Two Minutes
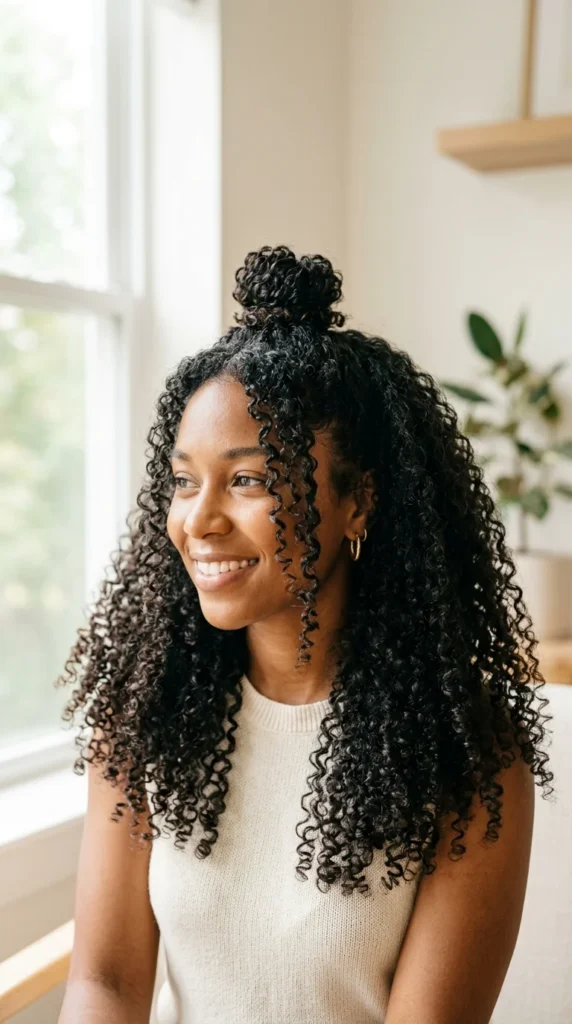
Take the top section of your curls from temple to temple. Twist it into a small bun at the crown and secure with a soft tie. Leave the rest of your curls down and untouched. This gives instant lift and keeps hair away from your face without hiding your texture.
Add a touch of lightweight mousse at the roots before tying for extra volume. Keep the knot loose so curls stay bouncy and defined. This style works well for thick curls and stays comfortable all day at work or school.
7. Curly Shag That Styles Itself
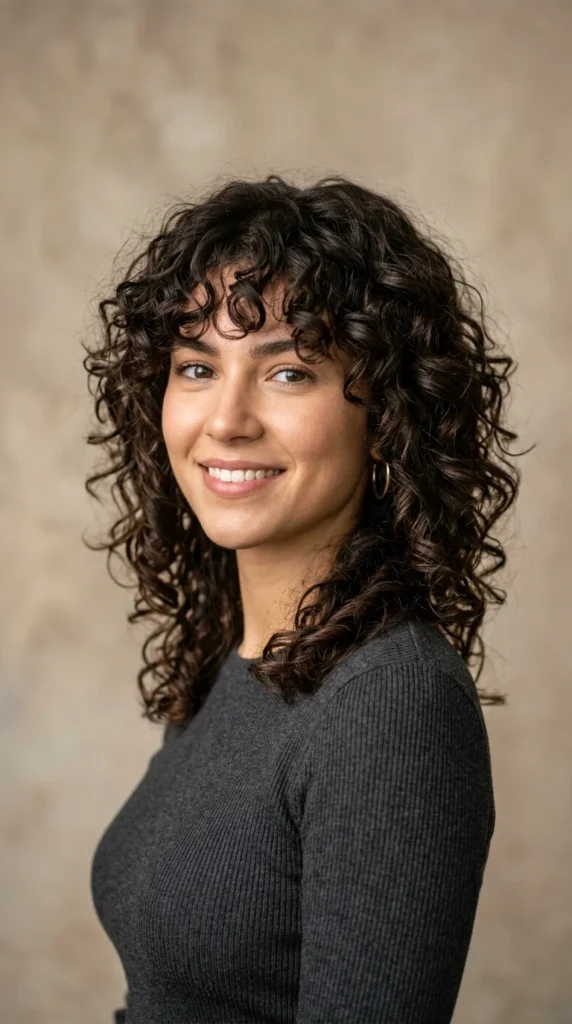
A curly shag uses layers to remove bulk and add movement to your natural texture. After washing, scrunch in mousse and let your hair air dry. The cut does most of the styling work for you with very little effort.
Ask for soft face-framing layers and light bangs to shape the front. This cut supports definition and volume without heavy products. It suits people who want a low-maintenance routine and a shape that falls into place daily.
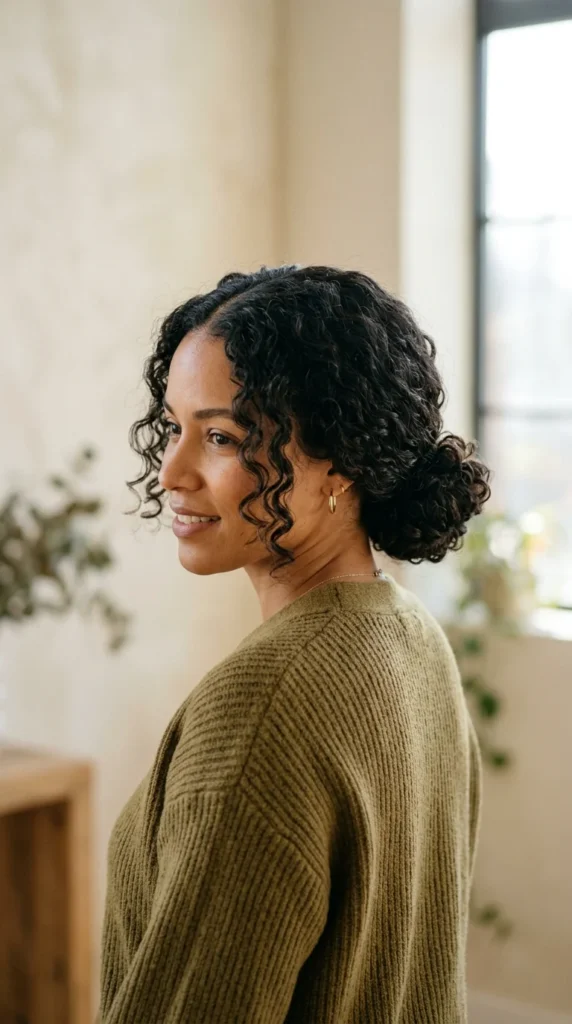
8. Curly Bob with Blunt Ends
A blunt curly bob holds its form naturally and looks neat without much styling. Scrunch mousse into damp curls and let them dry as they are. The ends look full and healthy with minimal manipulation.
This cut is great for frizz control because shorter length reduces tangling. Air drying works well here, which saves time and tools. It is a smart choice if you want curls that behave with very little daily effort.
9. Curtain Bangs on Natural Curls
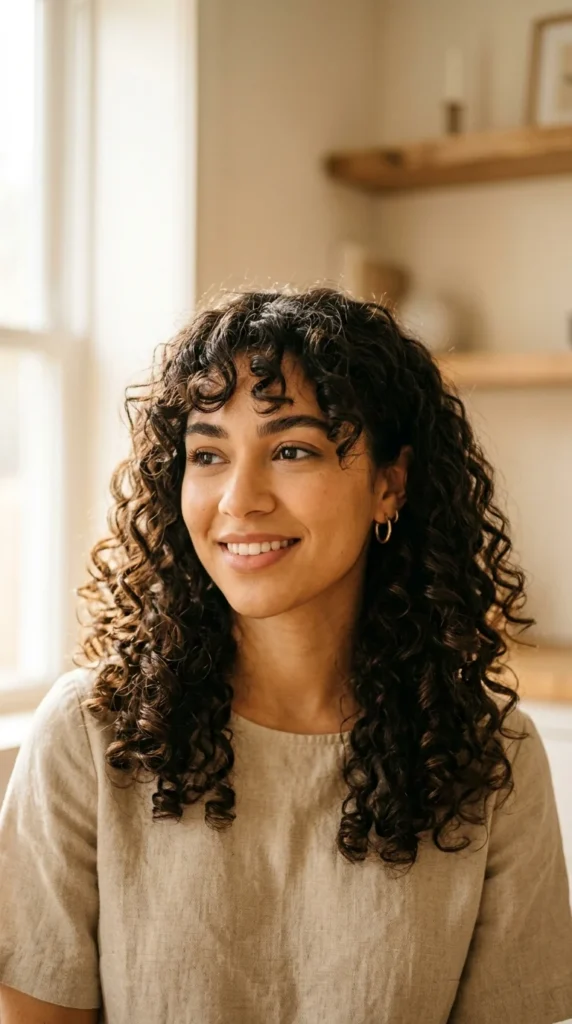
Curtain bangs frame your face gently without requiring heavy styling. While your curls are damp, separate the front pieces with your fingers and let them fall naturally into place. This creates a soft and flattering shape around the eyes and cheeks.
Add a tiny amount of gel near the fringe for definition and to reduce frizz. You do not need tools for this look. Your hands are enough to guide the curls into position each morning.
10. Pineapple Updo for Sleep and Style
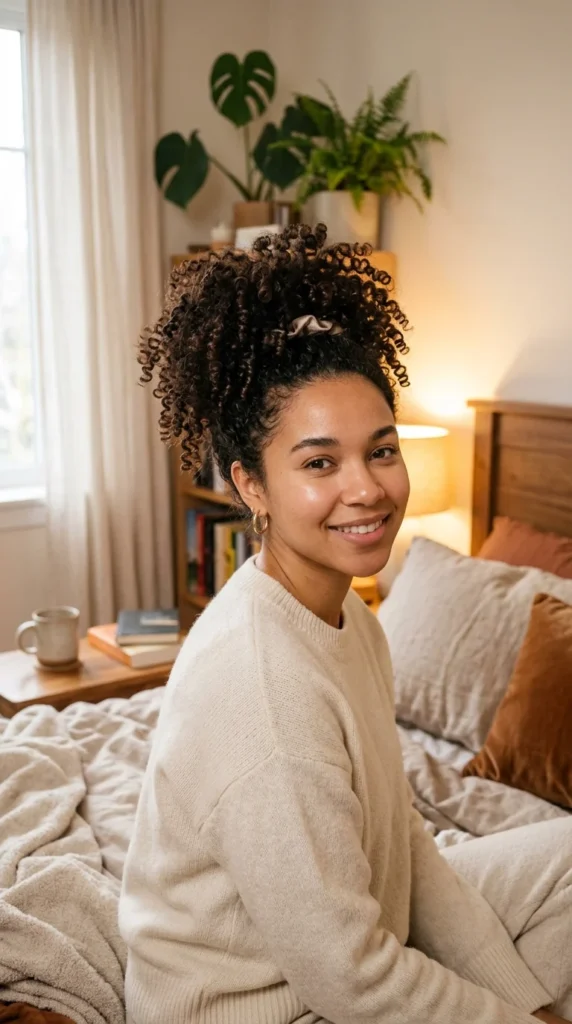
Gather your curls loosely on top of your head before sleeping and secure them with a soft scrunchie. In the morning, remove the tie and gently shake your curls out. You already have volume and shape without restyling.
If some sections look flat, scrunch in a little mousse and let them air dry. This method protects your curl pattern overnight and makes second-day styling quick and simple.
11. Double Mini Buns for Playful Volume
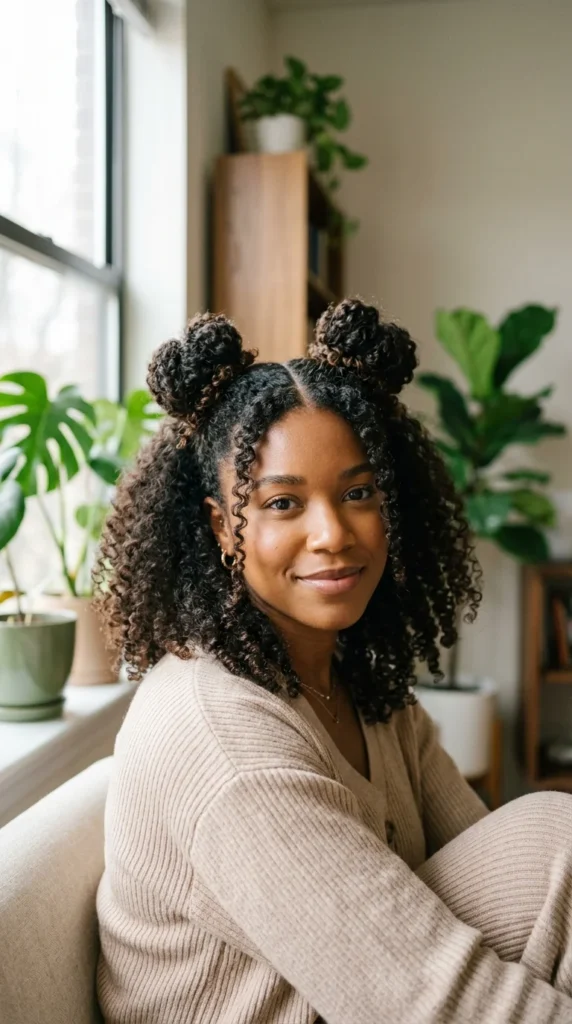
Part your curls down the middle from forehead to nape. Gather each side into a small bun on the top half of your head. Leave a few curls loose near the neck and ears for a soft frame. This style controls volume while still showing your natural texture.
Scrunch a little lightweight mousse into the roots before tying to add lift. Keep the buns loose so curls stay bouncy and defined. Two small hair ties are enough, and the style feels fun without taking more than a few minutes.
12. Low Ponytail with Defined Crown
Smooth the crown gently with damp palms and gather your curls into a low ponytail. Let the curls fall freely at the back while keeping the top neat. This shape looks tidy and works well for work or school.
Use a small amount of gel for clumping on the crown to reduce frizz. The ponytail shows off your curl pattern without much effort. You only need a basic hair tie and a minute to create this look.
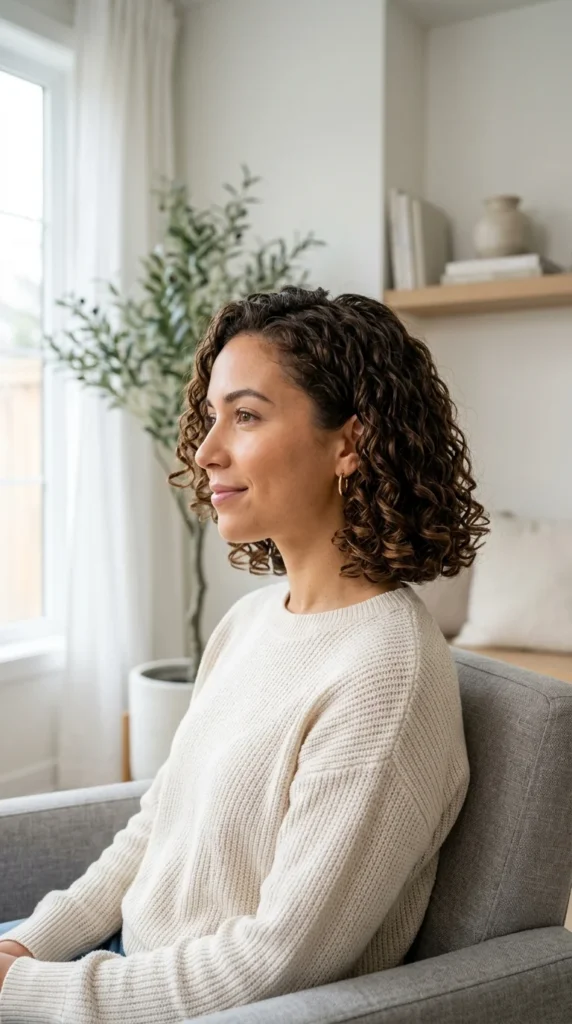
13. Side Part Volume Flip
Change your part to the opposite side of where it usually sits. Lift the roots gently with your fingers and let the curls fall naturally. This simple shift creates instant volume without tools.
Add mousse near the roots if curls look flat. This works as a quick rescue on second-day hair. No clips, ties, or pins required, just your hands and a few seconds.
14. Headscarf Half-Up Style
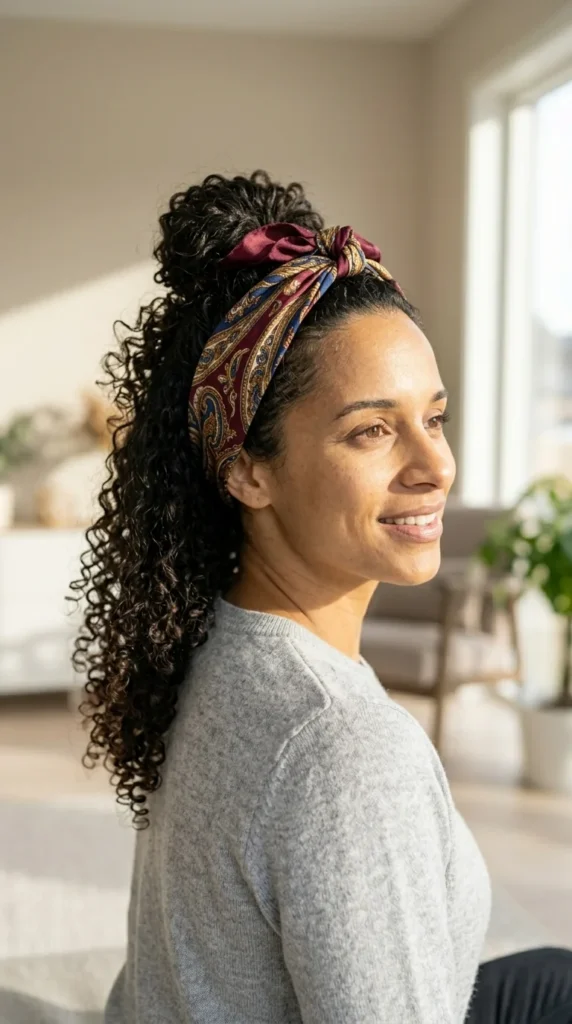
Place a lightweight scarf around the crown and tie it gently. Let the rest of your curls fall down your back. This keeps hair out of your face and adds a stylish touch at the same time.
This style is helpful in humid weather because the scarf controls frizz near the roots. You can use any scarf you already own, which makes this both practical and budget friendly.
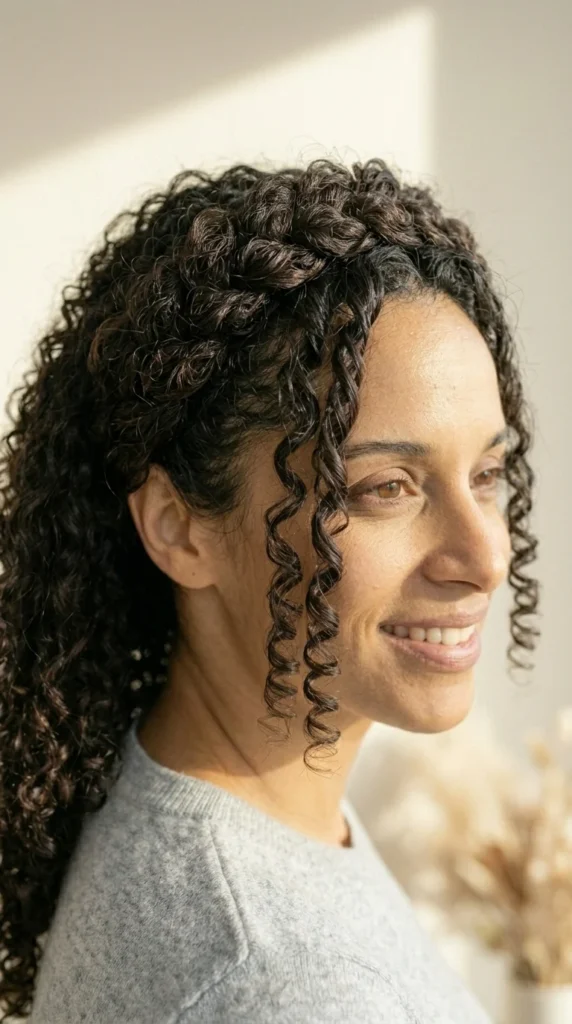
15. Finger-Coiled Front Pieces for Face Framing
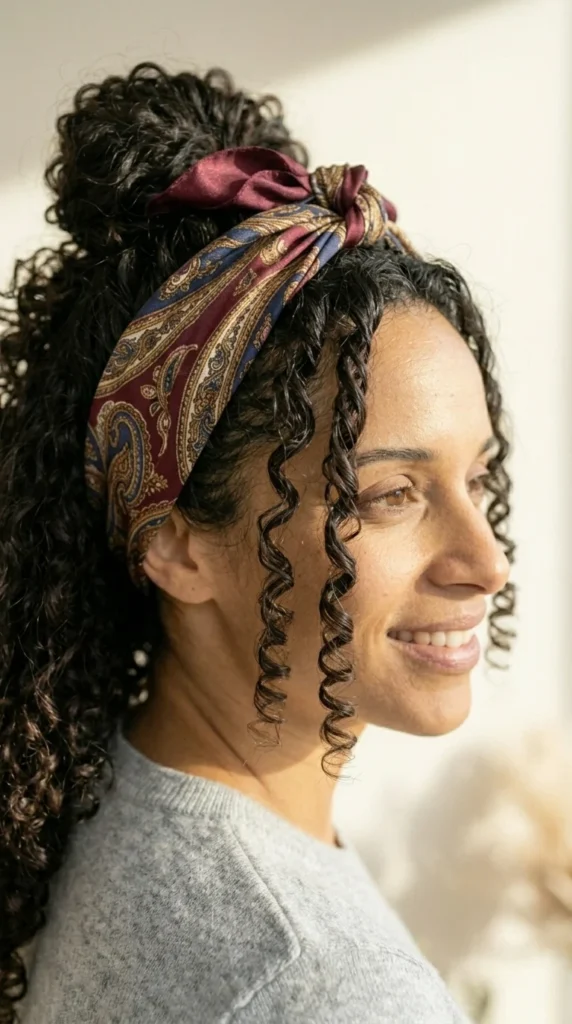
Take small front sections while your hair is damp. Wrap each piece around your finger with a bit of mousse to create defined coils. Let the rest of your curls dry naturally without extra work.
This method helps when the front curls look uneven or frizzy. It shapes the face and adds clean definition where it matters most. No tools required, just your fingers and a small amount of product.
16. Braided Crown on Curly Texture
Take a small section from one side near the temple. Create a loose braid and guide it across the crown toward the opposite ear. Pin it gently behind the ear and let the rest of your curls fall freely. This keeps hair away from your face while still showing volume and texture.
Use a bit of mousse before braiding for grip and better hold. Keep the braid soft so it blends with your curls instead of flattening them. A few bobby pins are enough to secure the style for the whole day.
17. High Puff for Tight Curls
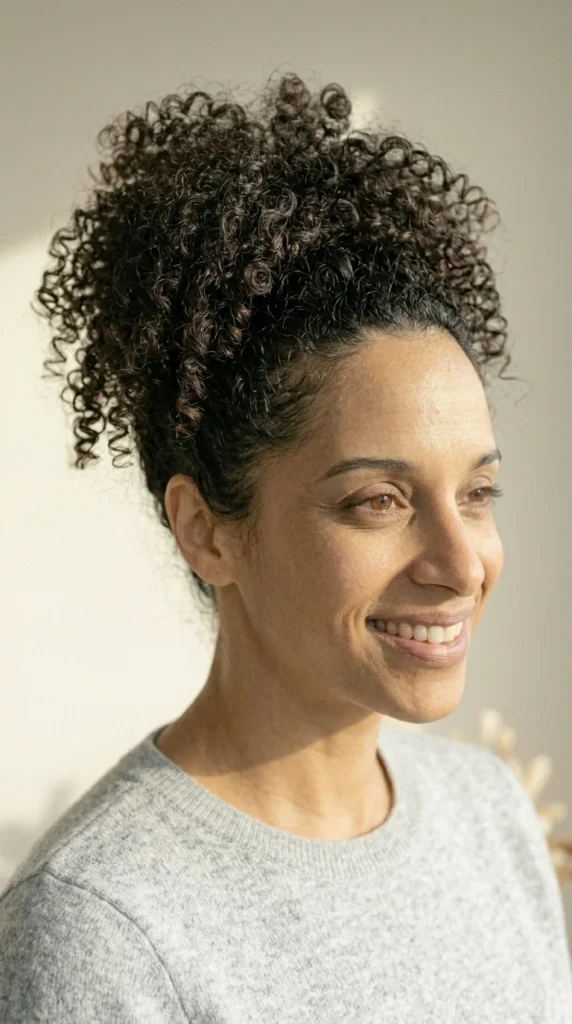
Gather your curls high on the crown using a stretchy band or headband. Let the puff expand naturally into a rounded shape. This style highlights volume and keeps curls controlled at the same time.
Smooth a small amount of gel along the edges for a neat frame and better frizz control. This works well for tighter curl patterns and takes less than two minutes to create from start to finish.
18. Clipped Back Temple Sections

Take small sections from both temples and clip them back gently. Let the rest of your curls fall down your back and shoulders. This keeps your face clear without changing your overall style.
Add a touch of mousse at the front if those pieces tend to frizz. Two small clips are enough to hold everything in place. This works for all curl types and lengths.
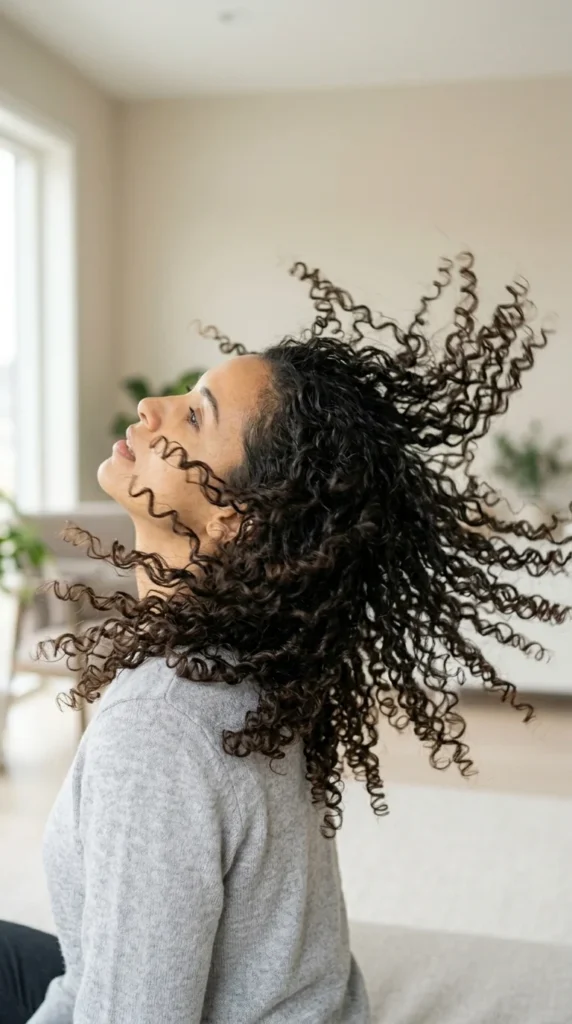
19. Diffused Wash-Day Volume Style
Apply mousse evenly to wet curls and flip your head upside down. Diffuse at the roots first for lift, then move to the ends. Stop when hair is mostly dry and let air finish the rest.
This method gives big volume and defined curls without stiffness. If you do not have a diffuser, air drying still works well with mousse and gentle scrunching.
20. Second-Day Refresh with Water and Gel

Lightly wet your palms with water and scrunch your curls upward. Add a small amount of gel and scrunch again to bring back clumping and shape. Let the curls dry naturally without touching them.
This refresh method saves time and avoids a full wash. It brings back definition and reduces frizz using only water and a tiny bit of product. Perfect for busy mornings.
Conclusion
These easy curly styles keep your routine quick while letting your natural texture shine. Pick a few that match your curl pattern, length, and daily schedule, then rotate them through the week for stress-free hair days. Try one tomorrow morning and see how fast your curls can look salon-ready with minimal effort.

Leave a Reply