
There’s something quietly powerful about looking down at your hands and seeing clean, glossy, professional-looking nails you did yourself. No appointments. No fancy tools. Just a calm moment, a few simple steps, and that salon-simple finish that feels like quiet luxury.
Simple nails at home aren’t “basic.” They’re pro-minimal. They’re the clean-girl, low-maintenance manicure that looks expensive but takes very little effort.
Let’s break this into what actually matters: Prep. Polish. Protect.
Nail Health Pre-Check (Before You Even Start)
Most manicure problems start before the polish.
Quick checklist:
- Peeling or brittle nails? Skip harsh removers.
- Uneven edges? File into a soft, rounded, oval, or squoval shape.
- Dry cuticles? Oil them first, don’t cut aggressively.
- Old Polish stuck in corners? Use acetone-free remover gently.
If nails feel weak, spend 2 days doing only cuticle oil + hand cream. Your polish will sit better and last longer.
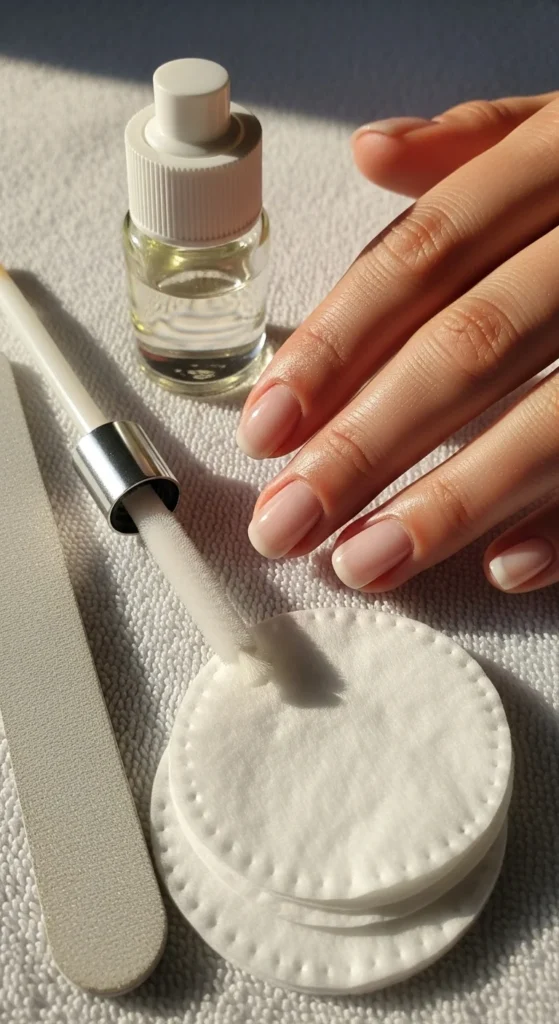
Your $10 Simple At-Home Nail Kit
You likely own most of this already.
- Acetone-free nail polish remover
- Cotton pads or reusable cloth
- Nail clipper
- Nail file
- Buffer
- Base coat
- Neutral polish (milky white, nude, soft pink, cool blue)
- Top coat
- Cuticle oil
- Hand cream
- Toothpick + tape (for tiny designs)
No special tools needed.
Step 1: Remove Old Polish Gently
Soak a pad with acetone-free remover and press on the nail for 10 seconds before wiping.
This avoids rubbing, which causes peeling.
Pro tip: Always wipe from cuticle to tip in one direction.
Step 2: Shape for a Salon Look (Short Nails Welcome)
Beginners should stick to:
| Nail Shape | Why it works |
|---|---|
| Rounded | Soft, neat, low breakage |
| Oval | Makes fingers look longer |
| Squoval | Clean and modern |
File in one direction only. No sawing back and forth.
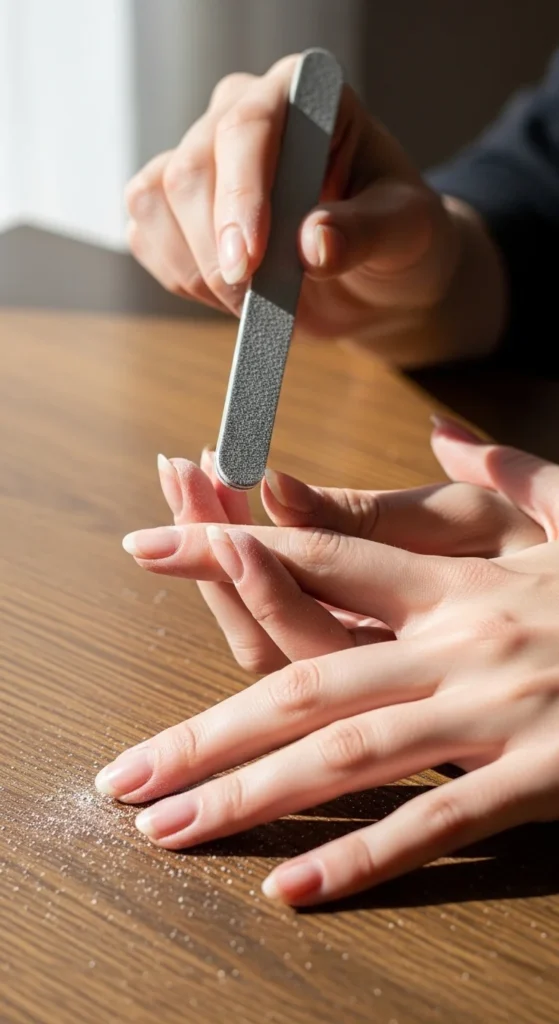
Step 3: The Most Ignored Step — Buffing
Lightly buff the nail surface.
This removes shine so polish grips better and lasts longer.
Don’t overdo it. A few soft strokes are enough.
Step 4: Cuticle Care = Professional-Looking Nails at Home
Push cuticles back gently after applying a drop of oil.
Do not cut unless necessary.
Massage hand cream after. This is where the self-care feeling kicks in.
Step 5: Base Coat Is Non-Negotiable
A thin base coat:
- Prevents staining
- Helps polish stick
- Makes nails look smoother instantly
Let it dry for 60 seconds.
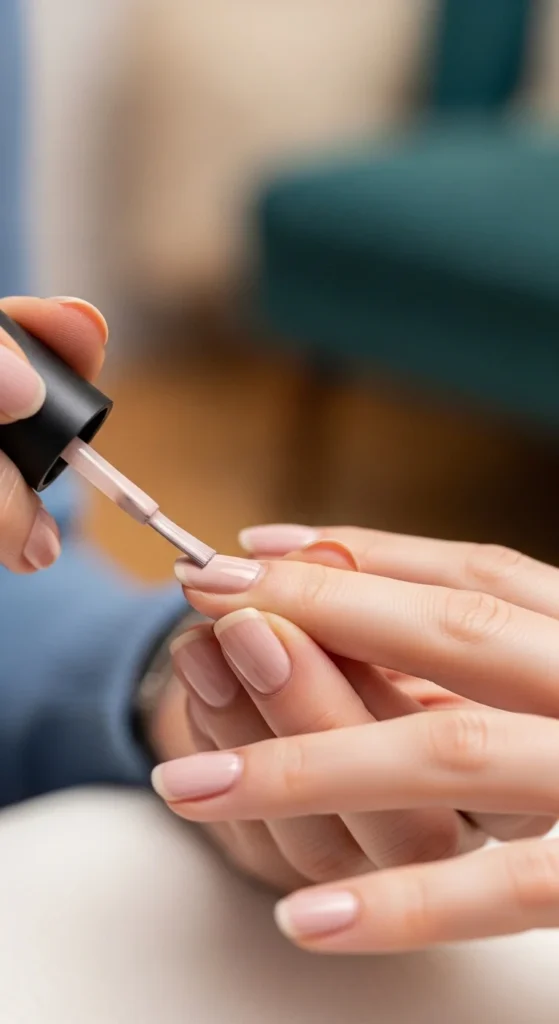
Step 6: How to Apply Thin Coats of Polish (Three-Stroke Method)
This is the secret most people miss.
- One stroke in the center
- One stroke on the left
- One stroke on the right
That’s it. Don’t go back over it.
Thin coats > thick coats.
Wait 2 minutes. Apply the second thin coat the same way.
Step 7: Simple Color Palette for Beginners
These shades give a clean girl / quiet luxury look and are very forgiving:
| Color | Why it’s easy |
|---|---|
| Milky white | Hides mistakes, looks fresh |
| Nude pink | Natural and elegant |
| Cool pastel blue | Trendy but simple |
| Sheer gloss | Glassy glow, zero stress |
| Beige nude | Works on all skin tones |
These colors don’t show tiny mistakes, which is perfect for beginners.
Step 8: Top Coat = Long-Lasting Results
Seal everything with a top coat.
Cap the tip by lightly brushing across the nail edge.
This single move reduces chipping dramatically.
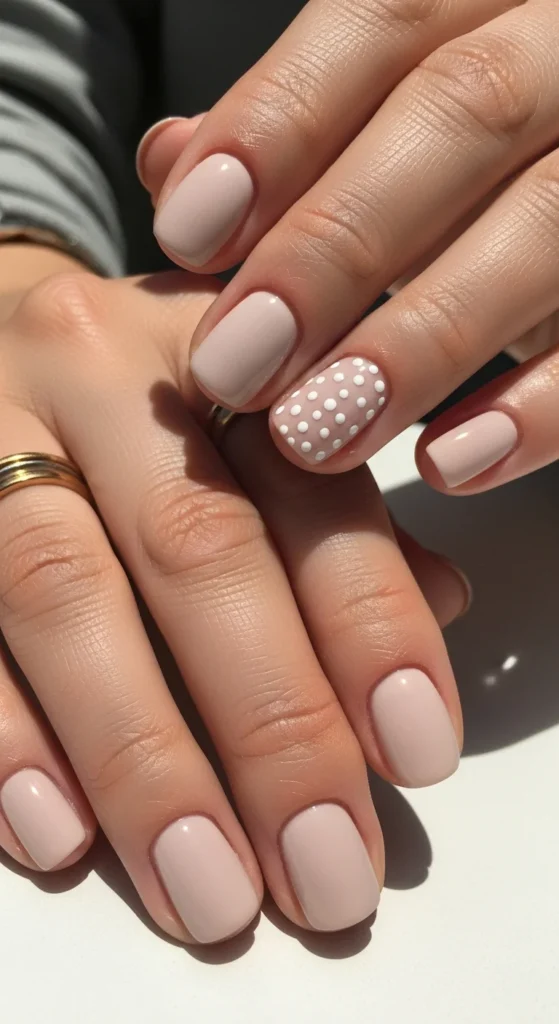
3 Micro-Minimalist Designs (3 Minutes Each)
You don’t need nail art skills. Start with one accent nail.
Micro Polka Dots
Use a toothpick. Dip in polish. Add tiny dots on one nail.
Ultra-Fine Line
Use tape as a guide. Paint a thin line across.
Reverse French Tip
Paint only the tip in a different neutral shade.
Less is more.
Don’t Panic If…
- Polish floods the cuticle → clean with a cotton bud dipped in remover
- You smudge → let dry, lightly buff, re-coat
- Edges look messy → top coat hides a lot
Small mistakes are normal.
Safe Removal Checklist (No Damage)
When it’s time to remove:
- Press remover pad for 10 seconds
- Wipe gently downward
- Re-oil cuticles immediately
- Skip re-painting for a day if nails feel dry
Maintenance Calendar (Pro Tip Most People Miss)
To make your simple manicure last 7–10 days:
- Day 3: Add another top coat
- Day 5: File edges lightly if needed
- Daily: Cuticle oil + hand cream (takes 60 seconds)
This is how salons maintain shine.
Simple vs Press-On Nails
| Simple Polish | Press-Ons |
|---|---|
| Natural look | Instant length |
| Very low cost | Reusable |
| Healthier for nails | Great for events |
| Needs drying time | Zero drying time |
Both are beginner-friendly. Choose based on mood.
Before Prep vs After Prep (The Real Transformation)
Before:
- Rough edges
- Dry cuticles
- Uneven shape
- Dull surface
After:
- Smooth shape
- Glossy finish
- Clean cuticle line
- Professional-looking nails at home
Prep is the real magic.
Make This a Self-Care Routine, Not a Chore
Put on music. Sit by a window. Take 20 minutes.
This isn’t just a DIY manicure. It’s a reset moment.
Try a “one simple manicure per month” habit and track:
- Color you used
- How long it lasted
- What you’d do differently
You’ll improve without pressure.
What to Try Next
- Seasonal simple nails (soft spring florals, winter bows)
- A “no-polish” nail care day
- One new micro design each month
- Experiment with cool blues and glassy glow finishes
Final Takeaway
Simple nails at home are not about perfection. They’re about clean, neat, long-lasting results with very little effort.
Prep well. Use thin coats. Re-apply top coat. Oil your cuticles.
That’s the entire secret.
Save this guide and try your salon-simple manicure tonight.

Leave a Reply