
If you’ve ever wanted a hairstyle that feels both powerful and elegant, the Viking crown braid is exactly that moment. It’s the perfect mix of “queen energy” and “shield-maiden strength” — structured, bold, and effortlessly beautiful.
But here’s the truth: this look isn’t about perfection. It’s about controlled texture, volume, and smart layering that creates that iconic Viking silhouette.
Let’s break it down into a simple, beginner-friendly method you can actually follow at home.
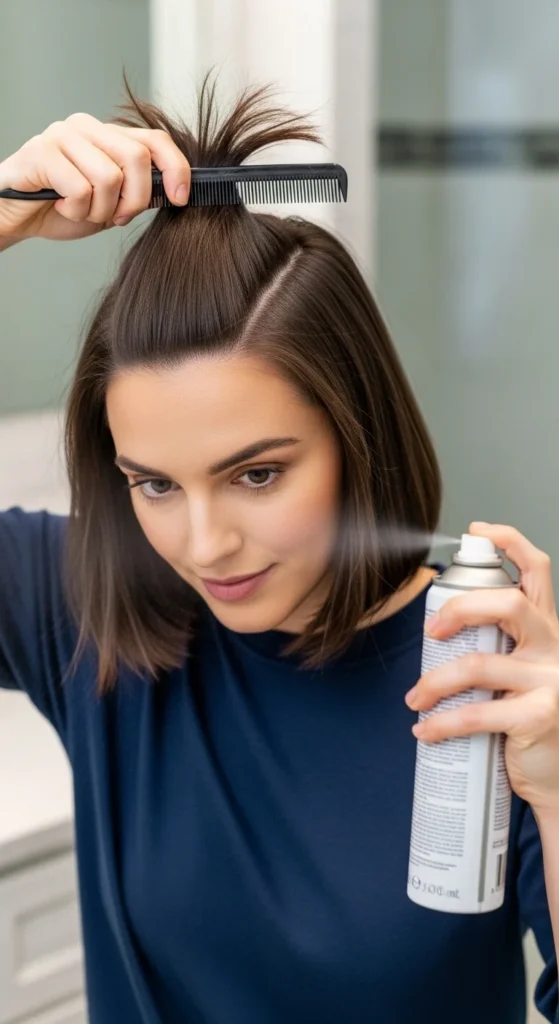
Step 1: Prep Your Hair for Grip and Volume
The biggest mistake beginners make? Starting with freshly washed, silky hair.
Viking crown braids need texture to hold their shape. Slightly “lived-in” hair works best.
Prep checklist:
- Start with second-day hair (or use dry shampoo)
- Detangle your hair completely
- Add texture with:
- Texturizing spray
- Light hair wax
- Lightly tease (backcomb) the crown area for volume
This creates that lifted, regal shape instead of a flat braid hugging your scalp.
Step 2: Section Your Hair Like a Pro
Think of this step as building the “map” of your Viking crown.
Simple sectioning method:
- Part your hair down the middle
- Divide into two main sections (left and right)
- Optional: leave out a few front strands for a softer look
For a more advanced style, you can add extra small sections at the top for layered braids later.
This setup makes it easier to braid around your head evenly.
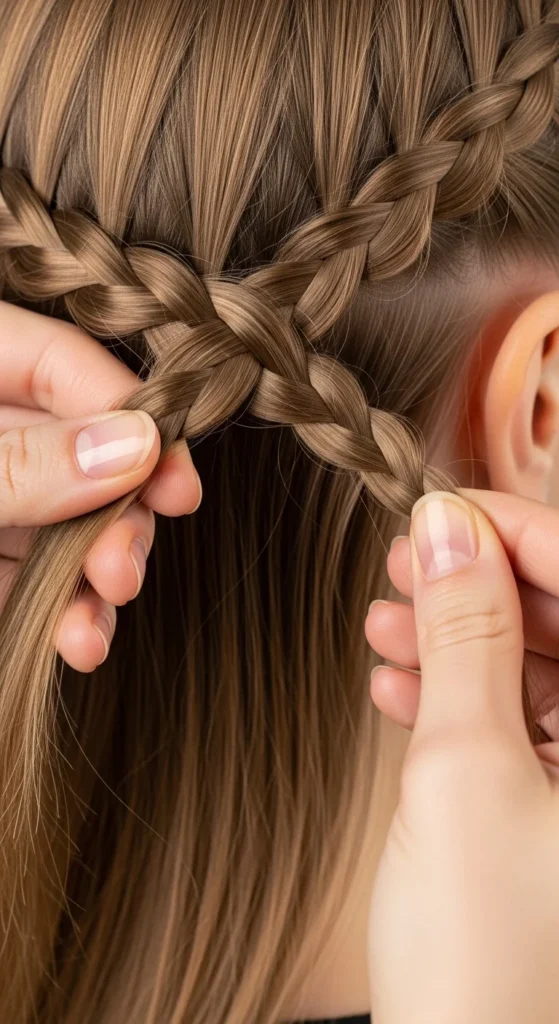
Step 3: Create the Crown with Dutch or French Braids
Now comes the core of the Viking crown braid.
A Dutch braid is ideal because it sits raised on the scalp, giving that bold, warrior look.
How to do it:
- Start near your temple
- Divide a small section into 3 parts
- Begin a Dutch braid (cross strands under instead of over)
- Add hair as you move along your hairline
- Continue braiding around your head like a halo
Repeat on the other side if you’re doing a double braid crown.
Step 4: Wrap and Secure the Crown
Once both sides are braided, it’s time to form the crown shape.
What to do:
- Wrap each braid around the back of your head
- Tuck the ends under the opposite braid
- Secure with bobby pins
Make it seamless:
- Hide pins underneath the braid
- Use pins that match your hair color
- Tuck loose ends carefully inside the braid
This step transforms your braids into that iconic crown look.
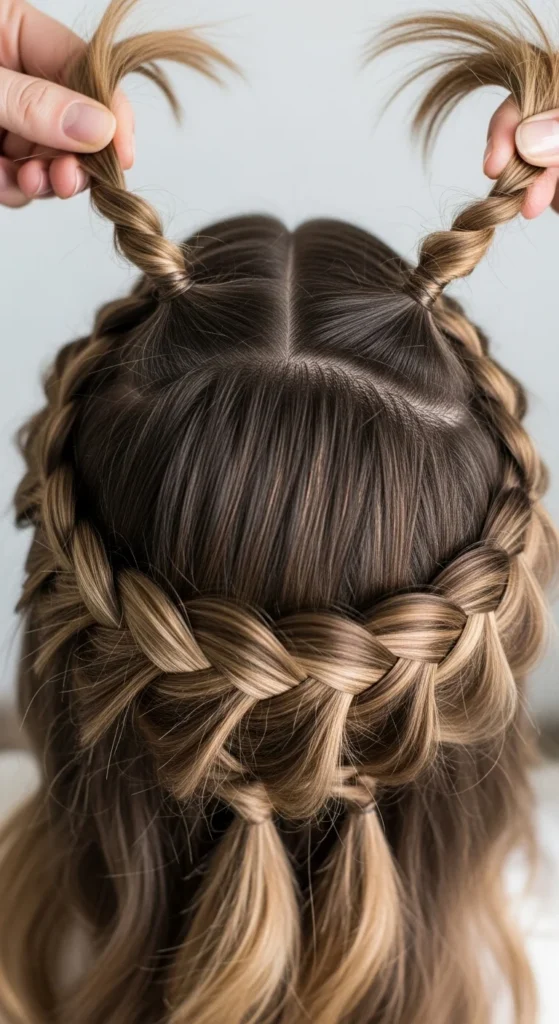
Step 5: Add Volume for the Regal Effect
This is where the magic happens.
Viking crown braids are never flat. They have that lifted, slightly messy, queen-like finish.
How to add volume:
- Gently pull apart the braid edges (pancaking)
- Lift sections at the crown for a bouffant effect
- Loosen tiny strands around your face
This creates a soft yet powerful silhouette inspired by Viking queens.
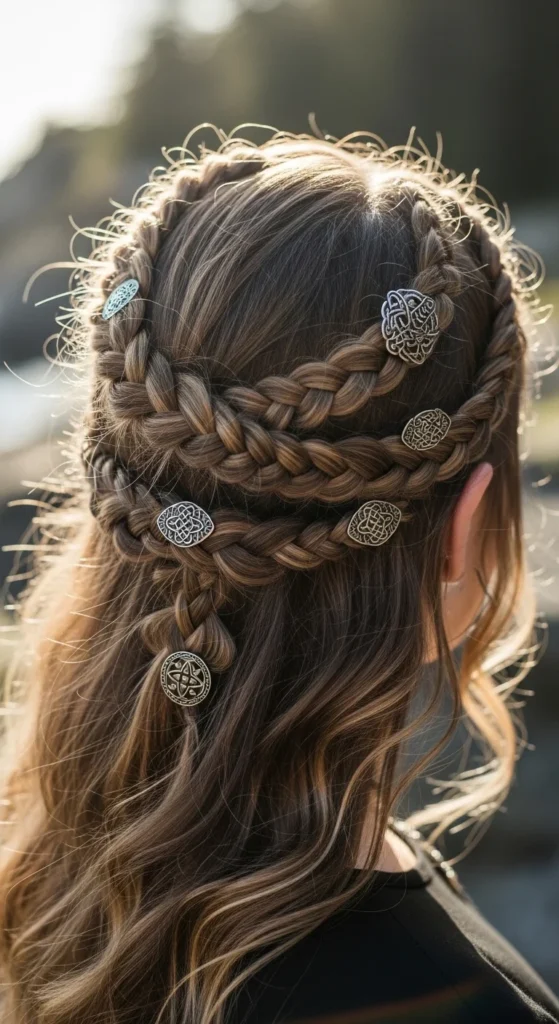
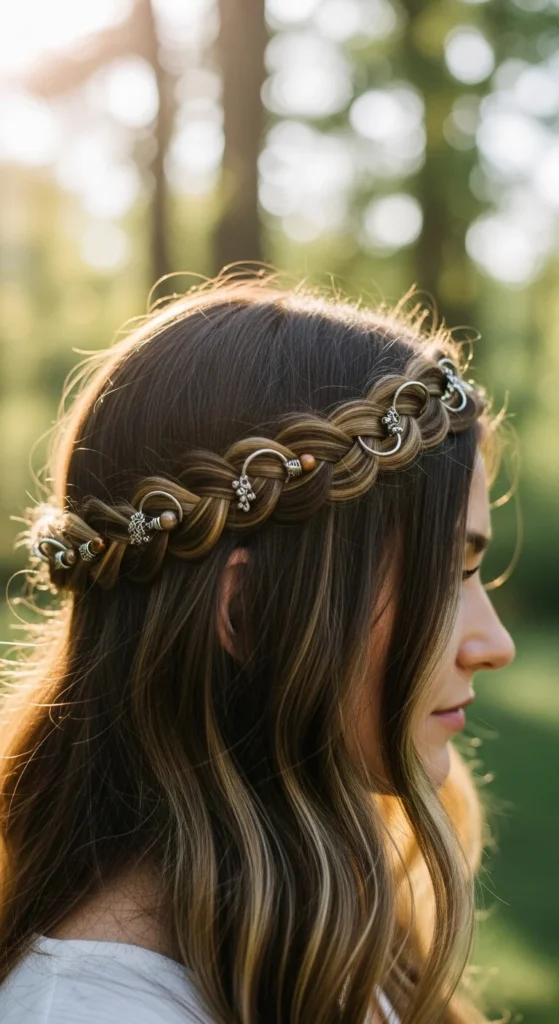
Step 6: Accessorize Like a True Viking Queen
Accessories are what take your crown braid from simple to striking.
Try adding:
- Hair rings or cuffs
- Small beads woven into braids
- Leather cords
- Floral accents for a softer, bridal vibe
You can go minimal for everyday wear or bold for festivals and special occasions.
Beginner Tips for a Flawless Viking Crown
If your braid feels too flat:
- Tease the crown more before braiding
- Pancake the braid after finishing
If your hair slips easily:
- Use dry shampoo or texture spray
- Avoid freshly washed hair
If pins are visible:
- Tuck them deeper into the braid
- Cross pins in an X shape for better hold
If you’re a beginner:
- Start with a single crown braid
- Try a half-up crown before doing a full wrap
Make It Work for Your Hair Type
The Viking crown braid is surprisingly flexible.
For short hair:
- Try a half-crown braid
- Focus on the front and sides
For thick hair:
- Divide into smaller sections for better control
For fine hair:
- Tease more at the crown
- Use lightweight products for grip
This makes the style wearable for almost everyone.
Final Thoughts
The Viking crown braid is more than just a hairstyle. It’s a statement. It blends strength, elegance, and creativity into one unforgettable look.
You don’t need advanced skills to start. Just follow the steps, focus on texture and volume, and build your confidence with each try.
Save this guide and try your own regal warrior look. Once you master it, you’ll keep coming back to it again and again.

Leave a Reply