
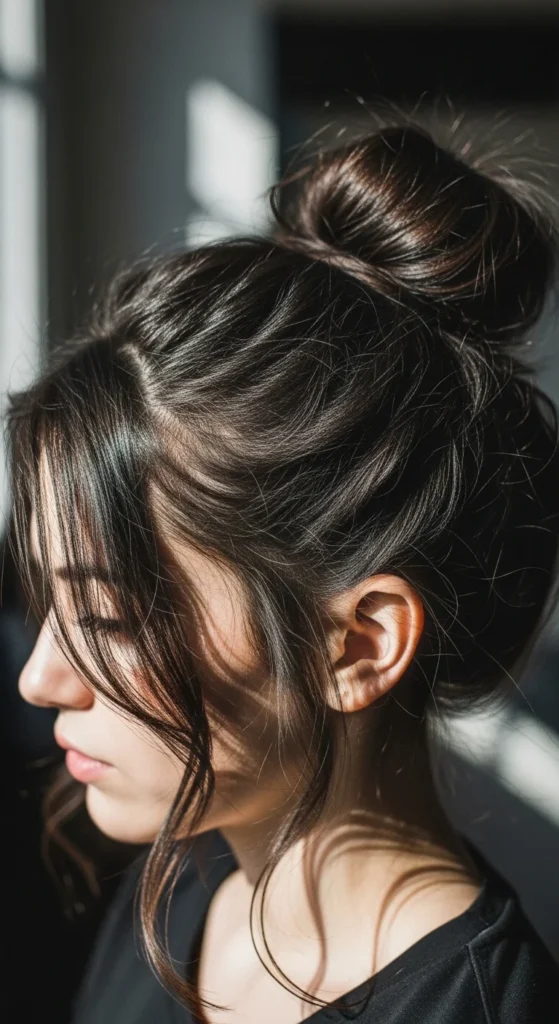
There’s something magical about a messy witch bun. It looks undone, a little mysterious, and completely effortless—but somehow still holds together all night. The kind of hairstyle that says “I didn’t try too hard”… even though you secretly nailed every step.
The best part? You don’t need salon skills, fancy tools, or hours in front of the mirror. This is a quick, beginner-friendly style that can go from everyday messy bun to full witchy vibes in minutes.
Let’s break it down step by step so your bun looks perfectly imperfect and stays secure.
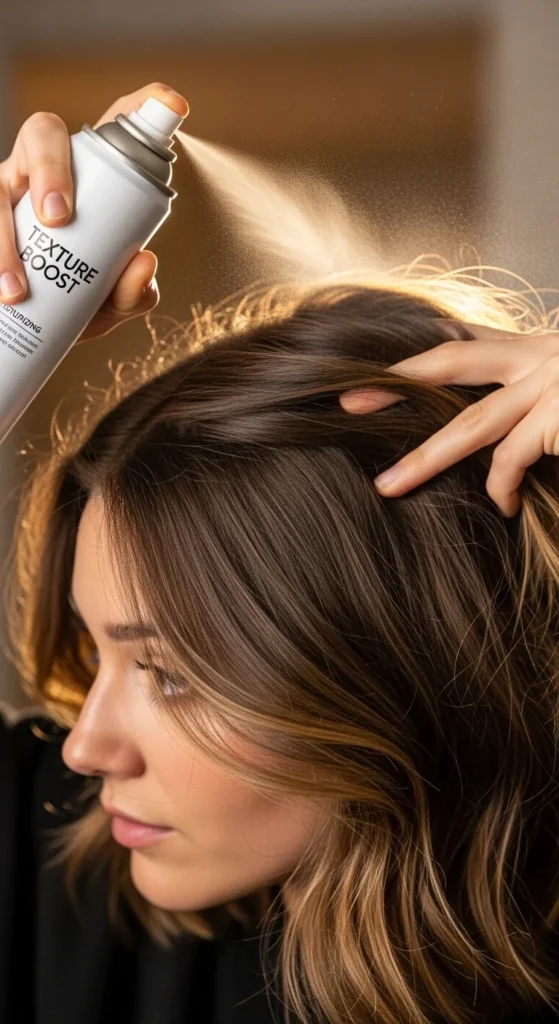
Step 1: Prep Your Hair for That “Witchy” Texture
Messy witch buns are not about clean, silky hair. In fact, slightly textured hair works best.
If your hair is too soft or slippery, your bun will fall apart quickly.
What to use:
- Dry shampoo for grip
- Texturizing spray for volume
- Sea salt spray for a slightly rough finish
Quick prep routine:
- Start with day-old or dry hair
- Spray product lightly through your roots and mid-lengths
- Gently scrunch your hair for texture
This gives your bun that hauntingly soft but structured feel.
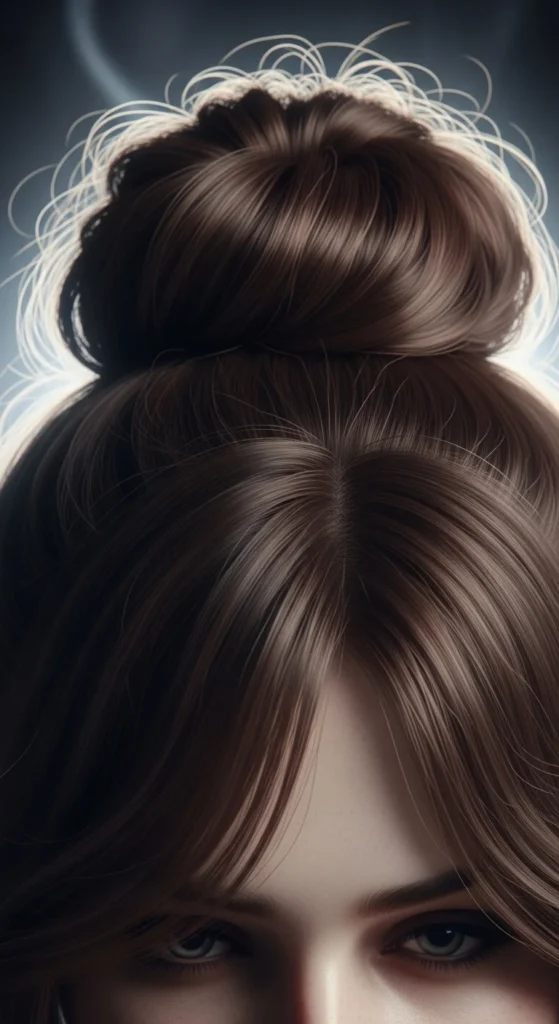
Step 2: Tease for Volume (Don’t Skip This)
Flat buns don’t give that witchy effect. Volume is everything here.
Teasing creates that slightly wild, airy base that makes the bun look fuller.
How to tease:
- Take small sections at the crown
- Use a comb to gently backcomb toward the roots
- Focus on the top and back of your head
Do not overdo it. You want soft volume, not tangles.
This step is especially helpful if you have thin or fine hair.
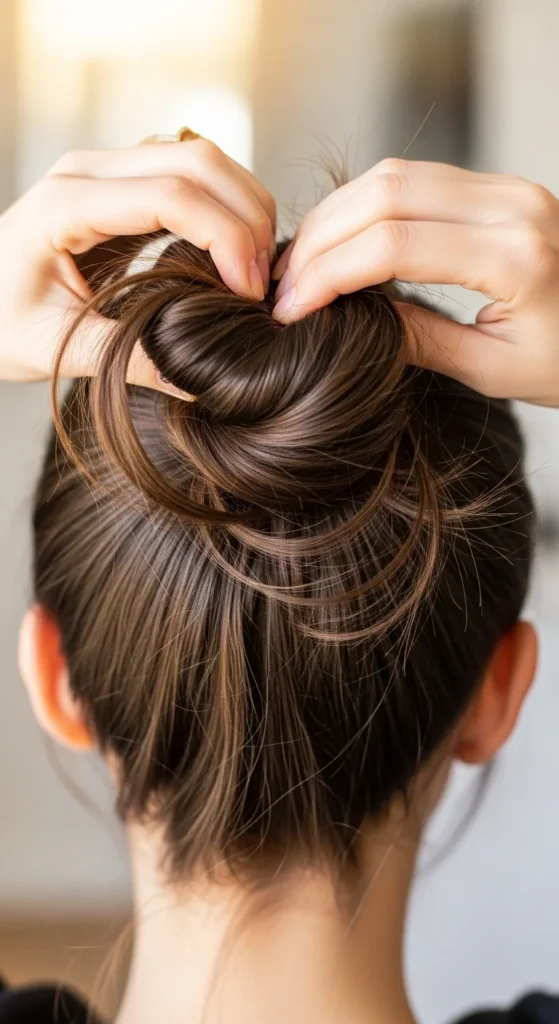
Step 3: Create a Loose High Bun
Now it’s time to build the base.
The classic messy witch bun usually sits high or slightly off-center for that effortless look.
Steps:
- Gather your hair into a high ponytail using your hands (not a brush)
- Secure it loosely with an elastic
- Twist the ponytail gently
- Wrap it around the base to form a bun
Do not pull it too tight. The magic is in the looseness.
Step 4: Pin It Securely Without Losing the Mess
This is where your bun goes from “falling apart” to “effortlessly secure.”
Use bobby pins like this:
- Insert pins in different directions (not all the same way)
- Pin around the base of the bun
- Focus on holding the structure, not flattening it
Pro tips:
- Use 6–10 pins depending on hair thickness
- Hide pins inside the bun for a natural look
- Gently tug the bun after pinning to loosen it slightly
This keeps your bun secure while still looking soft and undone.
Step 5: Pull Out Face-Framing Pieces
This step transforms your bun from basic to witchy.
The key phrase here is: the messier, the better.
What to do:
- Pull out small strands near your face
- Loosen a few pieces at the nape of your neck
- Gently tug sections of the bun for volume
You’re creating that “hauntingly beautiful” softness that defines a messy witch bun.
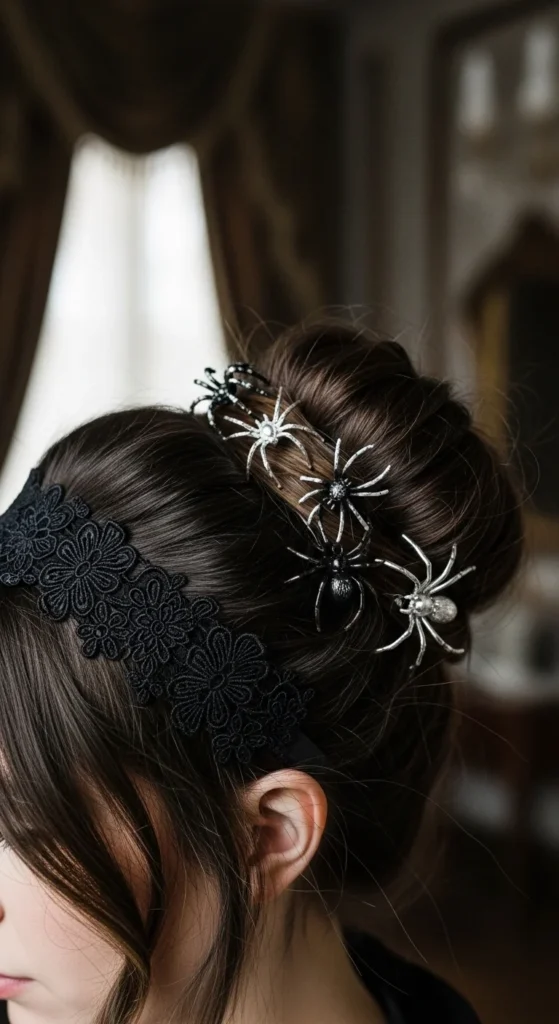
Step 6: Add Spooky or Witchy Accessories (Optional but Fun)
This is where you can personalize your look.
Even a simple bun can turn into a full witch aesthetic with the right accessories.
Try adding:
- Spider or bat hairpins
- Mini witch hat clips
- Black lace headbands
- Subtle glitter spray or dark color streaks
You can keep it minimal for everyday wear or go bold for events and themed looks.
Accessories also help anchor your bun, adding extra hold without extra effort.
Common Problems (And How to Fix Them)
My bun falls apart too quickly
- Use more pins
- Add texture before styling
- Secure the ponytail tighter
My hair is too fine or flat
- Tease the crown more
- Use dry shampoo generously
- Try a slightly smaller bun for better hold
Ends keep sticking out
- Tuck them in with pins
- Or leave a few out for a more relaxed look
It looks too messy, not styled
- Shape the bun slightly with your hands
- Keep the mess controlled, not random
Make It Your Own: Soft vs. Bold Witch Bun
You can easily adjust this look depending on your vibe.
Soft witch:
- Loose strands
- Natural texture
- Minimal accessories
Bold witch:
- Bigger teased volume
- Dark or glitter accents
- Statement hairpins or clips
One bun, multiple looks.
Final Thoughts
A messy witch bun is all about balance. It should look effortless but still feel secure enough to last through your day or night.
Once you get the hang of teasing, pinning, and loosening, this style becomes your go-to for quick, stylish hair with personality.
Save this guide for later and try it the next time you want an easy hairstyle that still turns heads.

Leave a Reply