
Want a spellbinding look that survives dancing, walking, and posing for photos without your hat sliding off? The secret isn’t magic. It’s smart styling. The right base curls, strategic pin placement, and comfy hat tricks can turn any simple hairstyle into a cute witch moment that lasts all day.

Whether you’re creating a glam witch, vintage witch, or last-minute cute witch look, this step-by-step guide breaks it down so your style stays comfy, secure, and totally Pinterest-worthy.
Step 1: Prep Your Hair Like a Pro Before the Hat Goes On
Every great witch hat hairstyle starts with a strong base. Most stylists agree soft curls or waves are the default foundation because they frame your face and keep volume under the hat.
Prep checklist:
- Apply mousse or texture spray before styling
- Curl with tongs, rollers, or heatless tools like Cozy Curlers
- Let curls cool fully before touching
- Lightly mist with setting spray
If you have thick hair, wrap curls in a loose scarf while they cool. This helps them hold shape longer and prevents flattening once the hat sits on top.
Step 2: Choose the Right Base Style for Comfort
Not all hairstyles work well under hats. These options are the most comfortable and hat-friendly:
Best base styles
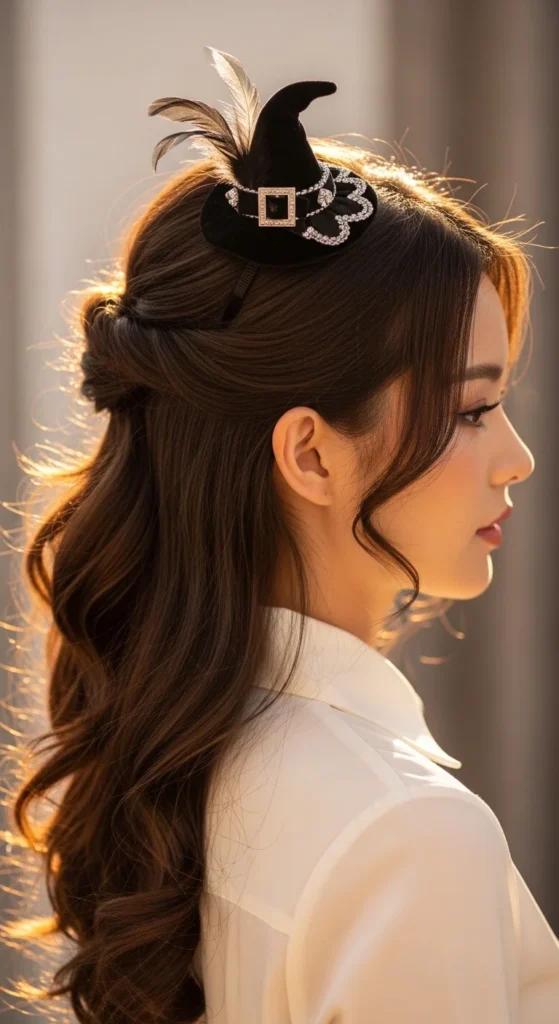
- Half-up styles for volume + control
- Side-parted waves for glam vibes
- Braids to reduce bulk
- Low buns for structure
Half-up styles are especially popular because they keep hair out of your face while still showing length below the brim.
Step 3: Secure the Hat So It Never Slips
“Bobby pins are your best friend” isn’t just a saying. It’s a rule. Most slipping problems happen because hats are pinned randomly instead of strategically.
Anti-Slip Pin Map
- Cross two pins under the hat base
- Anchor pins into braids or buns
- Use hidden comb clips if your hat has them
- Distribute weight evenly
If you’ll be moving a lot, choose hats with elastic bands or built-in clips. Mini hats are the easiest option for all-day wear, especially for kids or busy schedules.
Creators on platforms like TikTok and YouTube often test these methods while dancing to prove they actually hold.
Step 4: Try the Viral Hair-Made Witch Hat Trick
One of the biggest trends right now is sculpting a witch hat from your own hair. It looks complicated but it’s surprisingly doable with the right tools.
What you need
- One bun donut
- Lots of pins
- Strong hairspray
Steps
- Tie hair into a high ponytail.
- Slide the donut over the ponytail base.
- Wrap hair around it into a cone shape.
- Pin every section securely.
- Spray to set.
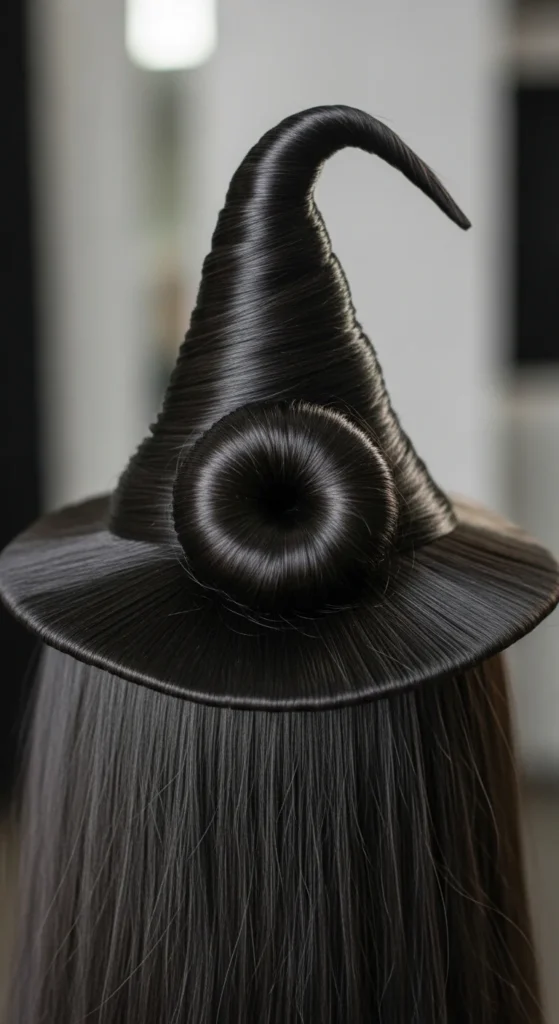
This trick is trending because it looks dramatic on camera and photographs beautifully for social posts, especially on Instagram.
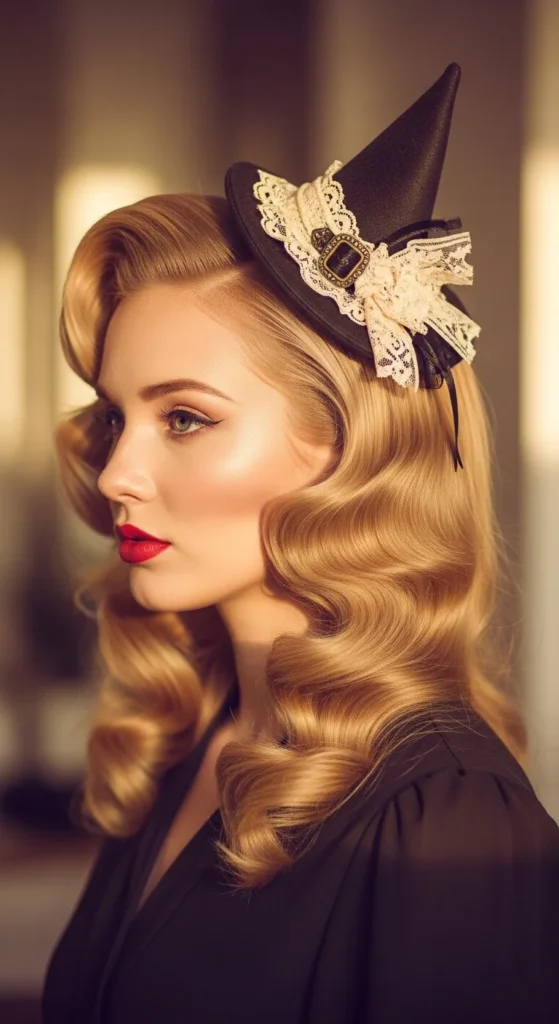
Step 5: Go Vintage Witch for Instant Glam
Vintage witch styles are trending thanks to creators like SarahsDooWopDos, who showcase 1940s-inspired curls paired with tilted hats.
How to get the look
- Create tight curls or pin curls
- Brush out gently for soft waves
- Deep side part hair
- Tilt that slightly above one eyebrow
The tilt matters. Straight hats look costume-like. Angled hats look stylish and intentional.
Step 6: Match Your Hairstyle to Your Witch Persona
Different witch aesthetics call for different hair shapes. Matching them makes your look feel cohesive instead of random.
Style Pairings
- Glam witch → loose waves + sleek hat
- Cute witch → mini hat + pigtails
- Dark witch → straight hair + dramatic hat
- Cottagecore witch → braids + ribbon details
Accessories like tulle, charms, ribbons, or crystals around the hat base can instantly upgrade a simple style.
Step 7: Quick Options for Short Hair or Busy Days
Not everyone wants a complex style, and that’s okay. There are easy witch hairstyles that take five minutes.
Fast ideas
- Textured pixie + clip-on hat
- Messy waves + headband hat
- Low ponytail + mini hat
Short hair actually works great because there’s less bulk under the hat, which means better comfort and less slipping.
Step 8: Comfort Tips So You Don’t Get a Headache
Heavy hats and tight styles can cause scalp tension. Keep your look cute and comfortable with these tricks:
- Use lightweight hats whenever possible
- Avoid pulling hair too tight at the roots
- Spread pins evenly instead of clustering
- Remove and reset hat every few hours if worn long
Comfort matters just as much as style. If your head hurts, you won’t enjoy your look.
Final Words
The winning formula is simple: prep hair → style base → secure hat → finish accessories. Once you master that structure, you can create endless witch hat hairstyles from glam to casual.
Try one of these styles for your next party, photoshoot, or themed outfit and watch how quickly your look transforms from basic to bewitching.
Save this guide so your next witch hairstyle stays comfy, cute, and perfectly pinned!

Leave a Reply