
Spring is the season when everything feels softer and more refreshing. Heavy winter tones start to feel out of place, and suddenly light colors, gentle details, and fresh looks feel more appealing. Spring nails are an easy way to welcome the season without changing your entire routine. Soft seasonal colors instantly make your hands look clean, polished, and effortlessly pretty.

If you want spring nails that look fresh but still simple enough to do at home, these steps will guide you through the process with ease.
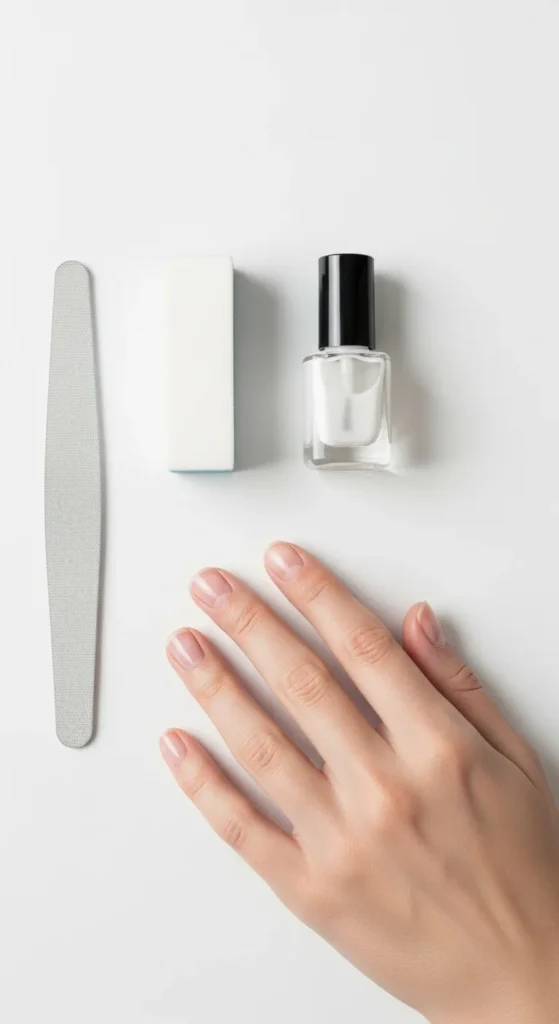
Step 1: Prepare your nails for a smooth base
Nail prep is the foundation of a beautiful spring manicure. Since light shades can highlight texture and unevenness, starting with clean and smooth nails is essential.
Begin by trimming your nails and shaping them into a soft, natural style. Oval, squoval, or short almond shapes work especially well for spring. Gently push back the cuticles and lightly buff the nail surface to smooth out ridges. Clean your nails thoroughly to remove dust and oils.
Finish with a thin layer of base coat. This helps pastel colors apply evenly and keeps your manicure looking fresh longer.
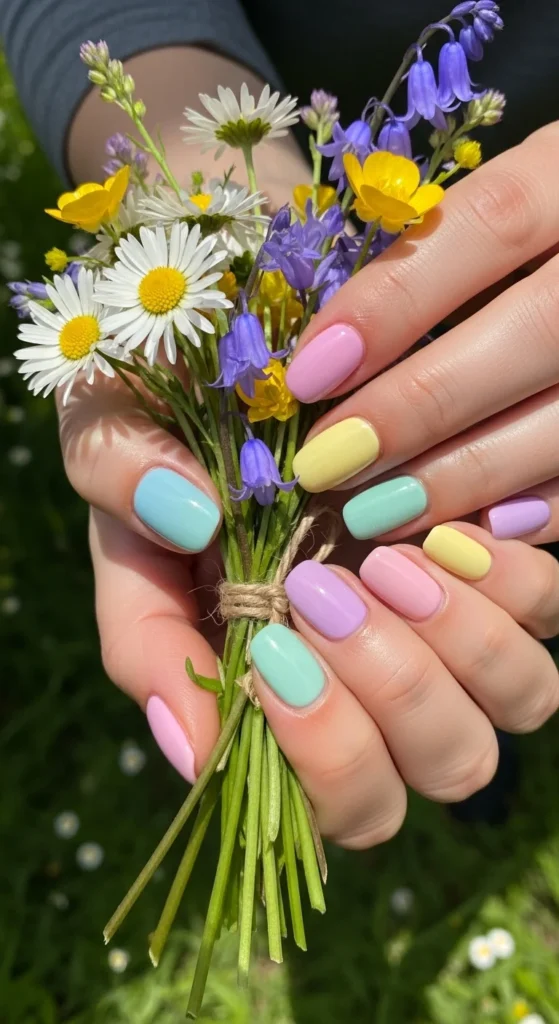
Step 2: Choose soft spring colors that feel fresh
Spring nail colors should feel light, airy, and wearable. Instead of bold or heavy shades, opt for gentle tones that reflect the calm and freshness of the season.
Popular choices include blush pink, dusty rose, lavender, lilac, sage green, soft mint, peachy nude, and sheer milky white. These colors give your nails a clean and polished look without feeling overpowering.
If you are unsure where to start, a soft pink or neutral shade is always a safe and flattering option.
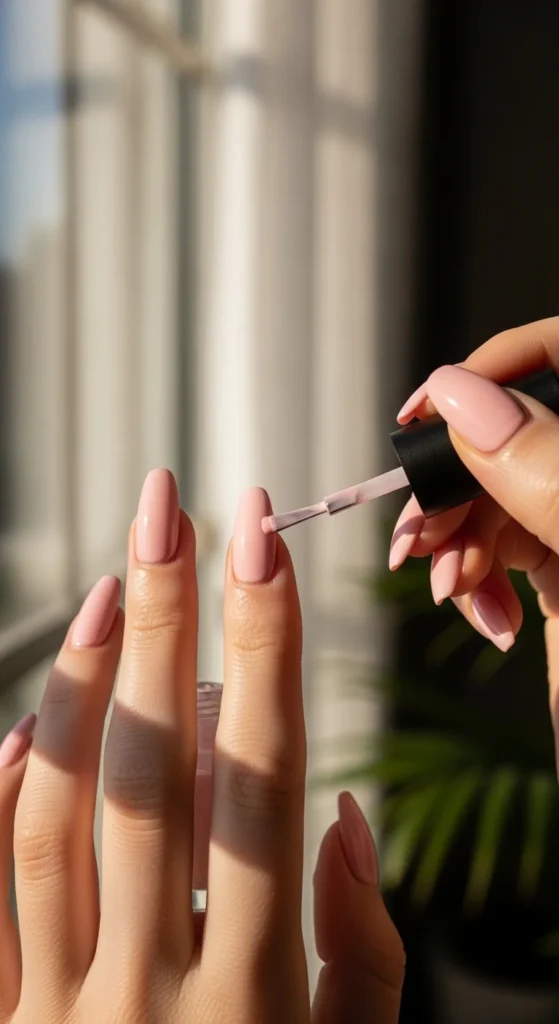
Step 3: Apply polish in thin and even layers
Application technique plays a huge role in how spring nails turn out. Light colors can appear streaky if applied too thickly, so patience is key.
Load a small amount of polish onto the brush and remove excess before applying. Start with one thin coat, painting down the center of the nail and then filling in the sides. Allow it to dry fully before adding a second thin layer.
Two thin coats usually create a smoother and more professional-looking finish than one thick coat.
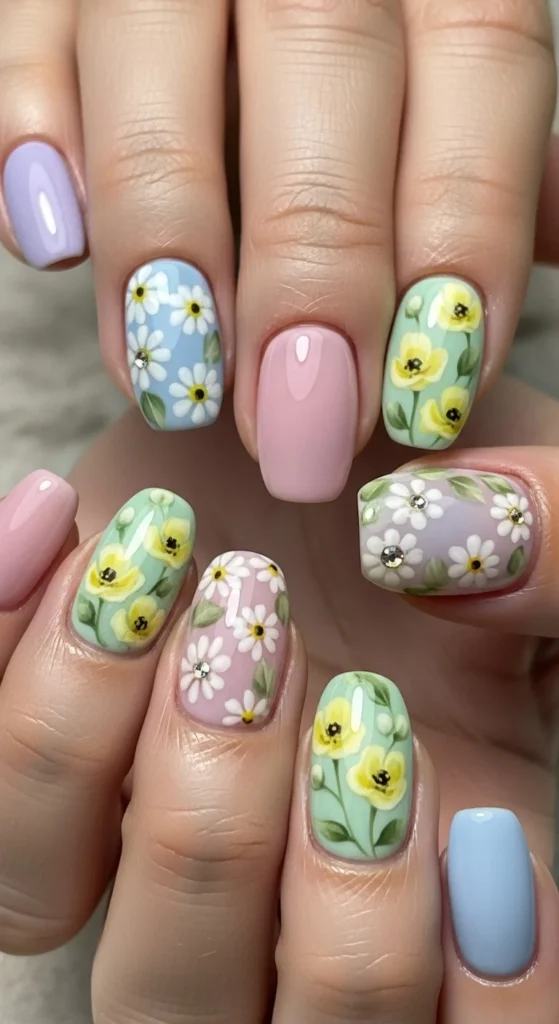
Step 4: Add simple spring nail art if desired
Spring is the perfect time to add delicate details to your nails. The goal is to enhance the look without making it feel heavy.
Simple designs such as tiny dots near the cuticle, soft floral accents, light color blocking, or thin lines in white or neutral tones work beautifully. These small details add personality while keeping the manicure light and seasonal.
If you prefer a cleaner look, choose one or two accent nails instead of decorating every nail.
Step 5: Seal your manicure with a top coat
A top coat is what brings the entire manicure together. It adds shine, protects the polish, and helps extend wear.
Glossy topcoats make pastel shades appear brighter and fresher. If you prefer a softer finish, a gentle shine still keeps nails looking healthy and polished. Make sure to seal the edges of your nails to reduce chipping.
Step 6: Maintain your spring nails for lasting freshness
Keeping spring nails looking good does not require much effort, but small habits matter. Apply cuticle oil regularly to keep nails and skin hydrated. Avoid using your nails as tools, and wear gloves when doing household chores.
Touching up small chips early helps maintain a clean and polished look, especially with lighter shades.
Final takeaway
Spring nails with soft seasonal colors are all about simplicity, freshness, and ease. With proper prep, gentle shades, and a relaxed approach, you can create a manicure that feels perfectly in season.
Save this guide for your next nail day and pin it for later when you need spring nail inspiration.

Leave a Reply